

Creative Crochet Bee Pattern for Gifts and Eye-Catching Display
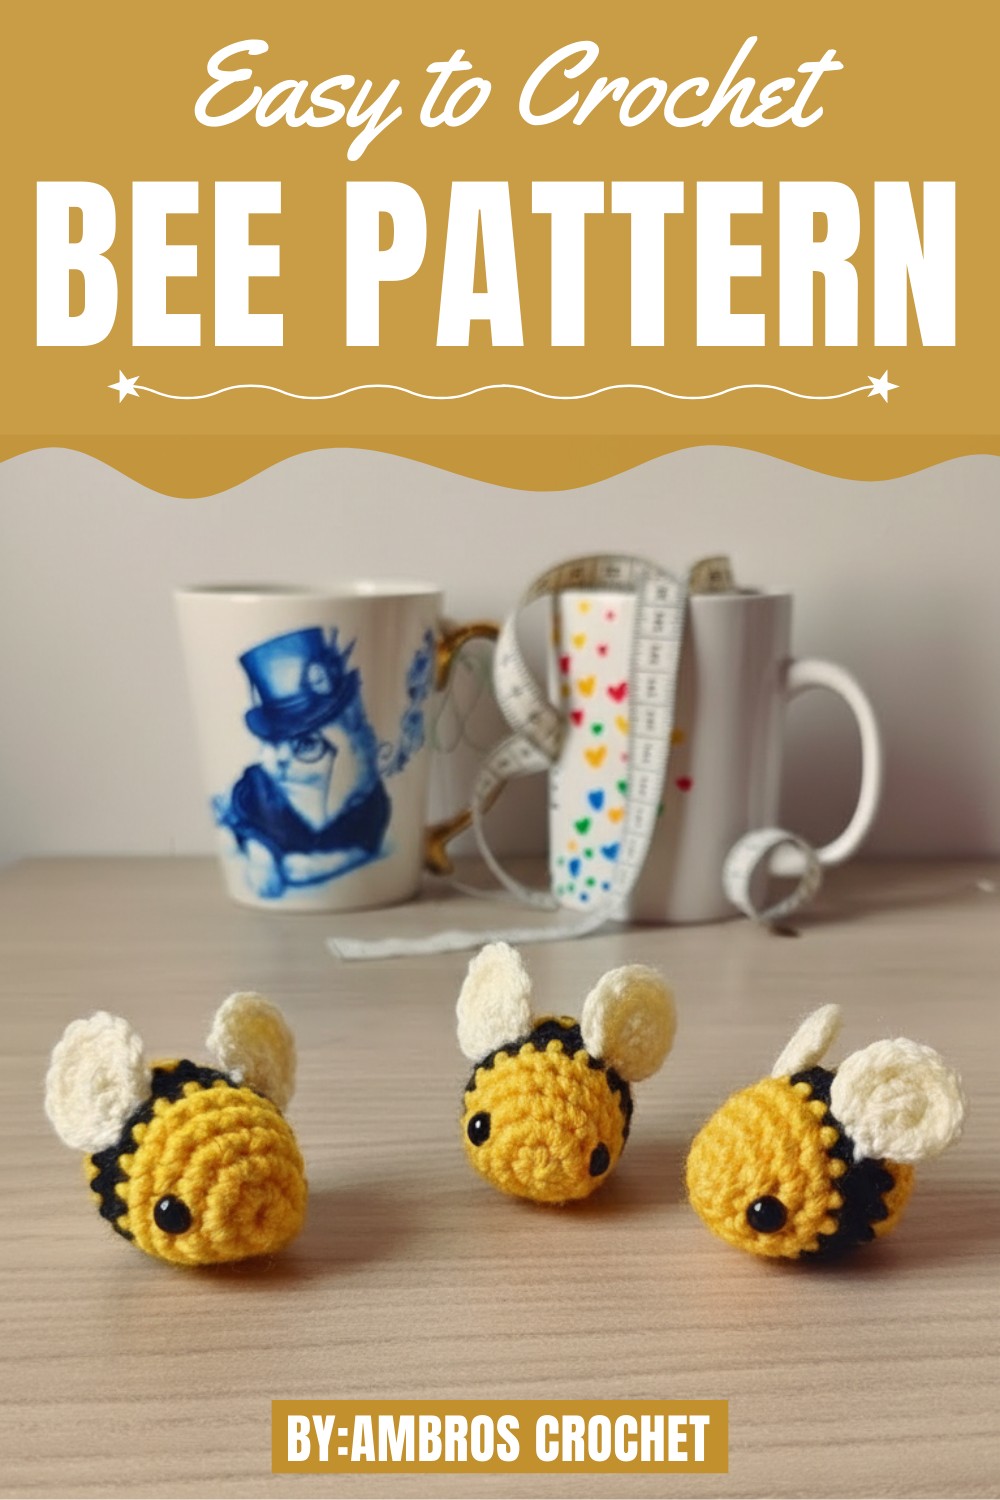
The pattern is beginner-friendly, featuring easy stitches like single crochets, increases, and decreases, along with techniques for color changes to crochet the signature yellow and black stripes. One of the standout benefits of this pattern is its versatility. You can personalize the bee by experimenting with different yarn colors or adding playful accessories like mini hearts, flowers, or tiny embroidered faces.
Not only is it enjoyable to make, but the process offers a great way to refine essential skills while producing something truly delightful. Add a pop of cuteness to your day while crocheting something that spreads joy and smiles—a small bee that embodies sweetness and creativity in equal measure. It’s simple, fun, and something everyone will love!
Materials You’ll Need
Here’s what you need to get started:
- Yarn: Yellow, black, and white yarn.
- Crochet Hook: A 3 mm hook, or one suitable for your yarn size.
- Safety Eyes: 6 mm safety eyes (or embroider simple dots if you don’t have them).
- Toy Stuffing: For the bee's body.
- Tapestry Needle: For sewing the wings.
- Pins: For precise placement of parts.
Special Features and Skill Level
- Features: This bee has a simple design with a minimal number of parts. Despite its simplicity, it offers great practice for mastering essential techniques like color changes.
- Skill Level: Designed with beginners in mind, it primarily uses single crochet stitches, increases, and decreases, making it a manageable and fun pattern to follow.
Step-by-Step Tutorial
1. Making the Body
- Round 1: Using yellow yarn, make a magic ring with six single crochets. Close the ring.
- Round 2: Make an increase in each stitch (two single crochets in one stitch) for a total of 12 stitches.
- Round 3: Work 3 single crochets, then 1 increase, repeating this pattern three times until you reach 15 stitches.
- Round 4: Work 4 single crochets, then 1 increase, and repeat this sequence three times to end up with 18 stitches.
- Round 5: Make one single crochet in each stitch (18 stitches total).

2. Adding Stripes (Rounds 6–7)
- Switch to black yarn for the first stripe. Rie demonstrates two color-change methods in the tutorial:
- Beginner-Friendly Method: Create a loop with the new color, hook it through the previous loop, and pull the tail snug.
-
- Alternative Method: Add the new color to the last stitch of the previous round before completing it.
- Work one single crochet in each stitch for both rounds (18 stitches per round). Hide the loose yarn tails by crocheting over them.

3. Placing the Safety Eyes
- Insert safety eyes between rounds 3 and 4. Count seven stitches apart for proper placement. The color changes should ideally be on the underside of the bee for a clean look.
4. Returning to Yellow Yarn
- Round 8: Switch back to yellow yarn and crochet one single crochet in each stitch (18 stitches total).
- Round 9: Work 4 single crochets, then 1 decrease (combine two stitches into one), repeating three times to reduce the count to 15 stitches.
- Round 10: Work 3 single crochets, then 1 decrease, repeating three times to reduce the count to 12 stitches.

5. Stuffing the Bee
- Before the final round, stuff the bee. Add small amounts of stuffing to maintain the desired shape. You can round the bottom or keep it slightly flat, depending on your preference.

6. Closing the Body
- Round 11: Make six decreases to close the top of the bee. Slip stitch to finish the round.
- Use a tapestry needle to smooth and flatten the last round by stitching through the front loops of the remaining stitches until the opening is shut. Hide and secure the tail thread by weaving it through the body.


Making and Attaching the Wings
-
Wing Pattern:
- Start with white yarn and create a magic ring.
- Round 1: Crochet six single crochets into the magic ring.
- Round 2: Work 1 increase in each stitch to create 12 stitches.
- Slip stitch to finish and leave a tail for sewing.
-
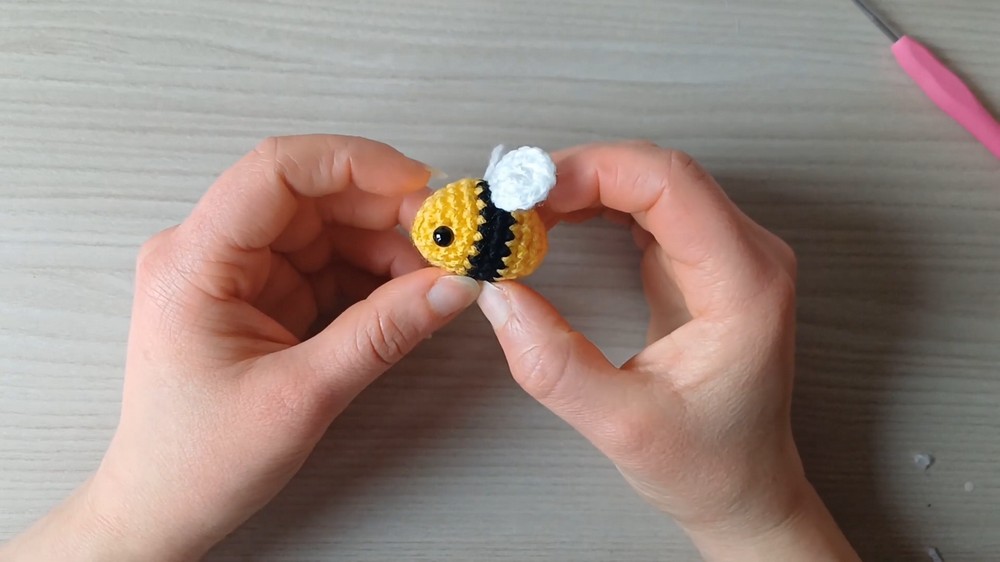
Attach the Wings:
- Position the wings between rounds 6 and 7. Use your crochet hook or a needle to mark three stitches from the eyes to determine proper placement.
- Use the tapestry needle to sew the wings securely, stitching through each stitch carefully.

Uses of the Crochet Bee
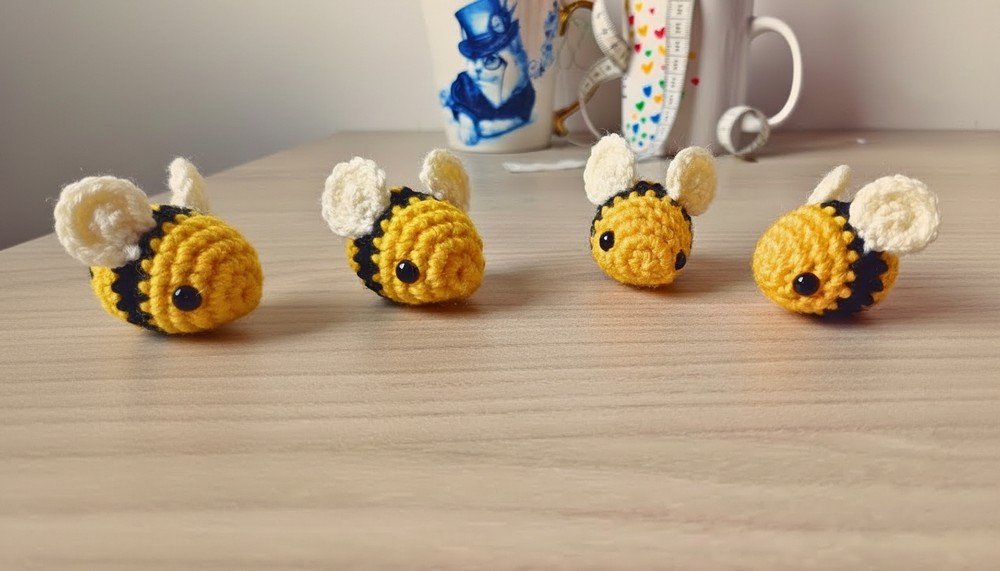
The crochet bee is not only adorable but also versatile! It can be displayed as decor, made into keychains, gifted to loved ones, or sold at crochet markets.
Tutor’s Suggestions
- Focus on keeping consistent tension throughout the project, especially during color changes.
- Don’t overstuff the bee—it’s best to add stuffing gradually to avoid an uneven shape.
- Experiment with the two color-change methods shown in the tutorial to find your preferred technique.
Tip
When attaching wings to the body, use pins to secure their placement before sewing, which ensures symmetry and a polished look in the final product.
Conclusion
This crochet bee pattern is a wonderful way to practice essential crochet techniques while producing a charming little creation. Its simple pattern makes it approachable for beginners, with room for personalization in terms of colors and embellishments. Whether for personal use or gifting, this pattern is sure to bring a smile to anyone’s face!
Leave a Reply