

Crochet Cherry Keychain Pattern You’ll Want Everywhere
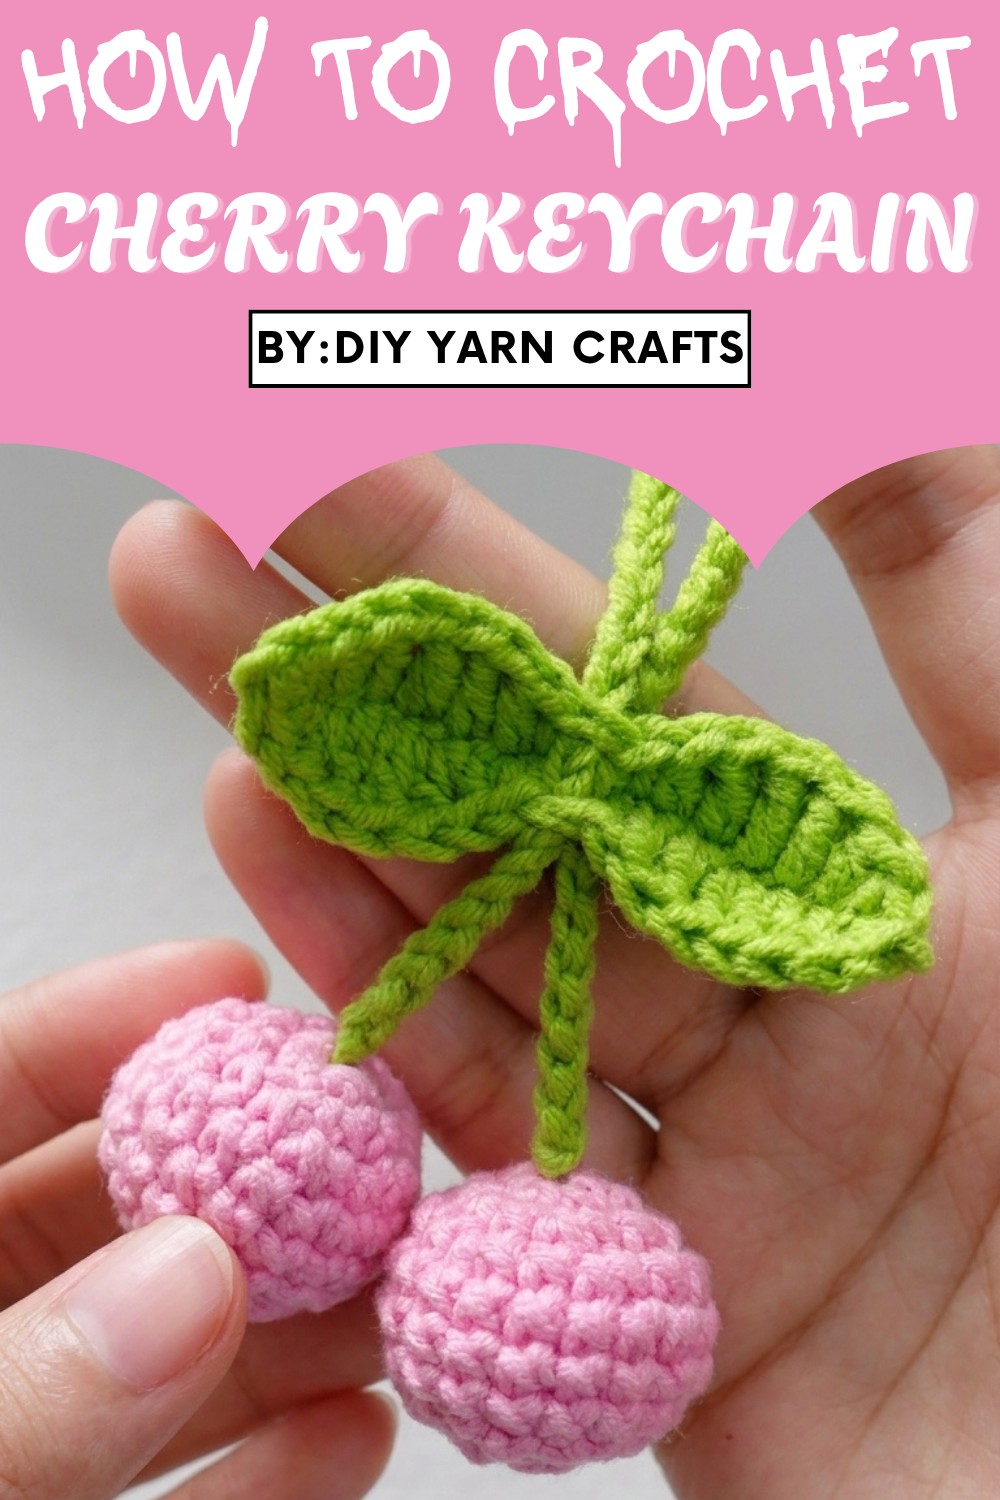
Aside from its undeniable cuteness, this keychain pattern offers practical benefits. Its lightweight and durable pattern ensures it can withstand daily use, while its customizable elements—such as colors and string length—allow you to personalize it to your liking.
Whether as a thoughtful, handmade gift for a loved one or a cheerful addition to your own essentials, this cherry keychain pattern is sure to spread some joy wherever it’s showcased. Small in size but big on charm, it’s the perfect touch to brighten up an outfit or bag while showcasing your crochet talents.

Special Features
- Durable Design: Comes with a crocheted string that can be easily adjusted in length.
- Beginner-Friendly: Uses simple stitches, making it perfect for new crocheters.
- Customizable: Choose cherry colors, leaf patterns, or even string length to fit your style or theme.
- Multi-Purpose: Can double as a bag charm or handmade gift.
Level of Difficulty
Beginner to Intermediate – Basic skills in single crochet, magic ring, increases, decreases, and leaf shaping are required.
Step-by-Step Pattern
Materials Needed
- Yarn: 5-ply milk cotton yarn (red for cherries, green for leaf, optional color for string).
- Hook: 2.5mm crochet hook.
- Other Supplies:
- Cotton stuffing (fiberfill)
- Scissors
- Darning needle
- Stitch marker
Step 1: Making the String
- Start with a Slip Knot:
- Create a slip knot using the yarn for the string.
- Chain 50:
- Crochet 50 chains to form the string. For a longer string, simply add more chains.
- Finish the String:
- Fasten off by cutting the yarn and pulling the end through the last stitch.
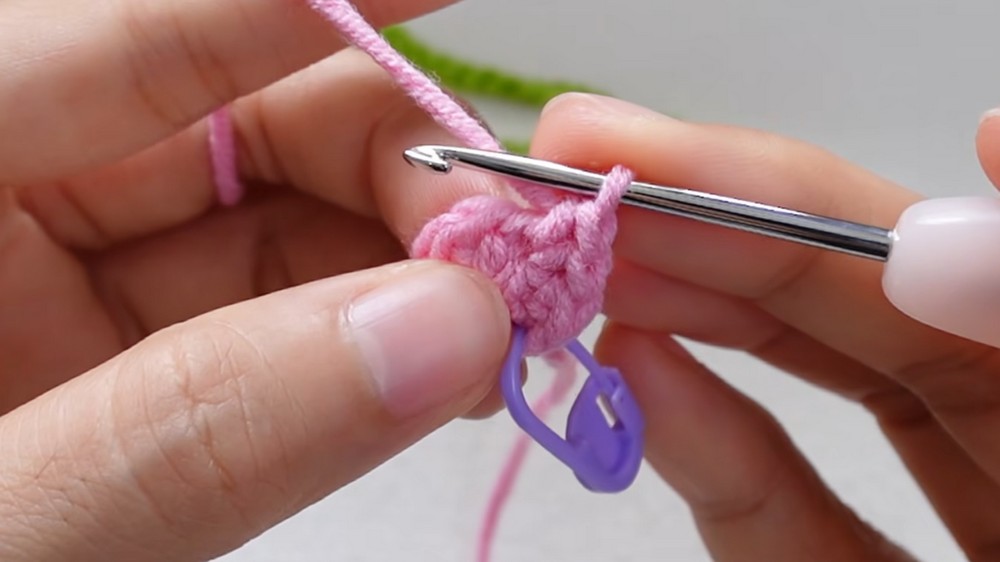
2: Creating the Cherry
- Begin with a Magic Ring:
- Using red (or desired cherry color), create a magic ring.
- Round 1:
- Work 6 single crochets (sc) into the magic ring.
- Pull the yarn tail tightly to close the circle.
- Round 2:
- Work an increase in each stitch (2 sc in each stitch).
- End with 12 stitches in this round.
- Round 3:
- Work 1 sc, 1 increase, repeat around.
- End with 18 stitches.
- Rounds 4-6:
- Work 1 sc into each stitch for three rounds.
- 18 stitches per round.
- Attach the String:
- Insert your hook through the center of the magic ring at the base of the cherry from the inside.
- Pull the yarn tail of the string through the cherry.
- Tie the yarn tails of the magic ring and string together securely.
- Round 7 (Shaping the Cherry):
- Work 1 sc, 1 decrease, repeat around.
- Finish with 12 stitches in this round.
- Stuff the Cherry:
- Fill the cherry with cotton stuffing to give it a firm shape.
- Round 8:
- Work 6 decreases in total until the cherry is closed.
- Fasten Off:
- Make a slip stitch into the next stitch.
- Cut the yarn, leaving a long tail for sewing.
- Close the Cherry:
- Using a darning needle, insert the tail into the front loop of each stitch in the final round.
- Pull tightly to close the cherry completely.
- Secure the tail by weaving it through the center and various stitches.
- Repeat to Make Another Cherry:
- Follow the same process to create a second cherry.


3: Making the Leaf
- Start with a Slip Knot:
- Use green yarn and make a slip knot.
- Chain 15:
- Crochet 15 chains to form the foundation.
- Crochet Along the Chain:
- Skip the first chain and work:
- 1 single crochet (sc) in the second chain.
- 1 half double crochet (hdc) in the next chain.
- 1 double crochet (dc) in each of the next 3 chains.
- 1 half double crochet (hdc) in the next chain.
- 1 sc in each of the next 2 chains.
- 1 hdc in the next chain.
- 1 dc in each of the next 3 chains.
- 1 hdc in the next chain.
- 1 sc in the last chain.
- Skip the first chain and work:
- Turn and Crochet on Other Side:
- Chain 2, make 1 sc in the same chain.
- Work along the other side of the foundation chain with the same pattern:
- 1 hdc → 1 dc x 3 → 1 hdc → 1 sc x 2 → 1 hdc → 1 dc x 3 → 1 hdc → 1 sc.
- Finish the Leaf:
- Work a slip stitch into the first stitch to close the leaf.
- Chain 1, cut the yarn, and weave in all loose ends using a darning needle.

4: Attaching the Leaf
- Position the Leaf:
- Insert your hook into the middle stitch of the leaf (between two single crochets).
- Attach to the String:
- Place the string over the hook, pull it through the leaf, and secure tightly.

Uses and Tutor Suggestions
- Perfect to use as keychains, zipper pulls, bag decorations, and personalized gifts.
- Use vibrant colors for cherries and leaves to make the design stand out.
- For beginners, using stitch markers and taking your time with decreases will help refine your skills.
Tip
For added durability, use glue or sew extra stitches to strengthen the connections between the cherries, string, and leaf—especially if the keychain will be used frequently!
Conclusion
Congratulations! You’ve completed your charming crochet cherry keychain. A fun accessory that’s both practical and stylish, it works beautifully as a handmade gift or personal touch to your everyday items.


Leave a Reply