

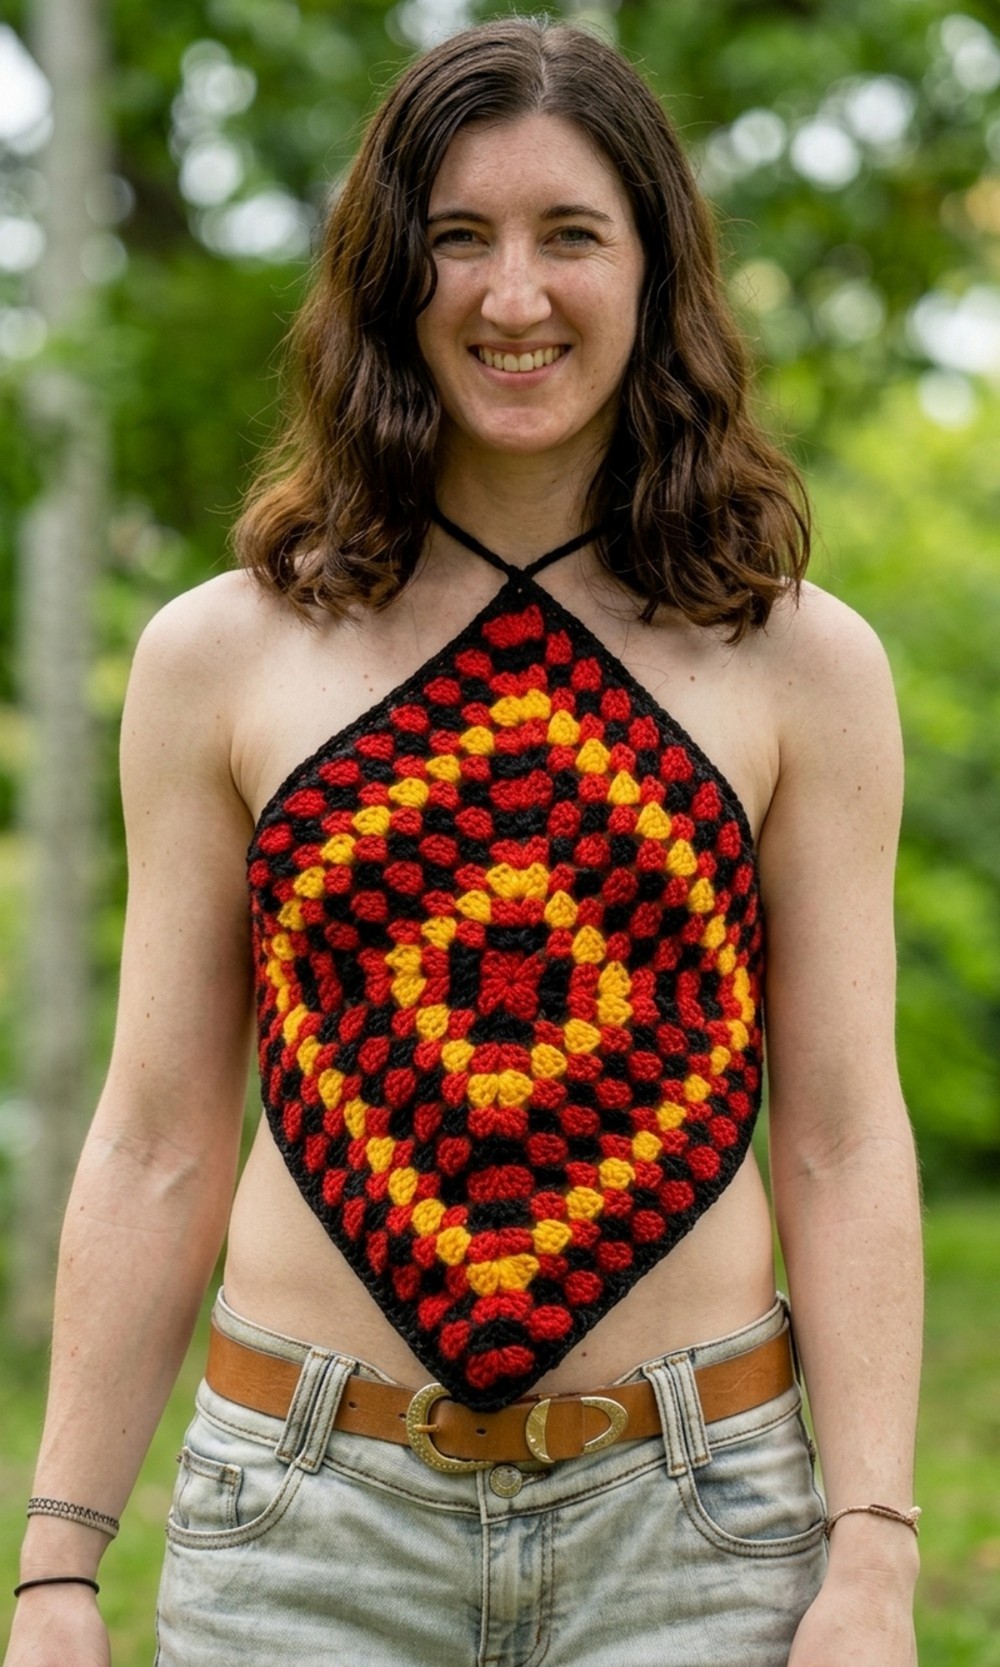
Stylish Crochet Diamond Top Pattern for Handmade Elegance
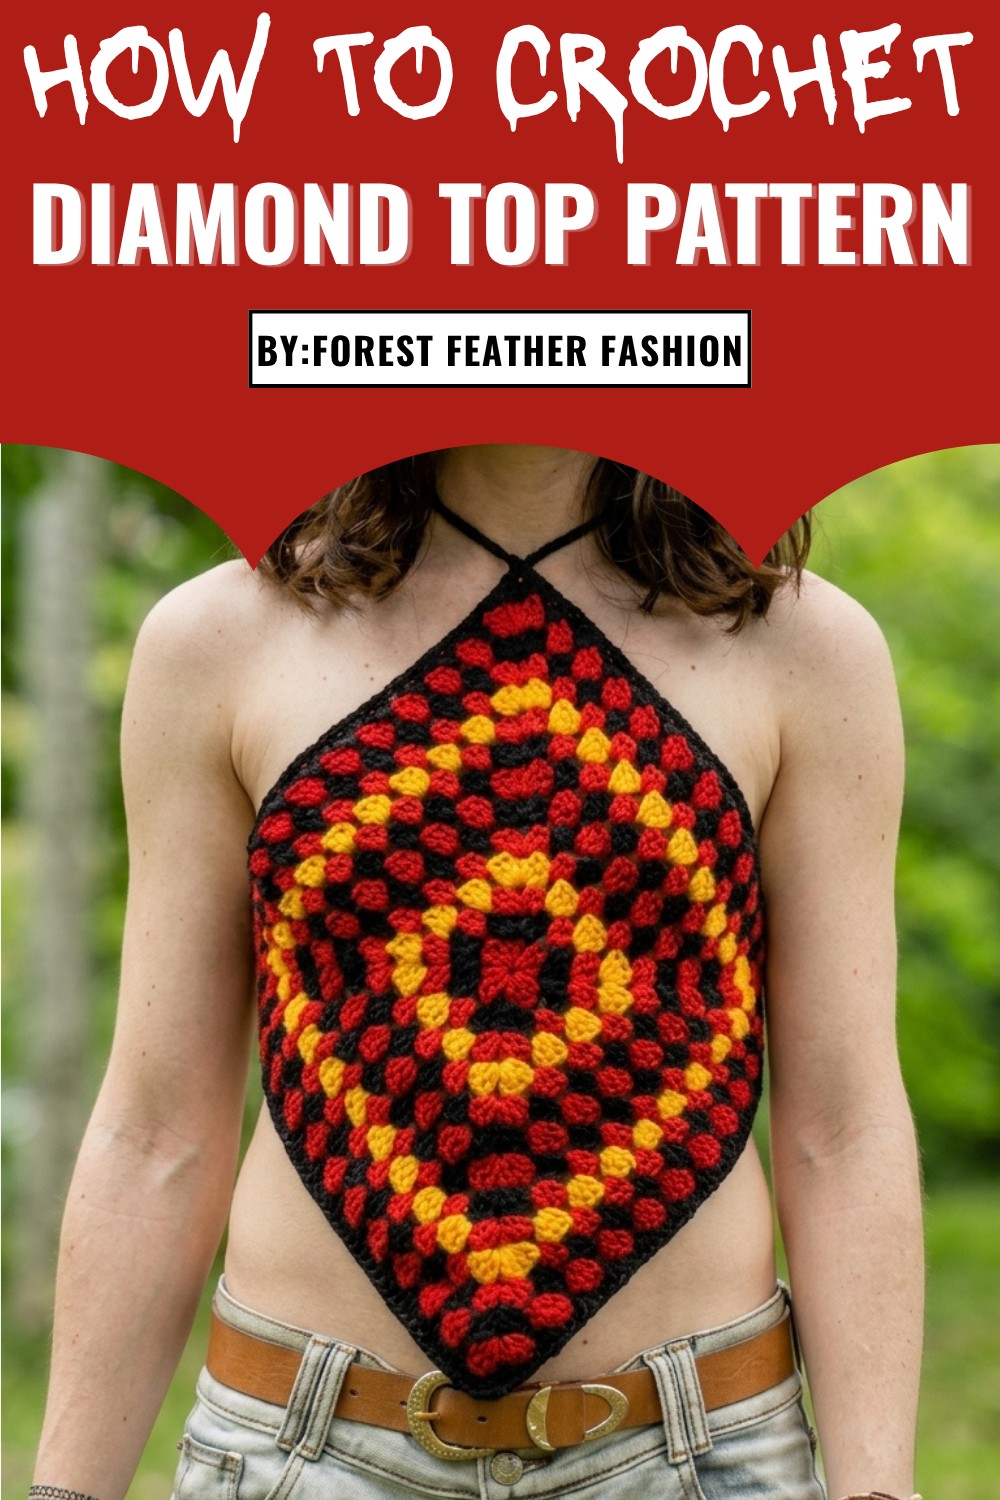
Adding a lining can make the top less sheer, giving it versatility for formal or outdoor events, while leaving it unlined ensures maximum breathability for hot weather. Aside from being stylish and functional, the pattern helps minimize yarn waste, using leftover colors creatively in a piece that’s both sustainable and trendy.
The pattern focuses on basic stitches, making it approachable for beginners while still being engaging for skilled crocheters. Its adjustable sizing ensures the perfect fit for all body types, turning this project into a rewarding experience. Simple yet stunning, it’s a go-to fashion piece that also makes for an unforgettable handmade gift.
Materials Required
- Yarn: Four colors of your choice (referred to as Yarn A, B, C, and D).
- Crochet Hook: 4 mm hook (or size to suit your yarn).
- Scissors: Sharp scissors for neat cuts.
- Optional: Scrap material for lining, thread (matching or contrasting), pins, and sewing tools.
- Blocking tools: Towels, pins, and either a spray bottle or steamer.
- Cup of tea: Optional for a relaxing crocheting session!
Pattern: Step-By-Step Instructions
Step 1: Foundation (Start with Yarn A)
- Make a Slip Knot: Place the loop on your hook and tighten slightly.
- Chain 4:
- Yarn over and pull through to make 4 chains.
- Insert your hook into the first chain, yarn over, and pull through to form a ring.
- Chain 3 (counts as your first double crochet).
- Work Clusters (Row 1):
- Yarn over, insert hook into the ring, pull through a loop, yarn over, pull through 2 loops, yarn over, pull through the last 2 loops (this forms one double crochet).
- Create 3 double crochets, then chain 2 (this forms a corner).
- Repeat 3 double crochets, chain 2 three more times.
- After your 4th cluster, chain 2 and slip stitch into the starting chain-3.
- Cut the yarn, pull it through, and secure with a knot.

2: Row 2 (Add Yarn B)
- Attach Yarn B to any corner space by tying a knot.
- Chain 3 (counts as first double crochet):
- Work 2 double crochets, chain 2, 3 double crochets into the same corner space (this forms a new corner).
- Move to the next corner space and repeat this pattern: 3 double crochets, chain 2, 3 double crochets.
- Continue around the square, slip stitch into the third chain of the starting chain, cut the yarn, and secure.
3: Row 3 (Add Yarn C)
- Attach Yarn C in any corner space and repeat the corner pattern:
- 3 double crochets, chain 2, 3 double crochets.
- For the additional spaces (side spaces) between corners, work 1 cluster of 3 double crochets in the gap.
- Continue this pattern of corners and side spaces, slip stitch into the starting chain, cut, and secure the yarn.

4: Rows 4–7 (Continue Alternating Colors)
- For Row 4 (Yarn D): Continue working corner clusters (3 double crochets, chain 2, 3 double crochets) and add side clusters in each gap around the square.
- From Row 5 onward: Alternate colors as per the pattern: Yarn A, B, C, D, back to C, B, and A.
- The tutor’s suggested sequence is: A, B, C, D -> C, B, A -> B, C, D, C.
- Continue building out the granny square until the desired size of the top is complete.
5: Adding Slip Stitch Border
- Choose the corner of your square to be the top of the diamond.
- Make a slip knot, insert hook in the corner space, yarn over, and pull through (this forms the first slip stitch).
- Work slip stitches along all four edges of the square for a neat border. Join the last slip stitch back to the starting corner space.

Step 6: Creating the Straps
- At the top corners of your diamond:
- Chain 150 (or adjust the length as desired for your straps).
- Make slip stitches back down the chain for a thicker, comfortable strap. Use the small "knobs" at the back of the chain to make the stitches easier and neater.
- Finish the first strap by making a slip stitch in its starting corner space.
- Repeat this process for the other top corner to create the second strap.
Step 7: Final Finishing (Adding a Lining and Blocking)
- Blocking (optional):
- Wet the crochet piece using a spray bottle or gently steam it.
- Pin the project onto a towel in the shape you desire (a square) and leave it to dry completely.
- Adding a Lining (optional):
- Place a square-cut piece of fabric behind the granny square. Choose scrap fabric in a matching or contrasting color to shine through.
- Pin the lining to the crochet piece and sew it on using a machine or by hand with a zigzag stitch or double seam.


Special Features
- Color Combinations: Endless possibilities to mix and match.
- Styling Versatility: Wear it as a summer top or layer it for casual outings.
- Customizable: Adjust the size and strap length easily.
Difficulty Level
This pattern is easy to intermediate, requiring only a basic knowledge of double crochets and slip stitches. Beginners can follow along as it’s repetitive and guided.
Tutor’s Suggestions
- Use bright, summery colors for a fun piece or go for neutral tones for an elegant look.
- Tie the straps securely at your back, allowing a crisscross pattern for added stability and style.
Uses
The Diamond Top is perfect as a casual summer wear, beach cover-up, or statement clothing piece with layering. It also makes for incredible handmade gifts for friends!
Pro Tip
When working straps, ensure the chain has a snug tension to avoid overly loose or sagging straps. Blocking the finished piece will give it a polished and professional shape.
Conclusion
Well done on completing your chic Crochet Diamond Top! Whether you lined it or kept it lightweight, this top is a statement of your creativity and skills. You’ve learned essential techniques like working with granny square clusters, creating straps, and adding a border.


Leave a Reply