

Let's make a cozy rib baby blanket with this easy-to-follow tutorial designed just for beginners! With straightforward steps, you'll quickly learn how to knit a soft, snuggly blanket that's perfect for little ones. Whether you're new to knitting or looking to practice your skills, this guide offers all the tips and tricks you need to start and complete a beautiful project. Grab your needles and yarn, and let's get started on this fun knitting adventure!
Knit Rib Baby Blanket Tutorial
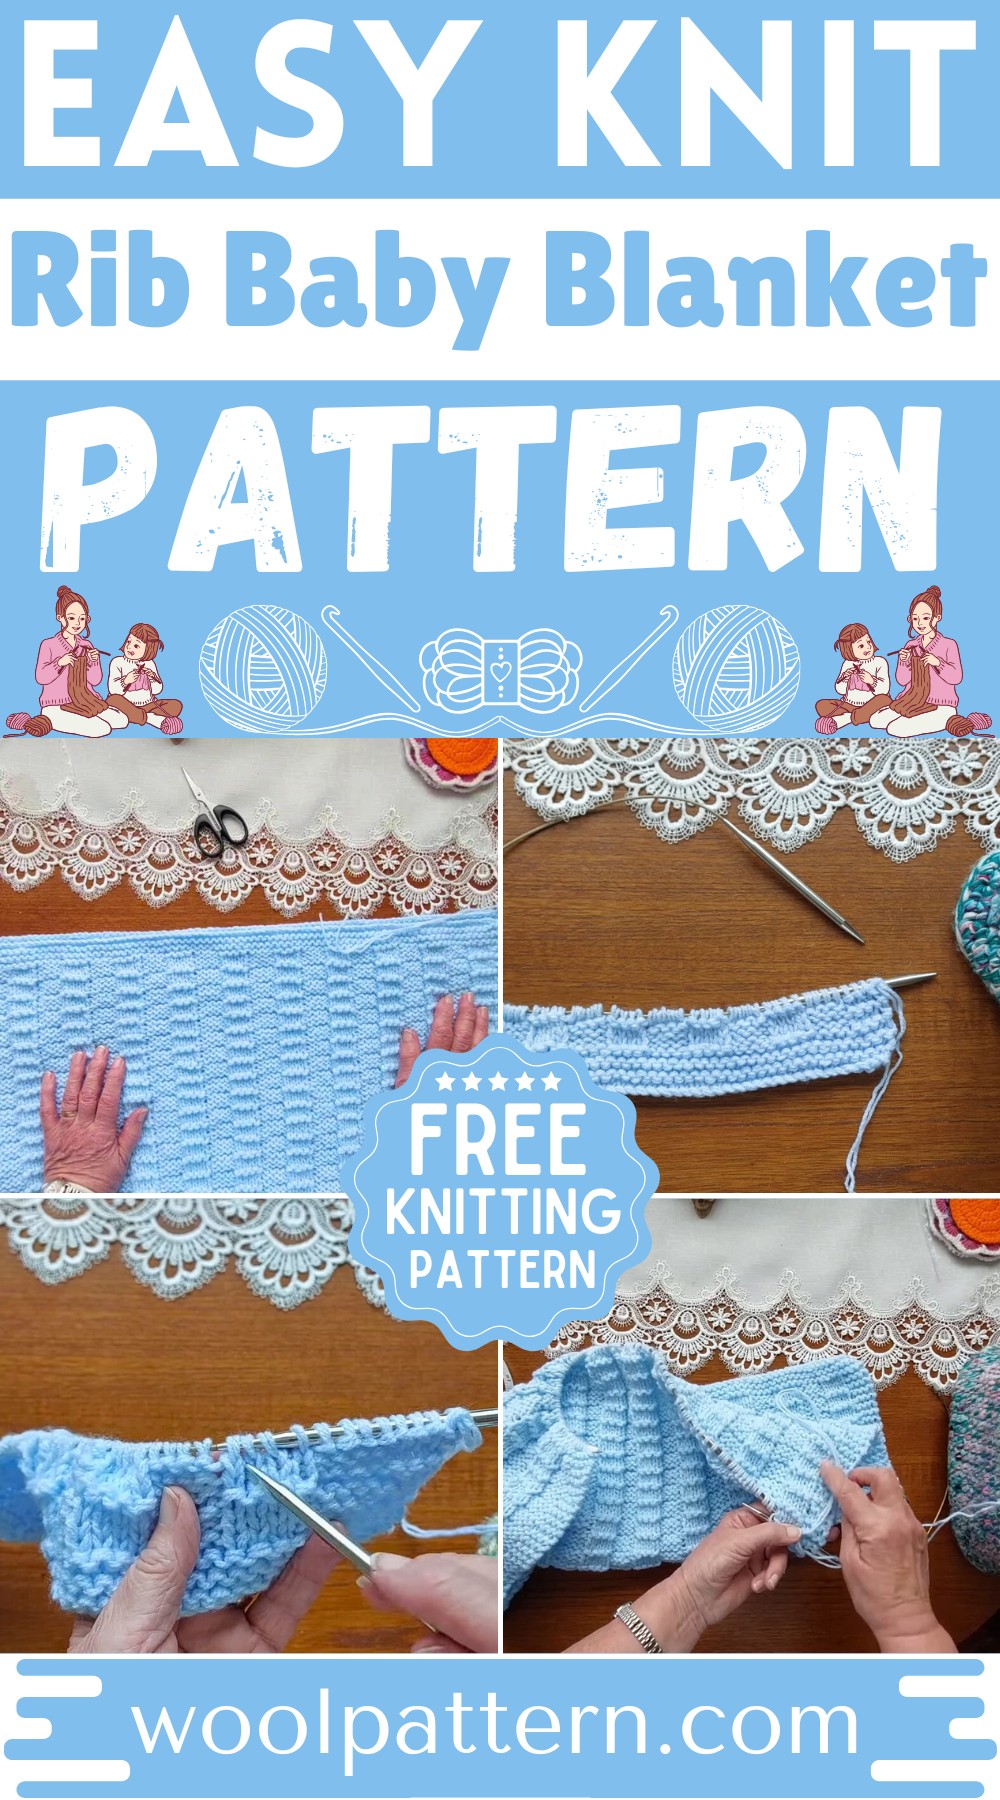
Materials Needed:
- Two strands of double knitting yarn to make a chunky weight
- 7 mm cable needles, 50 cm long
- Yarn used: Yarn Smith's Create Baby Double Knit (Color: Baby Blue), available from Wool Warehouse
Initial Setup:
- Cast on 96 stitches
- Knit the first six rows in Garter Stitch (every row is knit)
- The first four stitches and the last four stitches of the blanket will be in Garter Stitch, acting as the border.
Pattern:

- The first three rows of the pattern are the same.
Row 1, 2, 3: Knit 4, Purl 4; repeat to the end of the row. You'll always start and finish with a Knit 4 for the edges.
Row 4: This row creates the distinct pattern.
- Knit the first four stitches for the edge.
- Then, do the opposite of what you see: Knit over the purl stitches and Purl over the knit stitches.
- Continue this pattern across the row, ending with Knit 4 for the edge.

Repeating Pattern:
- Rows 1 to 3 establish the texture, and Row 4 shifts the texture to create the reversible effect.
- Repeat these four rows to create the body of the blanket until you reach your desired length. In the video, Sheila aims for 30 inches in depth.

Finishing the Blanket:
- Once you have reached the desired length (e.g., 30 inches), knit five rows in Garter Stitch.
- The sixth row will be your cast-off row, ensuring to cast off loosely for the proper finish.

Extra Tips:
- Sheila recommends leaving a long tail when joining a new ball of yarn and sewing in the ends along the sides for a neat finish.
- The blanket's edge should be loose with plenty of stretches, especially at the cast-off edge, so it matches the flexibility of the rest of the blanket.

There isn't a specific row count given for the total length—she mentions knitting until the blanket measures 30 inches in length before finishing with the six garter stitch rows.


Leave a Reply