

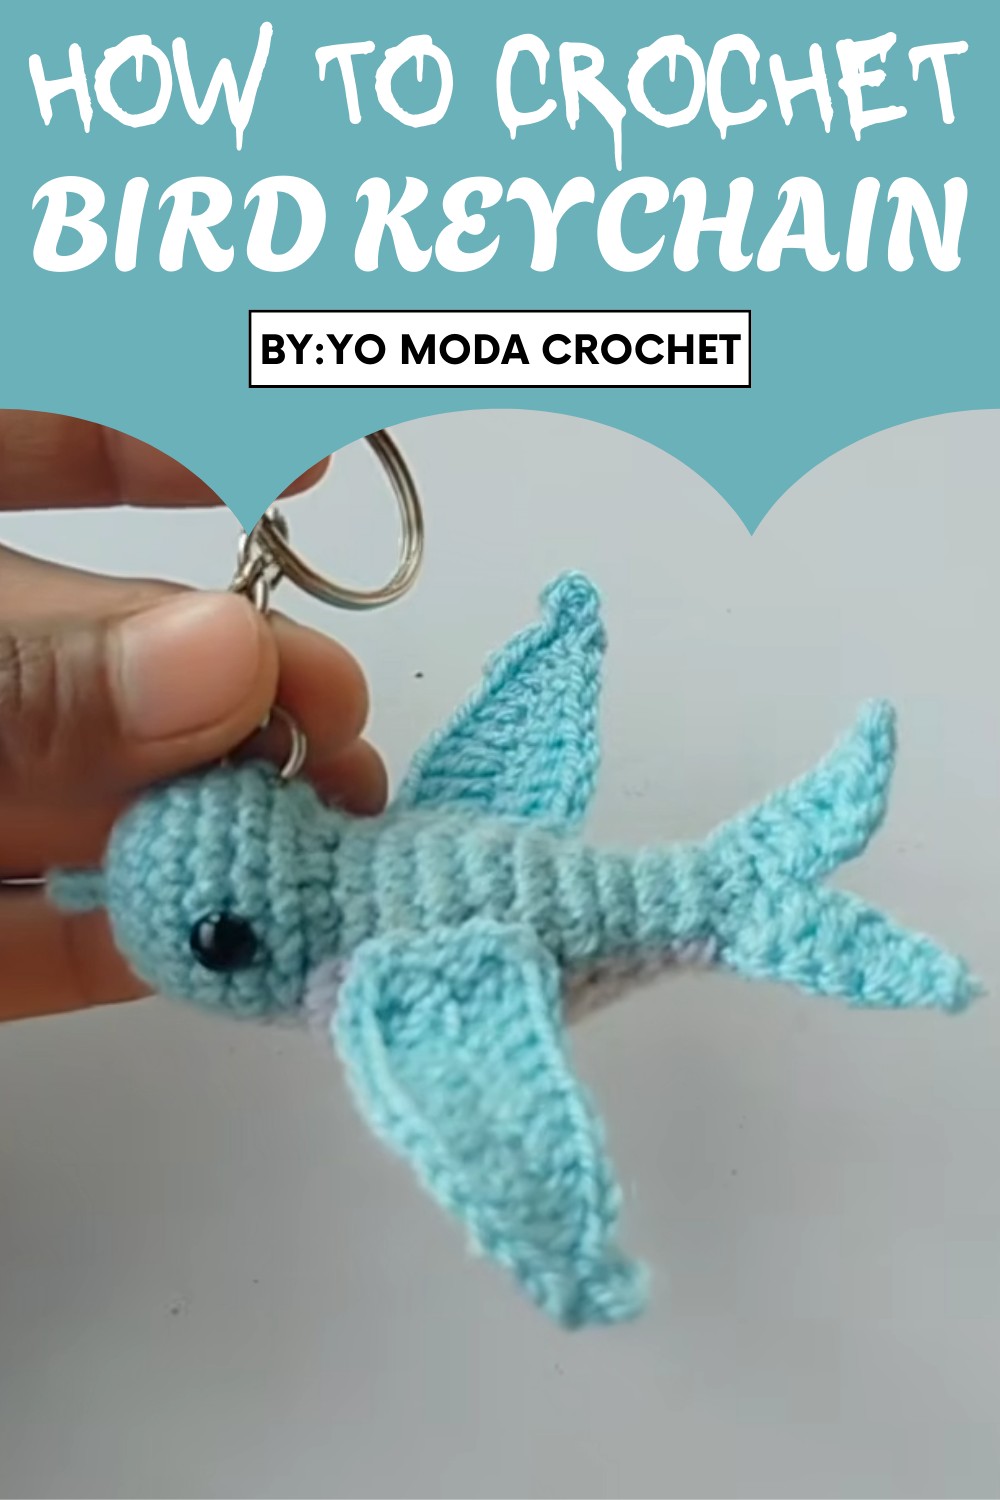
Bring a cheerful feathered friend to life with this Crochet Bird Keychain Pattern for bags and keys and enjoy a cute playful touch every day.
Don’t think a small keychain can’t bring big happiness. A tiny, colorful bird can lift anyone’s mood instantly. Soft and gentle, the Crochet Bird Keychain pattern shows how to make a little feathered friend that fits right in your palm. Its round body, tiny wings, and small beak give it a sweet and playful look that everyone notices. You can choose bright colors like red, yellow, blue, or green, or even mix shades for a cheerful touch.
Whimsical Crochet Bird Keychain Pattern Cute Locker Decoration
This little bird can hang on your keys, school bag, purse, backpack, or car, making everyday things more joyful. It also works as a thoughtful gift for friends, children, or family, showing care in a simple way. The charm of this tiny bird lies in its soft texture and simple design, making it loved by all ages. It is more than a keychain; it’s a little bundle of happiness to carry everywhere.

Materials List
-
Yarn: 3-ply wool (or similar weight yarn) in Blue, White, and a small amount of Yellow (for the beak).
-
Hook Size: 2.5 mm crochet hook.
-
Safety Eyes: Small black beads or safety eyes.
-
Stuffing: Fiberfill (Amigurumi stuffing).
-
Tools: Yarn needle, scissors, and a keychain ring.
Key Abbreviations
-
ch: Chain
-
sc: Single crochet
-
hdc: Half double crochet
-
dc: Double crochet
-
inc: Increase (2 sc in the same stitch)
-
dec: Decrease (join 2 sc into one)
-
sl st: Slip stitch
-
st(s): Stitch(es)
Detailed Crochet Pattern
Body & Head (Start with Blue)
-
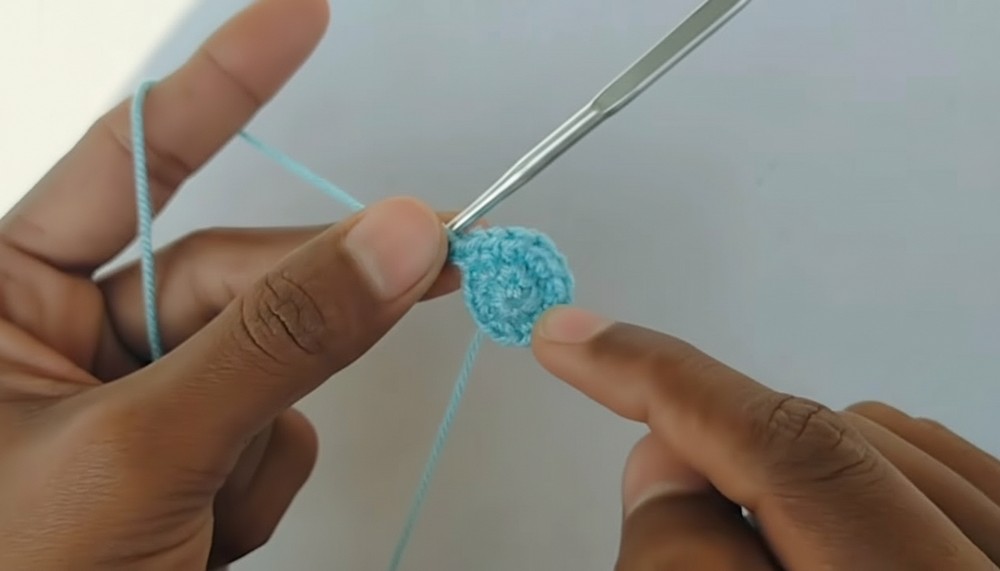
Round 1: Create a magic ring. Work 6 sc into the ring. Pull tight to close [00:22].
-
Round 2: inc in every st around (12 sts) [00:57].
-
Round 3: 1 sc, inc repeat 6 times (18 sts) [01:12].
-
Round 4: 1 sc in every st around (18 sts) [01:32].
-
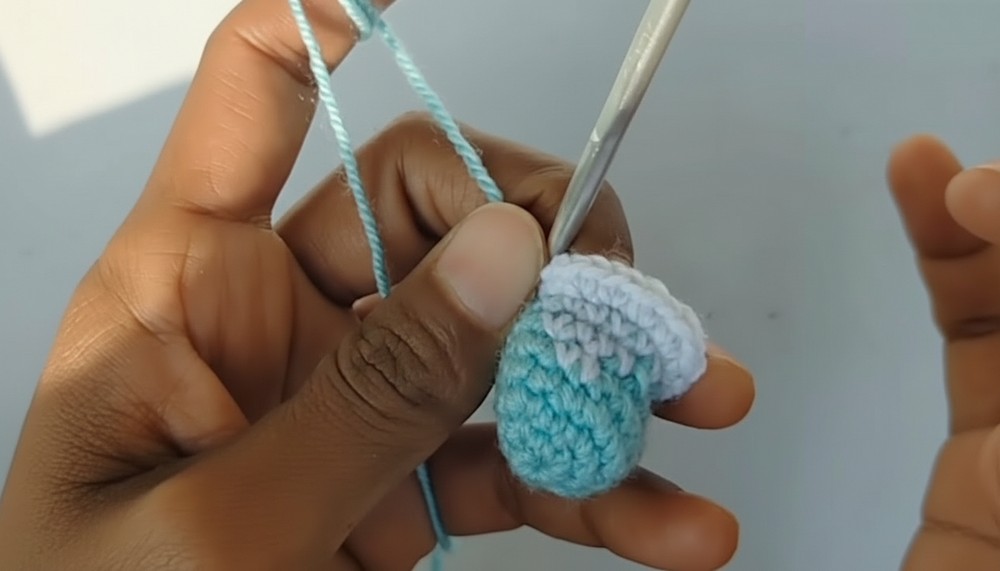
Round 5 (Color Change): Begin the round with White. Work 2 sc in White. Change to Blue. Work 15 sc in Blue. Join back to White at the end of the round [01:52].
-
Round 6: 3 sc in White, then 14 sc in Blue, 1 sc in White [02:53].
-
Round 7: Increase the White section to 4 sc, continue with Blue for the remainder of the round [03:16].
-
Round 8 (Shaping): Increase 8 sts across the White section to broaden the chest [03:28].
-
Round 9–12: Maintain color sections (White over White, Blue over Blue). Work 4 rounds of even sc around [05:42].
-
Round 13 (Decreasing): 1 sc, dec repeat 7 times across the round while maintaining color positions [06:47].
-
Round 14: 1 sc in every st around (approx. 14-16 sts depending on color shifts) [08:08].
-
Round 15–16: Adjust colors so you have 8 sts in Blue and 8 sts in White to center the belly [08:57].
-
Round 17: 1 sc, dec repeat 4 times across the round [09:40].
-
Round 18–19: 1 sc in every st (10 sts total) [10:05].
Finishing the Body
-
Stuffing: Stuff the bird firmly with fiberfill [10:44].
-
Closing: Flatten the end of the body and sc through both layers (5 sc total) to seal the tail end [10:53].

Tail Feathers
-
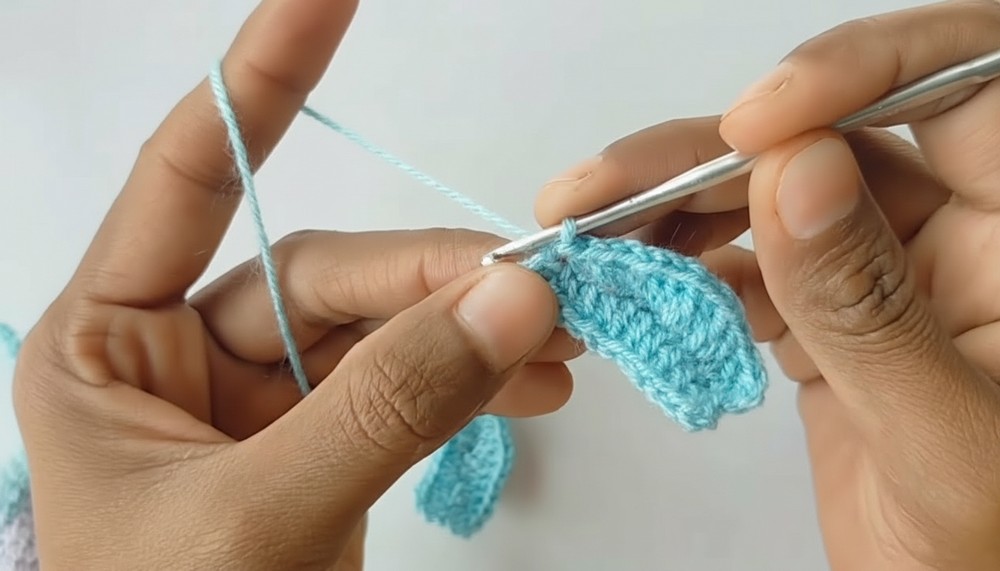
Feather 1: Ch 7. Skip 2, sl st in 3rd ch. 1 hdc in next, 3 dc in next. Skip one st on body, sl st into body [11:36].
-
Feather 2: Repeat the same sequence (Ch 7, skip 2, sl st, hdc, 3 dc) and sl st into the last body st. Fasten off [12:12].
Wings (Make 1 Right, 1 Left)
-
Right Wing: Ch 13. Skip 3, sl st in 4th. 1 sc, 2 hdc, 6 dc. Ch 2, sl st in same st. Rotate to work other side: 2 dc, 1 dc, 2 dc, 1 dc, 2 hdc, 1 hdc, 1 sc, 2 sl st. Fasten off [13:04].
-
Left Wing: Similar to right but mirrored in stitch placement to ensure the "good side" of the stitches faces outward on both sides of the bird [16:04].
Final Touches
-
Assembly: Glue or sew the wings to the sides of the body where the Blue and White colors meet [18:24].
-
Details: Embroider a small Yellow beak using a few horizontal stitches. Attach safety eyes or beads near the top of the White head section.
Pattern Correction & Tips
-
Tip: When changing colors, always complete the last pull-through of the previous stitch with the new color to ensure a clean line [01:58].
-
Pattern Correction: The video mentions "8 increases" in Round 8; ensure these are spaced evenly across the White section to prevent the fabric from puckering.
-
Tension: Keep a tight tension, especially during the decrease rounds, to prevent the stuffing from showing through the stitches.
Conclusion
This pattern results in a sturdy, professional-looking amigurumi bird. By using a 2.5 mm hook with 3-ply yarn, the stitches remain dense enough to hold shape while allowing for the delicate detail of the wings and tail. It is a perfect quick project for experienced crafters looking to practice color-work in the round.


Leave a Reply