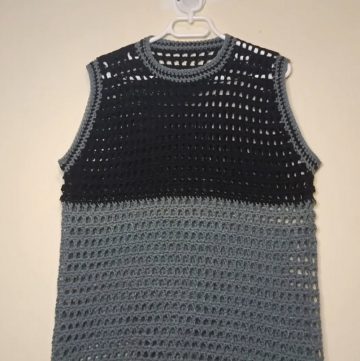
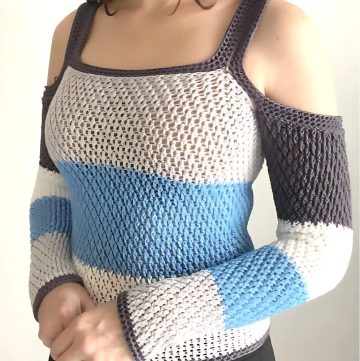
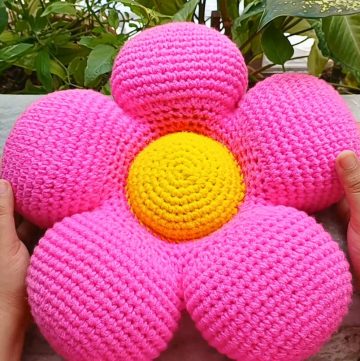
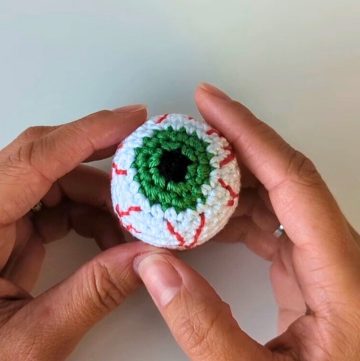
Make a charming crochet baby vest with our easy-to-follow pattern. Ideal for beginners and seasoned crocheters alike, these patterns allow you to make a unique and comfortable vest that any baby would look adorable in. Choose from a variety of designs and yarn colors to customize the vest for a special gift or for your own little one.
Crochet Baby Vest With Side Laces

Materials Required:
- Alize Baby nutritional floss in different colors (as mentioned: brown color code 20056, etc.)
- Crochet hook size 2.5 mm
- Scissors
Step-by-Step Process:

Starting the Motif:
- Begin with brown yarn.
- Chain 4 and then make a slip stitch in the first chain to form a ring.
- Chain 1, then make 12 double crochets in the ring.
- Slip stitch in the first double crochet to close the circle.
Switching Colors:
- Attach yellow yarn with a slip stitch.
- Chain 1, then make 24 single crochets, placing them evenly around the circle.
- This part sets up for creating petals or small flowers.

Creating the Flower Motif:
- For every pattern around, you’ll create small petals:
- Chain 6, skip a few stitches and single crochet in the next stitch; repeat around.
- This forms the foundational loops on which you will work to create the flower pedals.
Linking Flowers:
- Join motifs by assembling flower petals. Bind the motifs by crocheting along the edges using single crochets.

Assembling the Vest:
- Layout the motifs in the desired shape of the vest. Start assembling from the bottom right corner and work upwards.
- Use chains to connect motifs: typically, chain 3 between each motif.
Building the Structure:
- After laying out the lower section, continue to build up the back piece using similar motifs and connecting patterns.
Additional Details:
- Throughout the pattern, make sure to keep the symmetry and alignment in check to ensure that the vest looks even.
- Integrate single crochets and false handrails for design enhancements.

Completing the Edges:
- For the edges and the armholes, use single crochet stitches to create a neat finish.
- You can add additional rows or frills based on the desired size and design preferences.
Finishing Touches:
- Cut and weave in all loose ends to secure the work.
- Optionally add additional features such as buttons or ties based on the design.
https://youtu.be/GYLkj0rQKWQ


Leave a Reply