

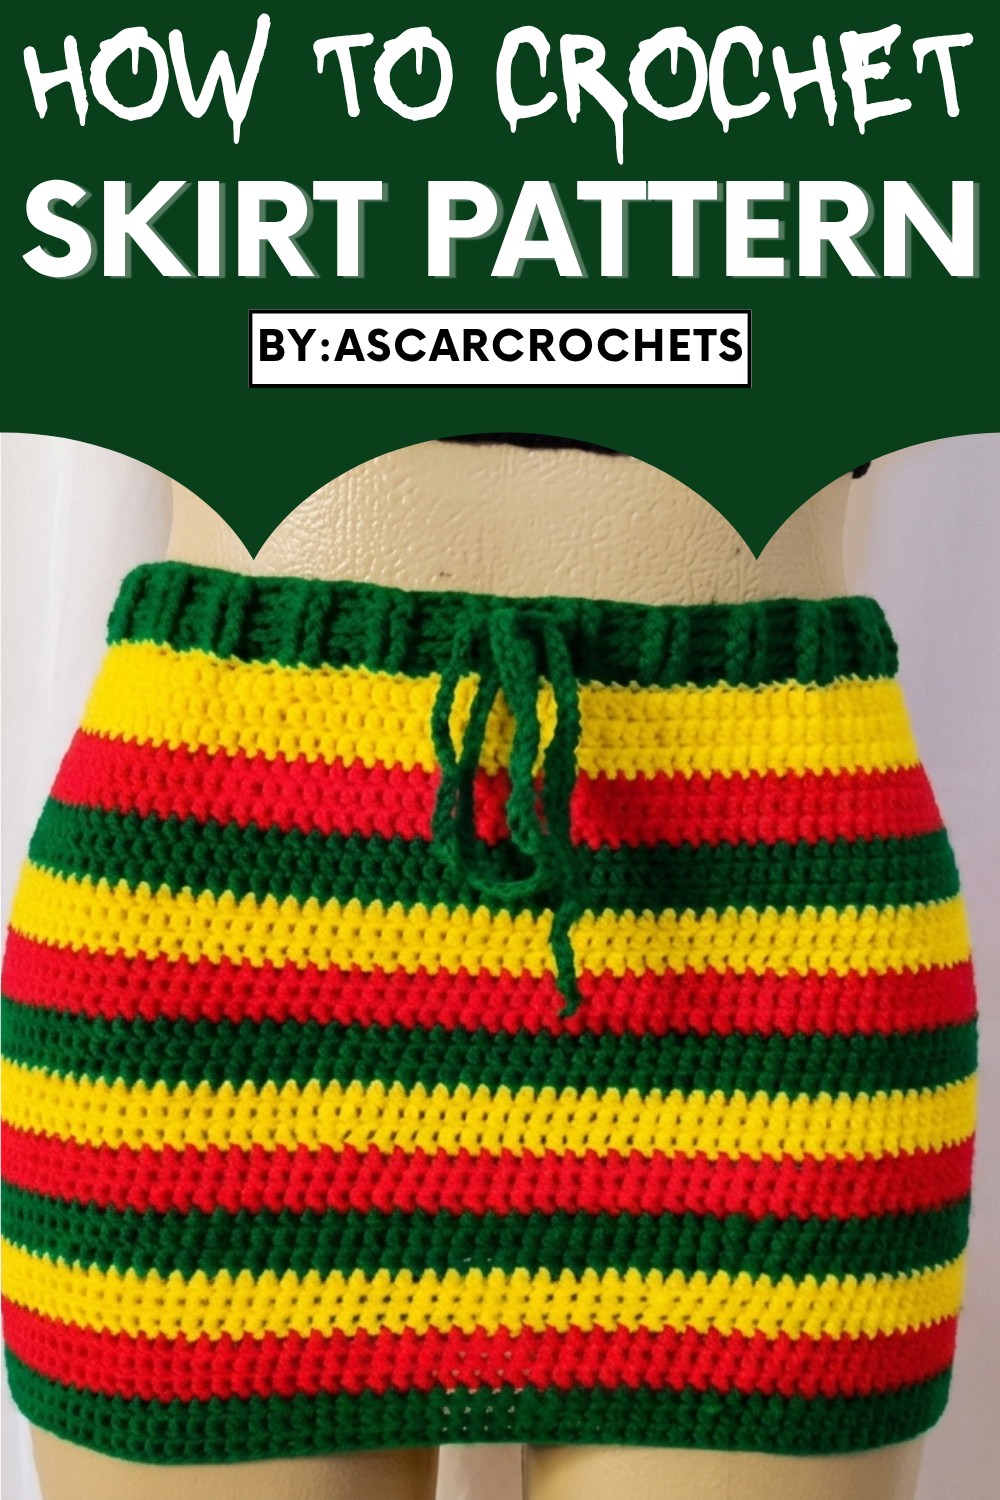
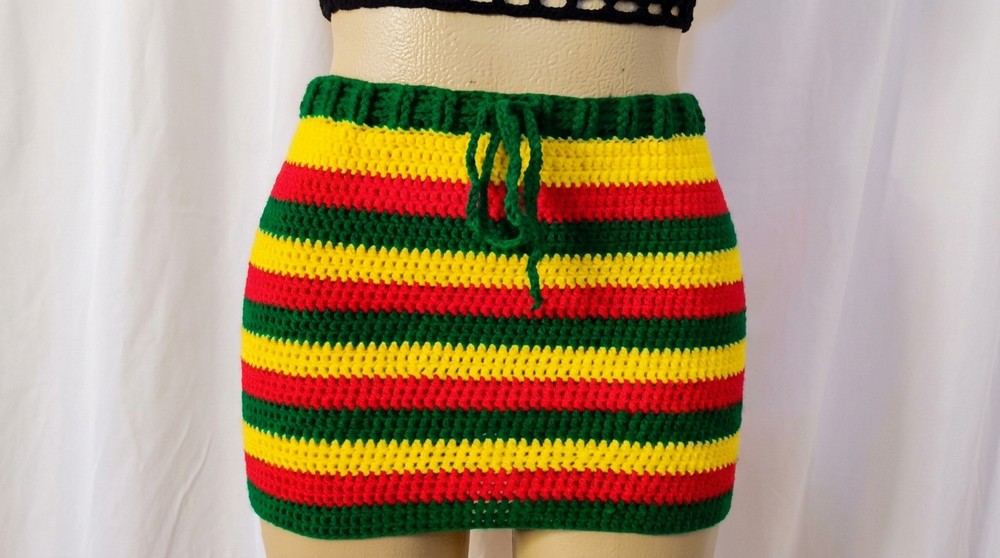
Stunning Handmade Crochet Skirt Pattern with Ease
Crocheting your own clothing not only lets you express creativity but also promotes sustainability and affordability compared to store-bought fashion. Its adjustable waistband—featuring a drawstring—ensures maximum comfort while adapting to your body for the perfect fit. Lightweight yarn keeps the pattern breathable, allowing you to wear it comfortably during the warmer seasons, and it pairs beautifully with matching tops or serves as the centerpiece of layered outfits.
This easy yet rewarding crochet project turns yarn into a practical, beautiful piece that holds both style and meaning. Whether you’re expanding your handmade skills or refreshing your wardrobe, the versatility of this skirt pattern makes it an accessory you’ll reach for again and again.
Special Features of the Pattern:
- Beginner-friendly: Designed for those new to crocheting.
- Custom-fit: Adjust chains to fit your hip measurement and choose your preferred length.
- Versatile Colors: Created with Rastafarian colors, but works beautifully with any yarn color combination.
- Decreased Rows: Subtle decreases near the hem for shape and elegance.
- Matching Waistband Drawstring: Provides a comfortable fit and adjustable finishing.
Materials You’ll Need:
- 3.5 mm crochet hook
- Tape measure (for measuring hips and desired skirt length)
- Darning (or yarn) needle (to weave in loose ends)
- Scissors
- Lightweight/Fingering Weight Yarn (recommended as medium weight yarn)
- Rastafarian colors used: Yellow, Red, Green (adjust strands if using lightweight yarn).
Step-by-Step Crochet Skirt Pattern:
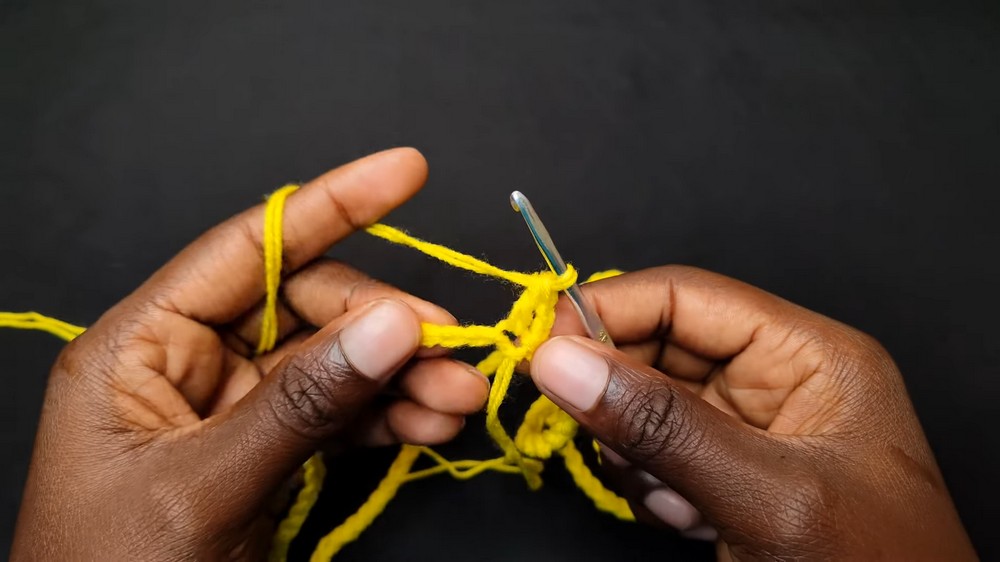
Step 1: Preparing Base Chains
- Take your hip measurements and create chains that will stretch slightly to fit your hip circumference. Avoid making the chains too tight.
- Example measurement: Unstretched chain = 30 inches, Stretched chain = 36 inches.
- Use a slip knot to begin chains, measure them for accuracy, and adjust as needed.
- Join your chains into a circle by slip stitching into the first chain. Ensure the chains are not twisted.
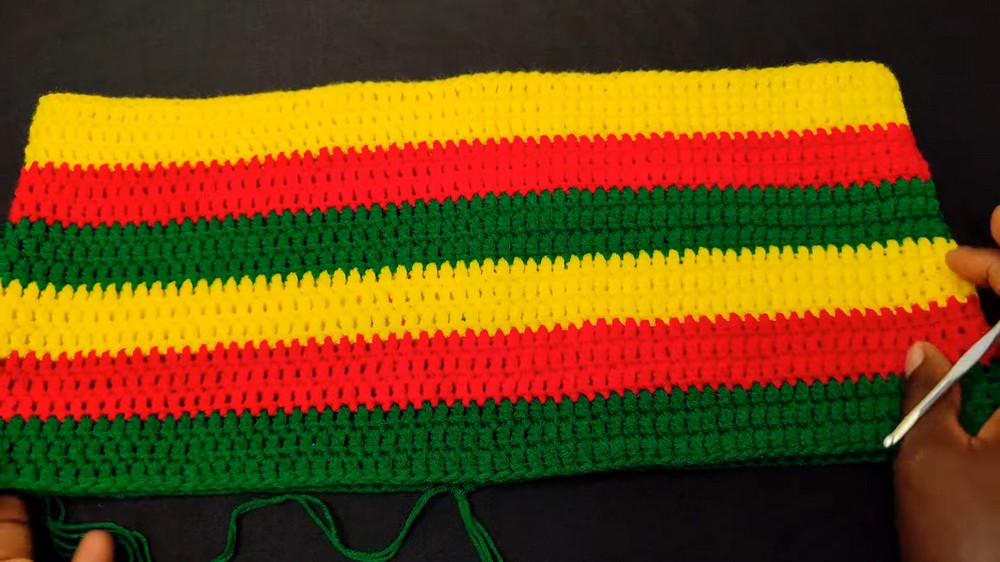
2: Making the Base Rows
- Row 1:
- Chain 2.
- Perform Double Crochets (DC) into each chain around.
- Join the row with a slip stitch to the first DC.
- Row 2 and Row 3:
- Chain 2.
- Place 1 DC into each stitch for these rows.
- Maintain consistency and join each round with a slip stitch.
- Switch to the next color: After completing 3 rows in yellow, introduce the red color using a slip stitch. Cut the previous color and start with the new one.
3: Following the Color Pattern
- Alternate colors as follows:
- Yellow (3 rows) -> Red (3 rows) -> Green (3 rows).
- Repeat this until you have a total of 18 rows, ending on green.
4: Adding Subtle Decreases (Optional)
- Row with Decreases:
- After completing 18 rows, start decreasing to shape the skirt. Use this method:
- For every 5 DCs, create 1 Decrease: Yarn over, insert hook into the next stitch, pull up a loop, go to the next stitch, pull up another loop, yarn over and pull through 3 loops, yarn over and pull through 2 loops.
- Alternate placement of decreases for a random and seamless appearance.
- After completing 18 rows, start decreasing to shape the skirt. Use this method:
- Non-Decrease Rows:
- Follow the color sequence (Yellow, Red, Green). Only decrease on the first row of each color group (Yellow, Red, Green once each). The remaining rows within the set should be regular DC rows.
- After completing decreased rows, finish with rows without decreases for a balanced look.

5: Complete Skirt Length
- Work until the skirt measures your desired length (e.g., 14 inches).
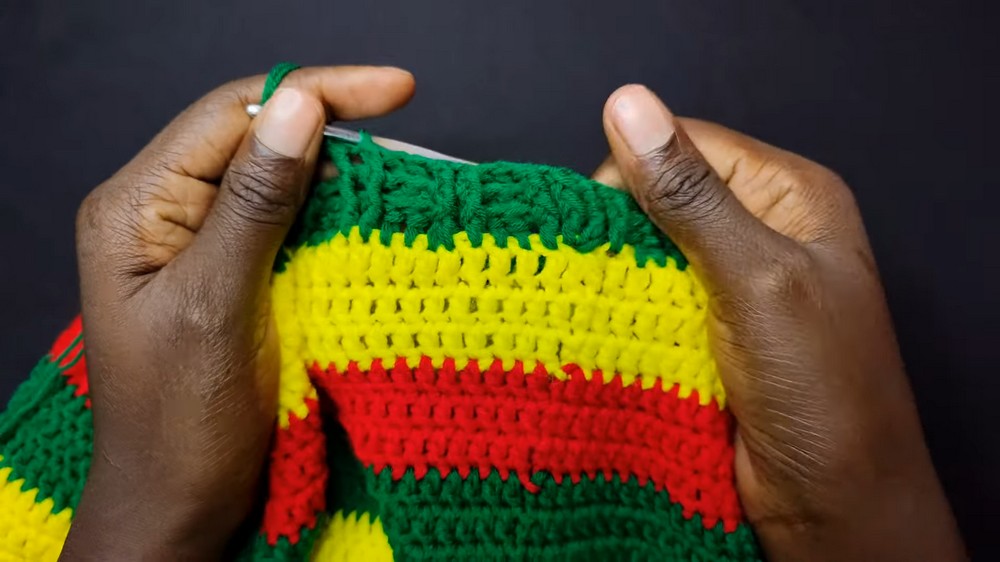
6: Creating the Waistband
- Attach the yarn (ideal starting point: joining area of the skirt).
- Row 1:
- Chain 3.
- Perform Front Post Double Crochets (FPDC) into the first two stitches, followed by Back Post Double Crochets (BPDC) into the next two stitches.
- Repeat FPDC and BPDC across the row.
- Rows 2-4:
- Maintain the pattern: FPDC where you previously made FPDC, BPDC where you made BPDC.
- Ensure it’s snug around the waistband.
- Once completed, chain 1 and cut the yarn.
Step 7: Adding the Drawstring
To create the adjustable waistband string:
- Make a chain of 200 chains (or adjust for length).
- Weave the drawstring into the front post stitches of the third row of the waistband.
- Fasten and secure the ends.
Tutor Suggestions:
- If you prefer a loosely-fitting skirt, avoid the decreases altogether.
- To experiment with textures, alternate yarn types and weights for a unique design.
- For larger sizes, increase rows or use thicker yarn for better body coverage.
Uses:
- Ideal for casual outings or festive occasions.
- Works perfectly paired with a hand-crocheted top for a coordinated look.
- Lightweight material makes it suitable for everyday wear.
Tip:
When switching colors, weave in loose ends as you go—this reduces finishing time and gives your skirt a polished, professional appearance.
Conclusion:
This easy-to-crochet skirt is a perfect project for beginners and seasoned crochet enthusiasts alike. With its simple stitches, adjustable size, and vibrant color options, you can crochet a custom skirt tailored to your style. Pair it with its matching top and step out in confidence!


Leave a Reply