

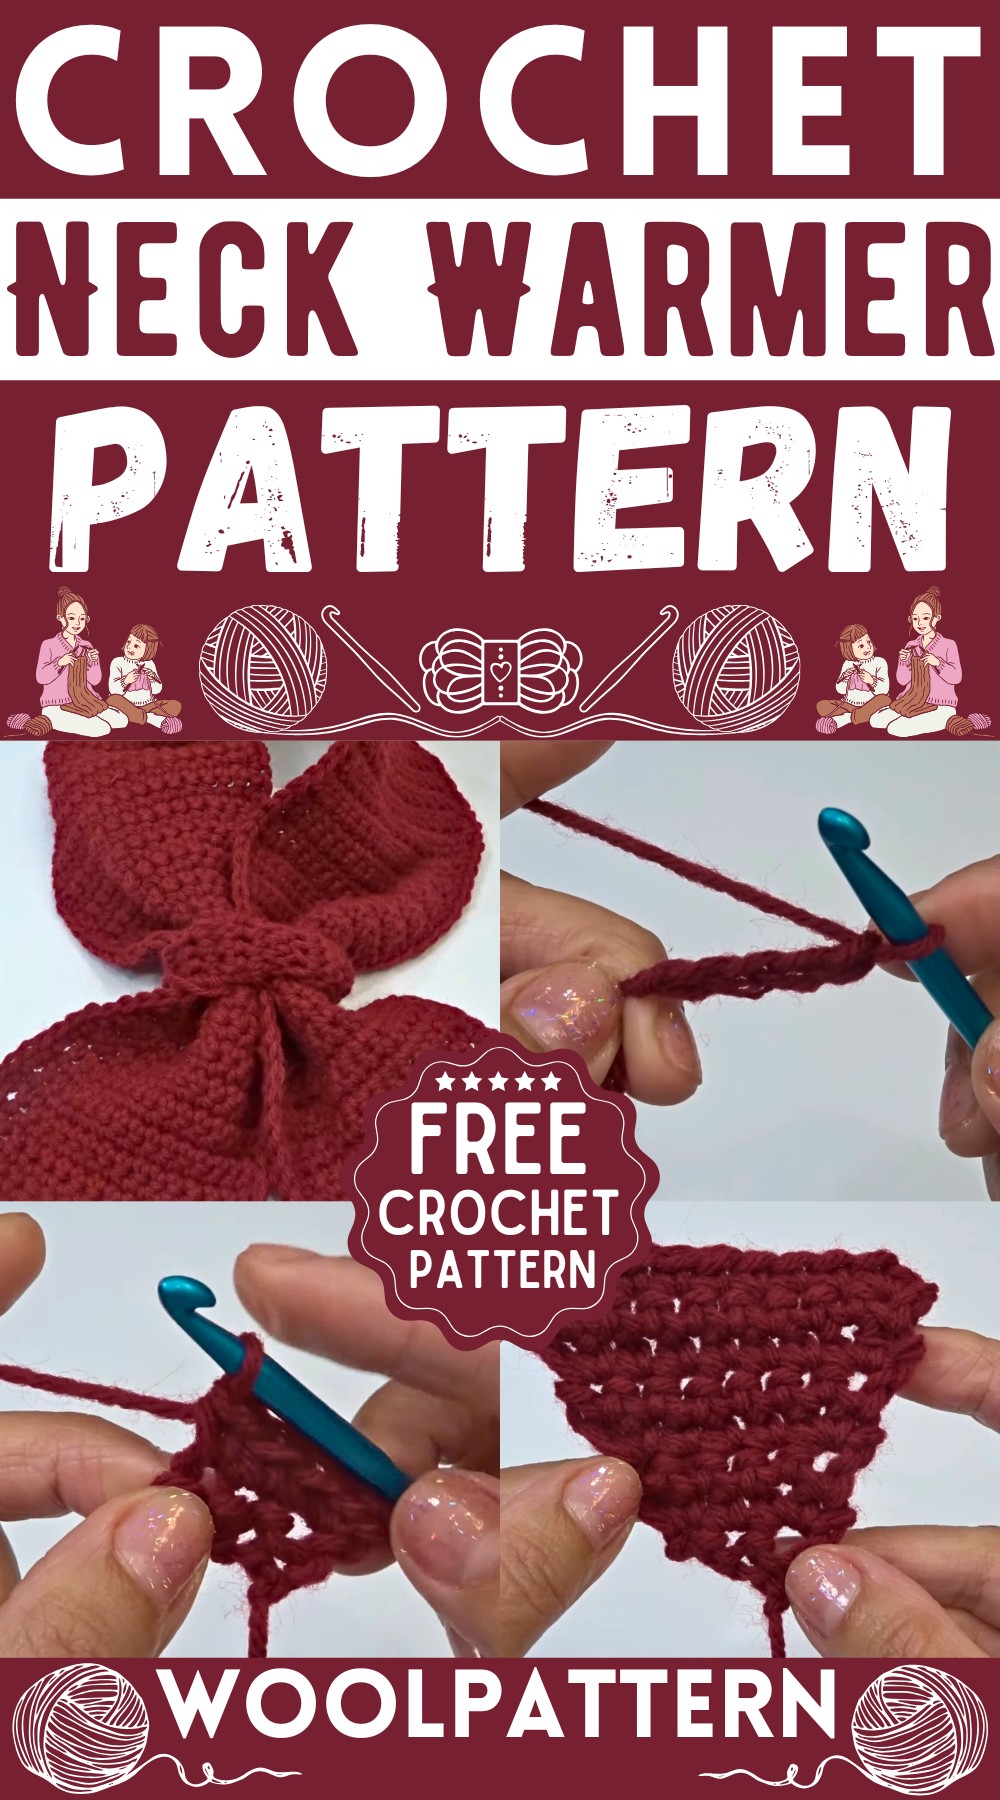
Picture yourself cozying up with a crochet short scarf and neck warmer, the perfect accessory for those brisk mornings or chilly evenings. This little project is not just about keeping warm; it's a fun and easy way to add a touch of personal style to your wardrobe. With a few simple stitches and a splash of color, you can whip up something truly special.
Crochet Short Scarf & Neck Warmer
Materials Needed:
- Red Heart Super Saver yarn (No. 4 medium weight yarn, color: Burgundy)
- 5.5 mm crochet hook
Pattern Instructions:
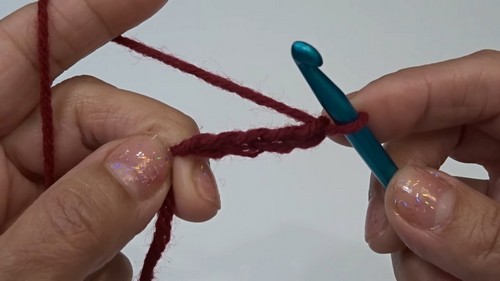
Foundation and Increase Section:
- Start with a slip knot, then chain 4.
- In the second chain from hook, work 1 single crochet (sc).
- Work 1 sc into each of the next two chains. You should have a total of 3 sc at the end of Row 1.
- Chain 1, turn your work, work 2 sc in the first stitch (st), 1 sc in the next st, then 2 sc in the last st. You should have 5 sc at the end of Row 2.
- Chain 1, turn your work, work 1 sc in each st across. Repeat this for Row 3 for a total of 5 sc.
- Repeat the process of chain 1, turn, work 2 sc in first st, 1 sc in each st until the second to last st, then 2 sc in the last st for all even rows.
- Work 1 sc in each st across for all odd rows until you reach Row 14 with a total of 17 sc.

Main Body:
- For Rows 15 to 130, chain 1, turn your work, and crochet 1 sc in each st across. Each row should have 17 sc. Adjust the number of rows to reach the desired scarf length.

Decrease Section:
- For Row 131, chain 1, turn your work, then work a decrease over the first 2 sts (insert hook into first st, bring up a loop, go to next st, bring up a loop, yarn over, pull through all 3 loops on hook), 1 sc in each st until the last 2 sts, then work a decrease over the last 2 sts. You should have 15 sc at the end of the row.
- Chain 1, turn your work, and work 1 sc in each st across for the next row.
- For the following rows, continue the pattern of working a row with decreases at both ends, followed by a row of 1 sc in each st, reducing the stitch count by 2 in every decrease row until you have 3 sc left.
Finishing the Point:
- To make the point a bit sharper, chain 1, turn your work, and work a decrease, then 1 sc. You should have 2 sts left.

Border:
- Chain 1, turn your work, work 1 sc in each st around the entire perimeter of the scarf, trying to space your scs evenly.
Tie Band:
- Start with a slip knot, then chain 6.
- Do 1 sc in the second chain from the hook and 1 sc in each chain across for a total of 5 sc.
- For Rows 2 to 19, turn your work without chaining and work 1 sc in each st across.
- Once you have completed 19 rows, join the short ends of the band with slip stitches to form a loop.

Assembling the Scarf:
- Thread the tie band onto the scarf without sewing it down to allow for adjustability. You can wear the scarf by passing the ends through the tie band to secure it around your neck.
Note on Finishing:
- You should have three yarn tails that need to be woven in securely to finish your scarf.


Leave a Reply