

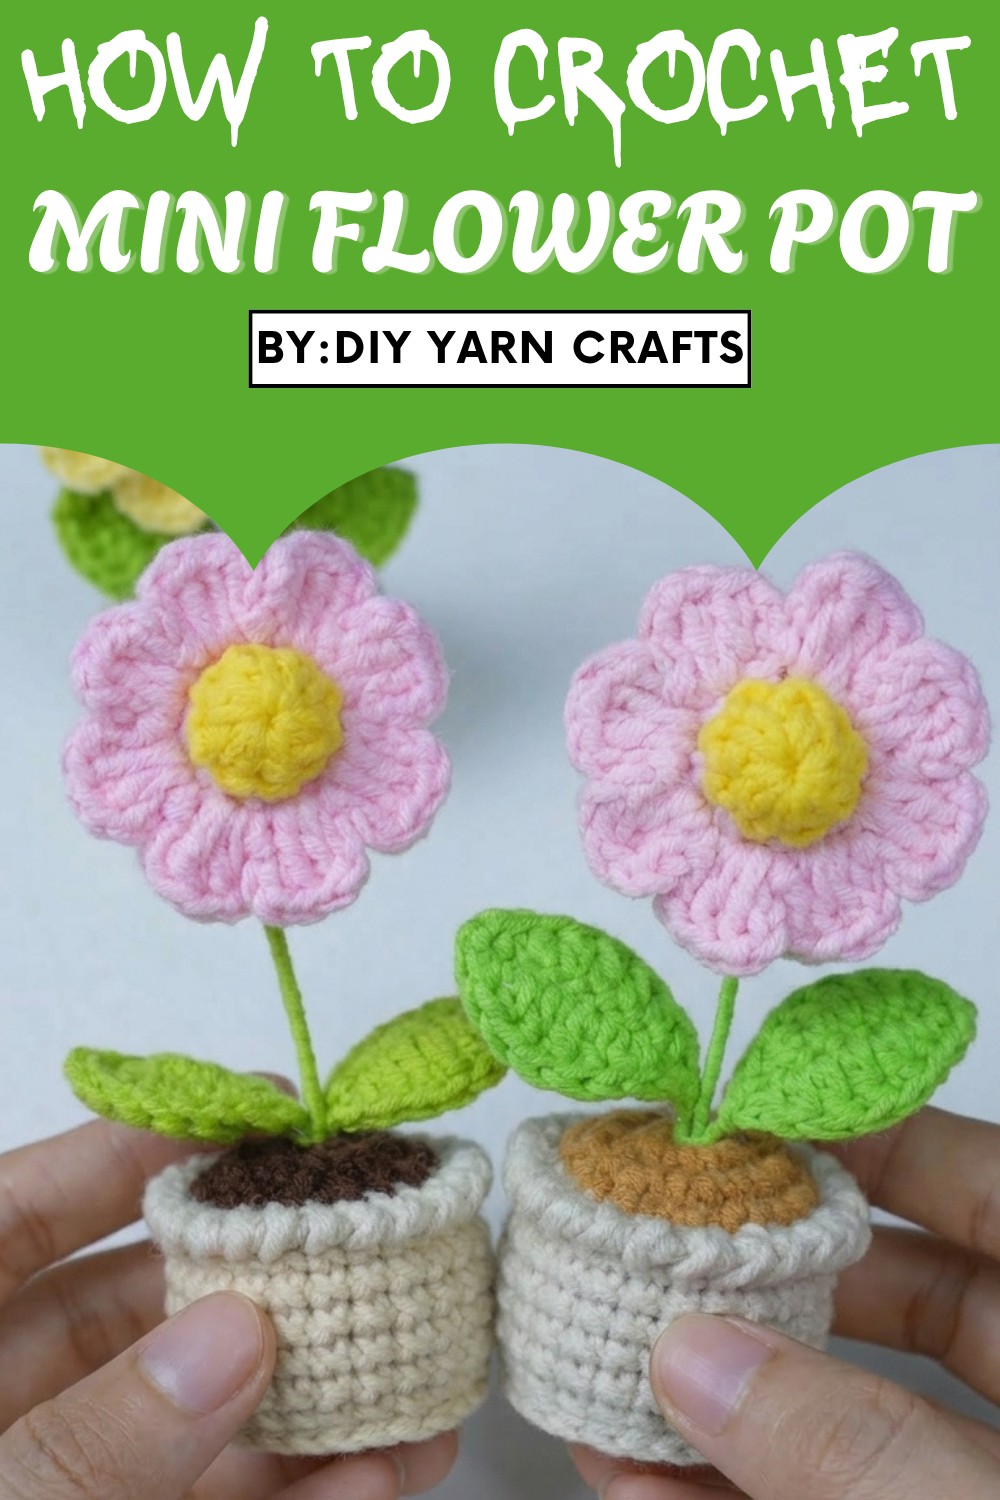
Charming Crochet Mini Flower Pot Pattern for Your Home
Beyond aesthetics, this project provides an enjoyable way to hone your crochet skills with techniques like magic rings, single crochet, and crab stitches. The incorporation of wire gives the stems and leaves a lifelike structure, while the soft yarn adds warmth to the overall design. Thoughtful gifting is effortless with this project, as it suits any occasion—be it birthdays, housewarmings, or simply a kind gesture.
Moreover, the pattern allows for endless customization; you can switch up yarn colors, mix textures, or adjust sizes to match your personal style. Whether you’re a beginner testing your skills or an experienced crocheter seeking a quick project, this pattern combines relaxation and productivity in one. Add a handmade spark of greenery wherever it’s needed, and enjoy the satisfaction of turning simple materials into something extraordinary.

Special Features
- Includes intricate flower petals, stem, leaves, and a realistic pot.
- Combines crochet with wired elements for added structure.
- Beginner-friendly and adaptable to various yarn colors and styles.
- A perfect handmade gift or decorative accent!
Level of Difficulty: Beginner to Intermediate
Materials Needed
- Yarn: Susan Family 5 (choose colors for flower, leaves, soil, and pot).
- 2.5 mm crochet hook.
- 1 mm thick wire (for stem).
- 0.5 mm thick wire (for leaves).
- Hot glue gun.
- Fiberfill stuffing.
- Scissors, darning needle, and stitch markers.
Step-by-Step Pattern
Part 1: Stamen
- Start with a Magic Ring:
- Make a magic ring, chain 1, and add one more chain (total 2 chains).
- Round 1:
- Make 8 half double crochets (hdc) into the magic ring.
- To make an hdc: Yarn over, insert hook into ring, yarn over, and pull through. Yarn over again and pull through all 3 loops on your hook.
- Pull the yarn to close the ring tightly.
- Insert your hook into the first stitch and make a slip stitch (sl st) to finish the round.
- Chain 1 and mark the first stitch.
- Make 8 half double crochets (hdc) into the magic ring.
- Round 2:
- Make 1 single crochet (sc) in each stitch around (8 sc total).
- Skip any leftover stitches and slip stitch into the first stitch to close the round.
- Chain 1, fasten off, and cut the yarn.
2: Sepal
- Start with a Magic Ring:
- Make a magic ring and chain 1.
- Make 8 half double crochets (hdc) into the ring.
- Pull the yarn tightly to close the ring.
- Fasten Off:
- Slip stitch into the first stitch to finish.
- Leave a long tail for sewing.

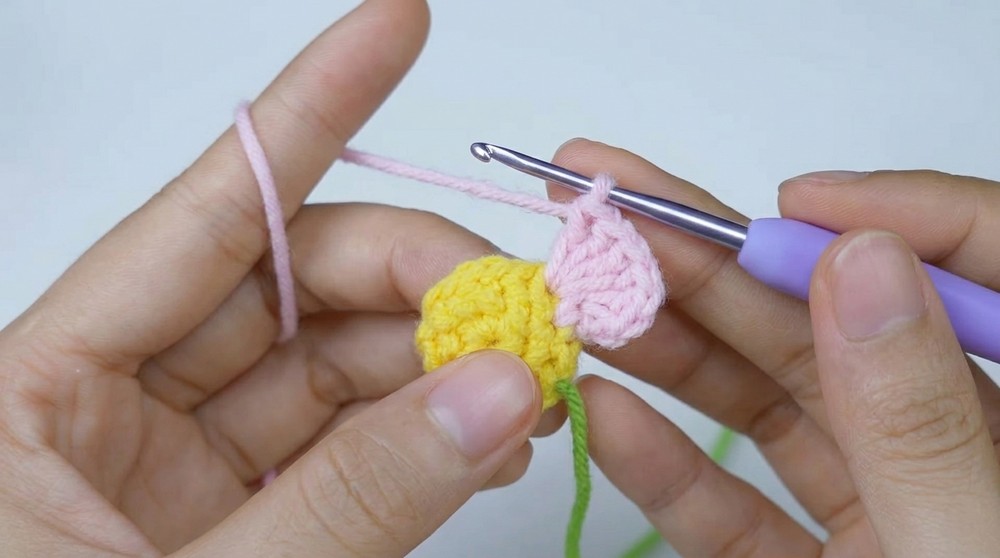
3: Petals
- Attach Sepal and Stamen:
- Place the stamen and sepal together with their wrong sides facing each other.
- Using petal yarn, insert the hook into the first stitch of both layers and pull the yarn through. Chain 1.
- Round 1 (Attachment):
- Crochet 1 single crochet in each stitch around, working through both layers (total 8 sc). Use a stitch marker to mark the first stitch.
- Slip stitch into the marked stitch.
- Round 2 (Petals):
- Step 1: Chain 3, then make 2 double crochets (dc) into the same stitch.
- To make a dc: Yarn over, insert hook, yarn over and pull through. Yarn over, pull through the first 2 loops, yarn over again, and pull through the last 2 loops.
- Step 2: Chain 3 again and slip stitch back into the same stitch.
- Step 3: Move to the next stitch and repeat the same petal pattern (Chain 3, 2 dc, Chain 3, Slip Stitch).
- Repeat until you have 8 petals.
- Step 1: Chain 3, then make 2 double crochets (dc) into the same stitch.
- Finish the Petals:
- Chain 1, fasten off, and hide the yarn tails inside the base of the flower.

4: Leaves
- Create the Wire Base:
- Cut a 14 cm piece of 0.5 mm wire and bend it slightly.
- Prepare Your Chain:
- Start with a slip knot, then chain 8.
- Crochet with Wire:
- Incorporate the wire and work as follows:
- Second chain: Make 1 single crochet (sc).
- Third chain: Make 1 half double crochet (hdc).
- Fourth chain onward: Make double crochets (dc).
- On the last chain, make 1 single crochet and chain 2. Then, single crochet into the same stitch.
- Incorporate the wire and work as follows:
- Return Along Base of Chain:
- Work back along the chain stitches:
- Make hdc into the next stitch.
- Make 3 dc into each of the next 3 stitches.
- Make a sc into the last stitch.
- Work back along the chain stitches:
- Attach Wire and Finish:
- Slip stitch at the end. Wrap the loose yarn and wire together. Cut excess wire and yarn.
Part 5: Pot
- Base of the Pot:
- Start with a magic ring and make 8 sc into the ring.
- Pull the yarn tightly and slip stitch to finish.
- Round 2 (Increase):
- Chain 1. Make 2 sc (increase) in each stitch (total 16 sc).
- Round 3 (Pattern):
- Alternate between 1 sc and 1 increase, repeating until the end (24 stitches).
- Round 4-9 (Height):
- Crochet 1 sc in each stitch for each round, working into both loops.
- Round 10 (Edge):
- Work in the front loops only, making crab stitches (reverse single crochet).
- Base Detail:
- Use the remaining back loops from Round 4 to add a slip stitch edge around the base.
6: Soil
- Magic Ring:
- Make 16 sc into the magic ring and tighten, leaving a small hole for the flower.
- Round 2 (Increase):
- Alternate 1 sc and 1 increase for each stitch (24 stitches).
7: Assembly
- Prepare the Pot:
- Stuff the pot with fiberfill and sew the soil to the top edge using a darning needle.
- Attach the Flower:
- Insert a 10 cm stem wire through the soil hole and into the flower. Secure with glue.
- Attach Leaves:
- Wrap green yarn around the wire stem and glue the leaves in place as desired.

Tutor Suggestions
- Use bright colors to make your flower pot pop.
- Be patient with wiring and assembly—it adds structure to your project.
- Practice crab stitching beforehand if you're unfamiliar with it.
Uses
- Ideal as a desk or shelf decoration.
- Lovely handmade gift for any occasion (birthdays, housewarmings, etc.).
- Perfect project for recycling leftover yarn!
Tip
Always keep your stitches tight when working on small crochet items. Loose stitches may cause stuffing or wiring to show.
Conclusion
Congratulations! You’ve now completed your very own crochet mini flower pot, complete with petals, leaves, soil, and a sturdy pot. This beginner-friendly project is a captivating way to practice different crochet techniques while crocheting something unique and functional.


Leave a Reply