

Warm Crochet Cat Hat Pattern for Cold Weather
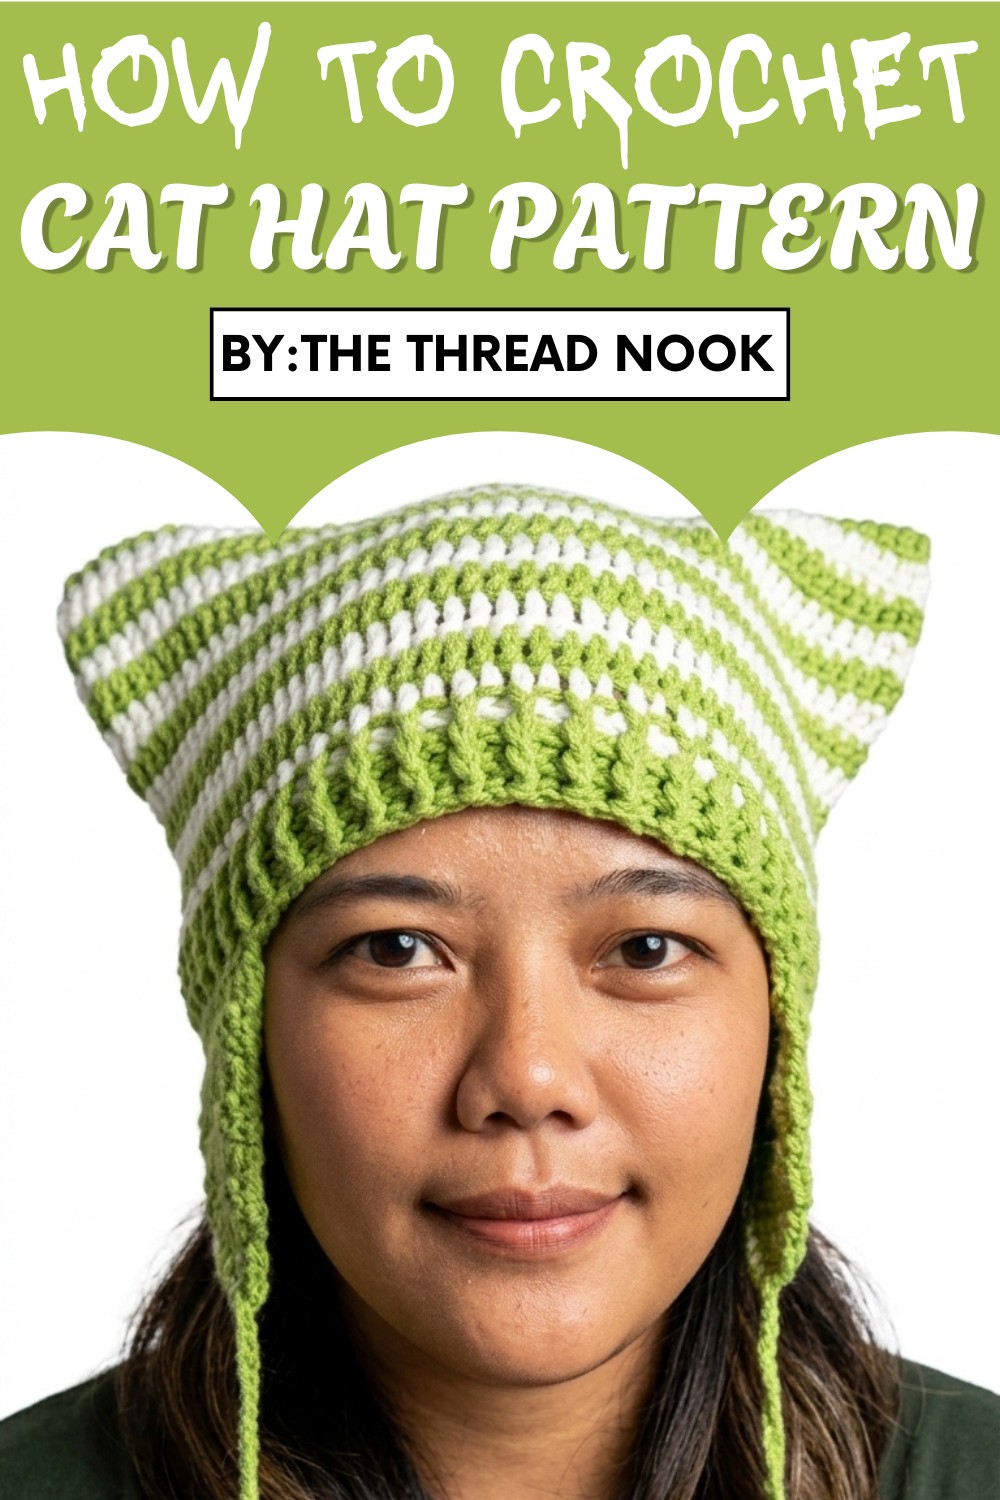
This crochet cat hat pattern not only adds a touch of adorableness to your pet but also serves as a unique gift idea for other cat lovers. Make it as simple or as bold as you like with color customization or decorative accents. Besides being undeniably cute, working on this quick and satisfying project can spark relaxation and mindfulness—a great way to unwind after a busy day.
The pattern also makes use of useful crochet techniques, such as ribbing and double crochet stitches, making it an excellent opportunity to enhance your skills. Whether you’re a seasoned crocheter or giving this crochet a try for the first time, this pattern delivers smiles all around.
Supplies You’ll Need:
- Yarn: 5-ply milk cotton yarn or any Category 4 (medium/worsted weight) yarn
- Hook size: 3.25 mm crochet hook
- Other tools: Yarn needle, stitch markers, and scissors
Measurements:
- Measure your cat’s head circumference. For example, the tutor mentioned 21.5 inches.
- Divide the circumference in half. For a 21.5-inch head, this is approximately 11 inches.
- Adjust the foundation chain to fit this measurement, factoring in stretch.
Pattern Abbreviations (US Terms):
- ch: Chain
- sc: Single Crochet
- dc: Double Crochet
- sl st: Slip Stitch
- fpdc: Front Post Double Crochet
- bpdc: Back Post Double Crochet
- hdc: Half Double Crochet
- MR: Magic Ring
Crochet Cat Hat Pattern
Step 1: Foundation Chain
- Create a slip knot on your hook.
- Chain as many stitches as needed to match your measurement. For example, chain 44 to match an 11-inch width.
- Add 2 extra chains (these do not count as a stitch; they act as turning chains).
2: First Row
- Work 1 dc in the 3rd chain from the hook.
- Place 1 dc in each chain across until you reach the end of the row.
- In the last chain, work 3 dc in the same stitch to turn the corner.

3: Continue to the Other Side
- Turn your work and rotate it to crochet along the other side of the foundation chain.
- Place 1 dc in each stitch across until you reach the end.
- At the last stitch, add 2 dc to mirror the turning point on the opposite side.
4: Join the Round
- Make a sl st on top of the first dc to join and close the round.
- If changing colors, complete the final yarn-over of the last dc with your new yarn before slip stitching.
5: Rounds 2–12 (Creating the Hat Body)
- Ch 2 (does not count as a stitch).
- Work 1 dc in each stitch around, ensuring you join each round with a sl st at the end.
- Change yarn color after every row if desired, following the tutor’s suggestion of alternating for a unique design.
- Repeat this process for a total of 12 rows, or until the desired height is reached.

6: Ribbing for the Hat
- Switch to the ribbing style by using Front Post and Back Post Double Crochet stitches.
- Row 13 (First Ribbing Row):
- Chain 2 (does not count as a stitch).
- Alternate 1 fpdc and 1 bpdc around the hat.
- Join with a sl st and repeat for 3 more rows (total ribbing: 4 rows).
7: Ear Flaps
- Divide the stitches in half. For example, with 90 total stitches, mark 45 stitches on each side.
- For each ear flap, mark 16 stitches (8 on each side of the center point), and follow the pattern below for decreases:
Ear Flap Pattern:
- Attach yarn to the first marked stitch.
- Chain 2 and make 1 dc in each of the 16 stitches.
- Turn your work, chain 2, skip the first stitch, and begin decreases:
- Work 1 dc in each stitch, leaving 2 unworked stitches at the end of every row.
- Repeat rows until only 2 stitches remain. Slip stitch them together and create a tie.

8: Ties for Ear Flaps
- After finishing the ear flap, chain 30 for the tie, then cut and weave in the ends.
- Repeat the process for the second ear flap.

9: Star Decor for Ear Flaps
- Using a magic ring, chain 1 (doesn’t count as a stitch).
- Round 1: Place 5 sc into the magic ring. Pull the ring closed but leave a small hole.
- Round 2: Work 2 sc in each stitch around (10 sc total).
- Round 3: (1 sc in next stitch, 2 sc in next stitch), repeat until the end (15 sc total).
Star Points:
- For each star point, work the following in the same stitch:
- 1 sc, 1 hdc, 1 dc, 1 hdc, 1 sc.
- Skip 3 stitches, then repeat the star pattern in the next stitch. Continue 5 times.
- After finishing the last point, slip stitch to the next stitch and cut the yarn.

Attach Stars:
- Use a yarn needle to sew the stars onto the ear flaps. Weave in all ends.
Final Customization:
Once done, sew all the loose ends, and adjust the ribbed brim if needed. You can customize further with embroidery or embellishments to make the hat uniquely yours!
Conclusion:
Congratulations! Your crochet cat hat with ear flaps and adorable star details is complete. Perfect for cosplay, playful photos, or just to keep your fur babies stylish, this project is simple yet rewarding. Don't hesitate to experiment with colors and sizes to suit every cat’s personality. Enjoy your finished masterpiece!
Pro Tip:
For a snug fit, consider using elastic yarn or adjusting the number of stitches based on your cat’s measurements. Cats appreciate comfort, so ensure the hat isn’t too tight or itchy.


Leave a Reply