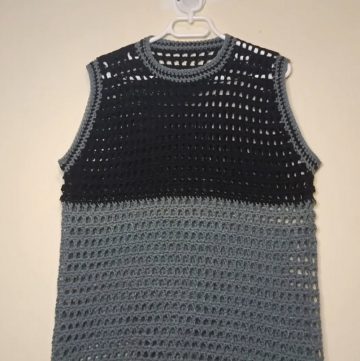
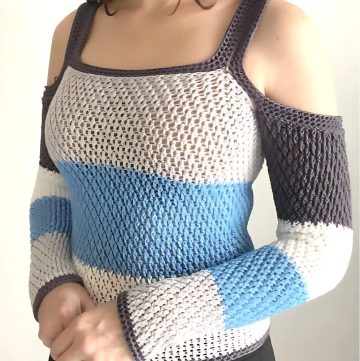
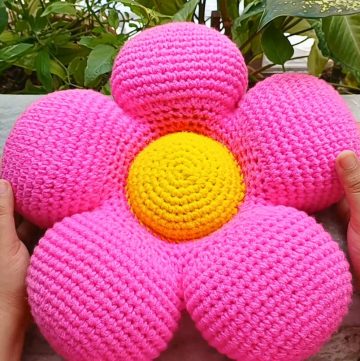
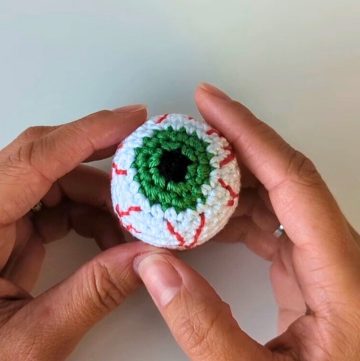
Brighten up your kitchen with a charming crochet towel holder! This delightful little project brings a touch of warmth and cheer, perfect for keeping your towels tidy and within reach. Pick your favorite yarn colors and give your home a handmade treasure that is as useful as it is adorable.

Crochet Towel Holder
Materials Needed:
- Thick yarn in two colors (preferably blue and white)
- A crochet hook (3 mm size)
- A 12 cm diameter ring
- A yarn needle
- A pair of scissors
Crochet Pattern
Foundation and First Round
Begin with Blue Yarn:
- Create a starting loop.
Chain 6:
- Yarn over and pull through to create 6 chain stitches.
Form a Ring:
- Slip stitch into the first chain to form a circle.
Chain 2:
- This counts as the first double crochet.
Make 11 Double Crochets:
- into the ring, then join with a slip stitch on top of the initial chain 2.
Second Round (Increasing Rounds):
- Chain 3 (counts as the first double crochet).
Double Crochet in same place:
- Place a double crochet under the chain 3.
Continue the Pattern:
- Chain 1, place two double crochets in the next stitch. Repeat - around.
Join:
- Slip stitch into the top of the initial chain 3.
Switch to White Yarn:
Attach White Yarn:
- Pick any space between two stitches and attach the white yarn.
Chain 2, then Double Crochet x2:
- in the same space.
Pattern Repeat:
- Chain 1, three double crochets in the next space. Repeat this all the way around.
Slip Stitch:
- Join to the first double crochet with a slip stitch.
Further Rounds:
Changing Color:
- Switch to blue and repeat the pattern, now increasing the number of double crochets in each chain space as necessary to keep the work flat.
- Each round should be finished off with a slip stitch and started with the chains as the first double crochet.
- With each new round, increase the double crochets steadily by stitching more into each gap.
Finishing the Edges:
Last Rounds:
- Continue with rounds until the holder is of desired size, increasing the stitches proportionately.
Final Chain:
- After the last round with blue yarn, change to white yarn, make a chaining loop and securely attach it to the ring prepared earlier.
Single Crochet:
- Single crochet around the ring covering it fully with the yarn.
Attach the Ring to the Holder:
- Use the tail ends of the yarn and a needle to sew the ring onto the main holder is positioned at the bottom center.
Making the Hanging Loop:
Creating the Loop:
- Using blue yarn, attach to the top center of the holder, chain 10 stitches.
Secure the Loop:
- Slip stitch back into the holder, then sew the end to reinforce.
Final Touches:
Ending and Weaving in Ends:
- Cut the yarn and use a needle to weave in all the leftover yarn ends throughout the piece for a neat finish.


Leave a Reply