

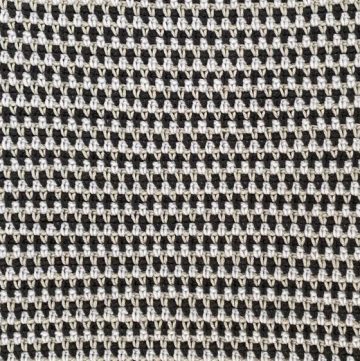
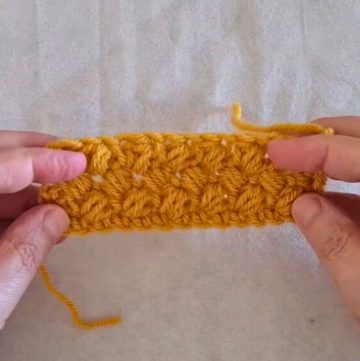
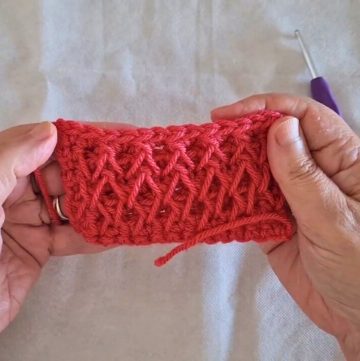
The Garter Stitch Crochet Tutorial offers a transformative journey into mastering one of the quintessential stitches in the crocheting world. Esteemed for its simplicity yet unmistakably recognizable texture, the garter stitch is a fundamental technique every crochet enthusiast should acquaint themselves with. The stitch is achieved via a rhythmic alternation of back loop and front loop slip stitches, culminating in a finished work that exudes a tactile appeal akin to its knitted counterpart.
Garter Stitch Crochet Tutorial
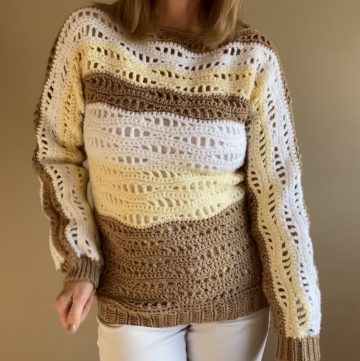
The garter stitch is not just a stitch but a gateway to a realm of possibilities in the realm of crocheting; from scarves and blankets to more complicated projects like sweaters, its versatility is a testament to its integral role within the crocheting repertoire. This beginner-friendly stitch serves as a stepping stone to a vast realm of creativity and design, promoting simplicity without compromising on beauty.
Materials Needed:
- Crochet hook
- Yarn of your choice
Instructions:
Start with a Chain:

- Chain any number of stitches to create the foundation chain.
Foundation Row:

- Make one single crochet in every stitch along the chain.
First Row:

- Once you reach the end of the foundation row, chain one and then turn your work.
Back Loop Slip Stitches:

- Proceed to make a slip stitch in the back loop of each stitch across the row.
- Repeat this until you reach the end of the row.
Turn Your Work:

- After completing the row, chain one and turn your work.
Front Loop Slip Stitches:

- Now, make a slip stitch in the front loop of each stitch across the row.
- Repeat this until you reach the end of the row.
Alternating Rows:
- Continue the pattern by alternating rows with slip stitches in the back loops and slip stitches in the front loops.
Continuing the Pattern:
- Each time you reach the end of the row, chain one and turn your work.
- Alternate one row of slip stitches in the back loop with one row of slip stitches in the front loop to create the garter stitch pattern.
Finishing:
- Continue working the alternating rows until your project reaches the desired size.
- Finish off your work by cutting the yarn and weaving in the ends.
Notes:
- The alternating rows of slip stitches in the back and front loops create a texture similar to the garter stitch in knitting.
- Make sure you are consistent in identifying the front and back loops of your stitches.
Conclusion:
- Enjoy your finished crochet garter stitch project!
Leave a Reply