

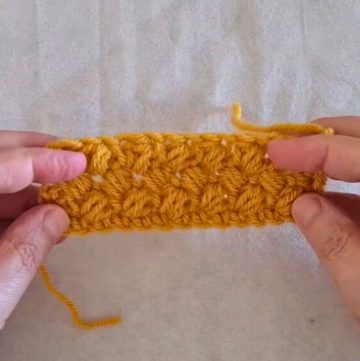
The Braided Crochet Stitch is a unique and aesthetically pleasing technique that is relatively straightforward to master but adds a significant level of depth and texture to your projects. Characterized by its distinct, intertwined pattern, it offers a braided appearance, hence its name. This stitch utilizes an easy-to-remember two-row repeat of extended half double crochet and slip stitches, although the technique performs exceptionally well in highlighting colored or variegated yarn because it creates an intricate, twisted effect. It's versatile enough for various projects, including scarves, blankets, and garments. With its combination of simplicity and style, the Braided Crochet Stitch introduces an element of sophistication without being overly complex or time-consuming.
Braided Crochet Stitch Tutorial
Materials Needed
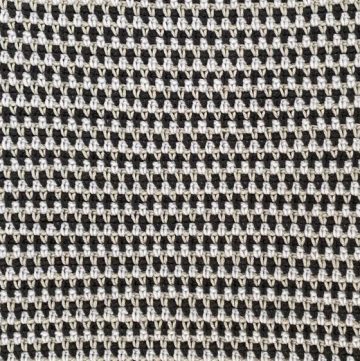
- We Crochet's Comfy Color Mist in the color Foggy Beach (Worsted weight cotton)
- I (5.5 mm) Crochet Hook
Pattern Overview
This pattern combines two stitches: extended half double crochets and slip stitches.
Starting the Pattern
Create a Slip Knot and Chain

Put a slip knot on your hook and pull it tight.
Chain any number of stitches. For this tutorial, we will chain 10.

Add one additional chain to start your row (11 chains total).
Extended Half Double Crochet (Row 1)
Yarn over, insert your hook and draw up a loop.

Yarn over, draw through one loop (3 loops left on the hook).
Than Yarn over and draw through all three loops.
Repeat this stitch across into every chain until you reach the end of the row.
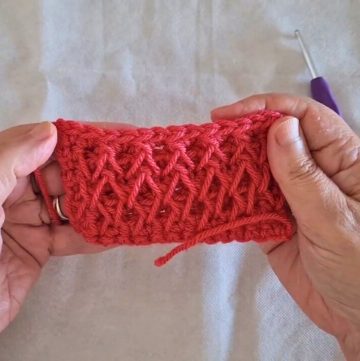
Slip Stitch (Row 2)

Chain one and turn your work. Remember to work through the front loop of the extended half double crochet stitches in this row.
Slip stitch in the front loop of each stitch all the way across your row. Try to slip stitch a bit looser than normal to avoid tightening your work excessively.
Continuing the Pattern
Extended Half Double Crochet (Row 3 and Odd Rows)

On the right side of your piece, chain one and turn.
Work an extended half double crochet in the front loop only of each slip stitch from the previous row all the way across.
Slip Stitch (Even Rows)

Chain one and turn your work.
Work a slip stitch through the front loop only in each stitch across the row.
Repeat

Continue repeating these two rows (Extended Half Double Crochet row and Slip Stitch row) for the pattern.
Special Technique: Extended Half Double Crochet Two Together (Decreasing)
When you need to decrease (e.g., at the end of a row for shaping):
Yarn over and insert your hook in the front loop of the first stitch, then yarn over and draw up a loop.
Yarn over, draw through one loop (3 loops on the hook).
Insert your hook into the front loop of the next stitch without yarning over and drawing through all loops from the previous stitch, yarn over and pull up a loop.
You will have four loops on your hook. Yarn over and draw through all four loops.
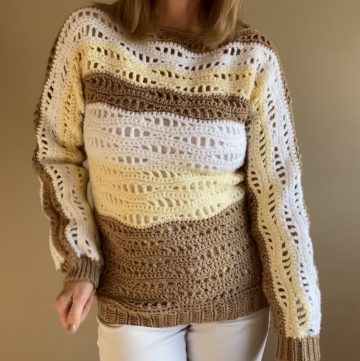
Repeat these steps to continue building the braided look. The pattern utilizes a simple two-row repeat, which creates a beautiful texture reminiscent of braiding. The tutorial also introduces how to decrease this pattern, which is useful for shaping garments like the Harley Tee showcased in Megan's video.
Leave a Reply