

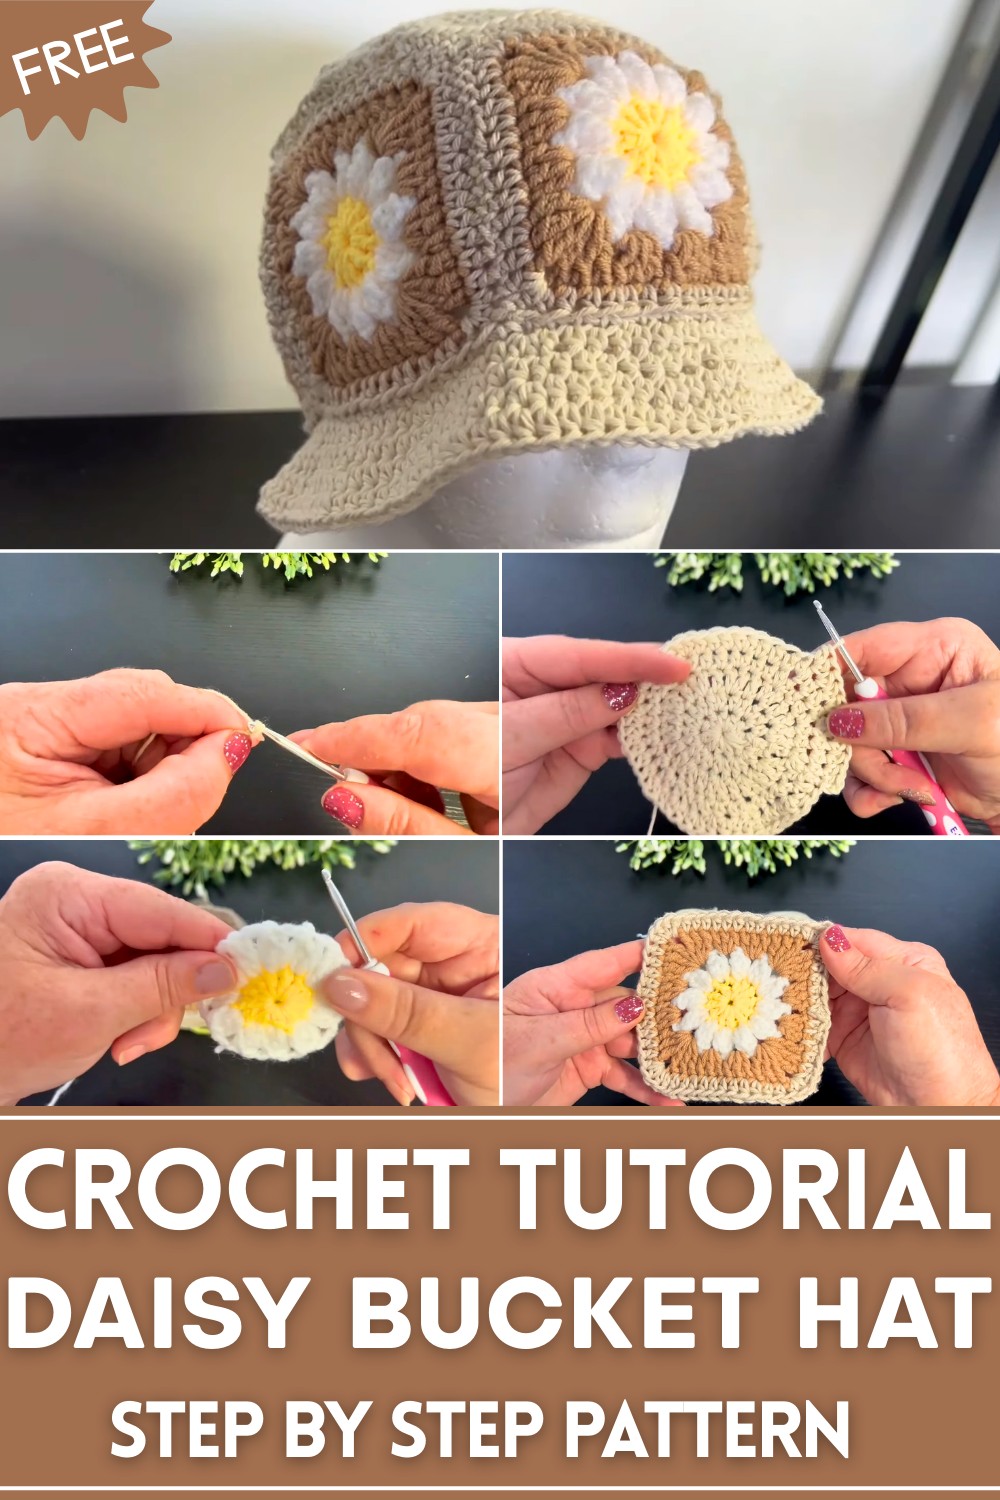
Sprinkle cheerful charm with the Free Crochet Daisy Bucket Hat Pattern, making stylish, handmade hats perfect for gifts, sunny days, and playful outings.
Sunny afternoons, garden strolls, and festival days call for accessories that combine charm with practicality. The Free Crochet Daisy Bucket Hat Pattern transforms simple yarn into a cheerful, wearable piece that radiates beauty while offering functional benefits. Adorned with delicate daisy motifs, this hat adds a playful touch to any outfit and is perfect for picnics, beach trips, casual outings, or themed events. Its wide brim provides shade, keeping wearers comfortable and cool while making it both stylish and practical.
Stylish Crochet Daisy Bucket Hat Pattern Perfect for Casual Wear
This pattern guides crafters through each stitch with clear instructions, making it suitable for all skill levels. Features of this hat include a snug yet comfortable fit, durable yarn construction, and decorative floral accents, all enhancing its versatility and appeal. Beyond aesthetics, crocheting this hat promotes focus, dexterity, and mindfulness while offering a relaxing and rewarding creative experience.
Its uses extend beyond personal wear as it becomes a thoughtful handmade gift, a charming photo accessory, or a standout piece for outdoor celebrations. The Free Crochet Daisy Bucket Hat Pattern combines beauty, functionality, and joy, delivering an accessory that celebrates sunny-day adventures while showcasing handmade craftsmanship and the timeless charm of floral details.
Special Features of the Daisy Bucket Hat
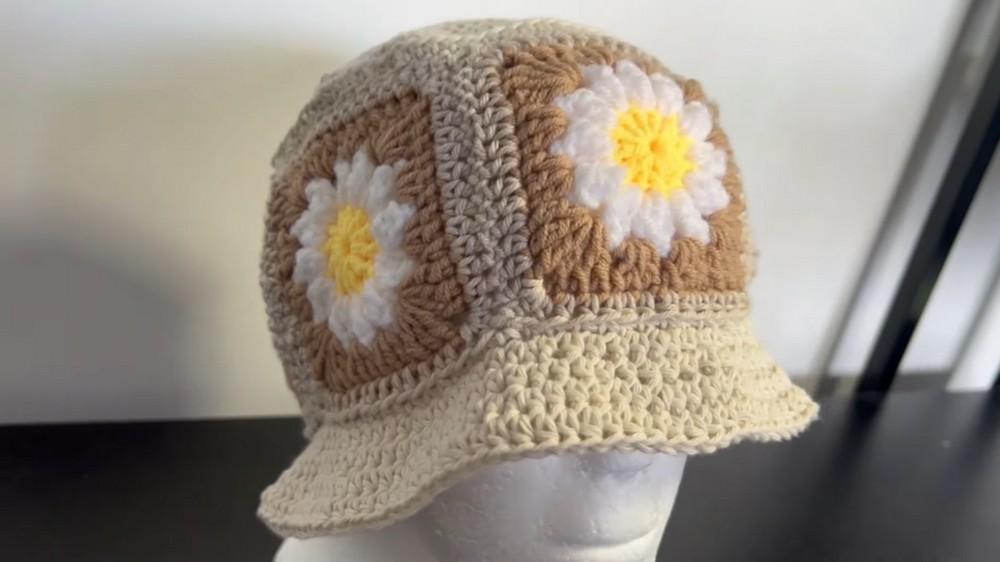
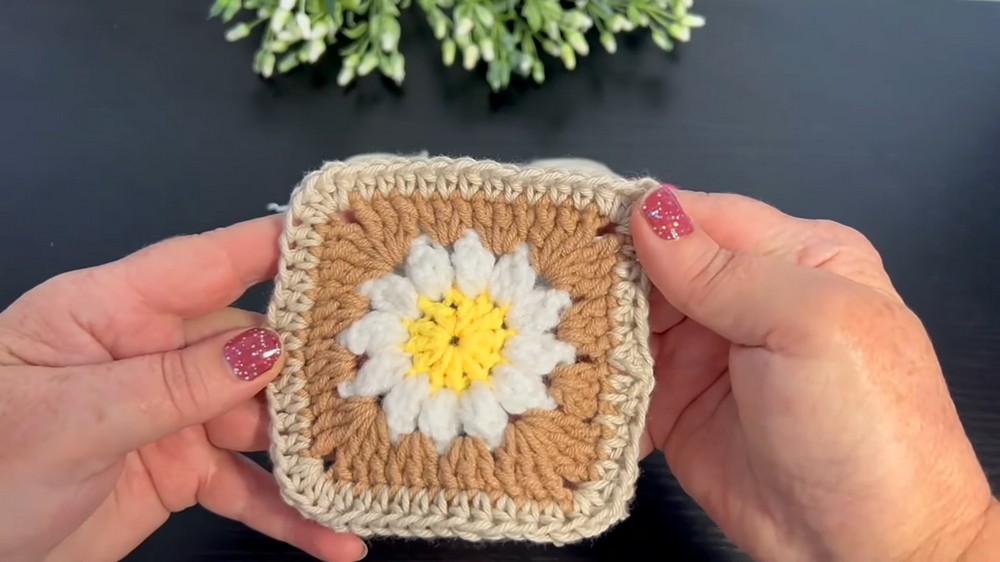
- Decorative Design: The hat features daisy granny squares around its body, making it both stylish and playful.
- Customizable Fit: By adjusting the number of rows or daisy squares, you can size the hat to fit teenagers or adults.
- Beginner-Friendly: The pattern uses basic techniques like the magic circle, half-double crochets, and double crochets, making it manageable for less experienced crocheters.
Level of Difficulty
- Beginner to Intermediate: The hat incorporates basic stitches, but techniques like creating the magic circle, joining granny squares, and maintaining consistent tension may require some practice.
Tutor's Suggestions
- Yarn Choice: Rachel recommends 100% cotton yarn (8 ply or double-knit) for structure and durability.
- Hook Size: A 3.5 mm crochet hook is used to ensure neat stitches and a snug finish.
- Neat Transitions: Always slip stitch carefully when transitioning between rounds or yarn colors to maintain a clean edge.
- Customization: The hat can be made larger or smaller by adjusting the number of rows or increasing rounds.
Uses and Materials
Materials Needed:
- Yarn: 100% cotton yarn in yellow, white, brown, and a color for the main hat (e.g., beige).
- Hook: 3.5 mm crochet hook.
- Other Tools: Scissors and a yarn needle for tidying up loose ends.
Uses of the Hat:
- A stylish summer or spring accessory with a cheerful design.
- Perfect for casual outings, picnics, or as a handmade gift for loved ones.
Step-by-Step Process
A. Making the Top of the Hat:
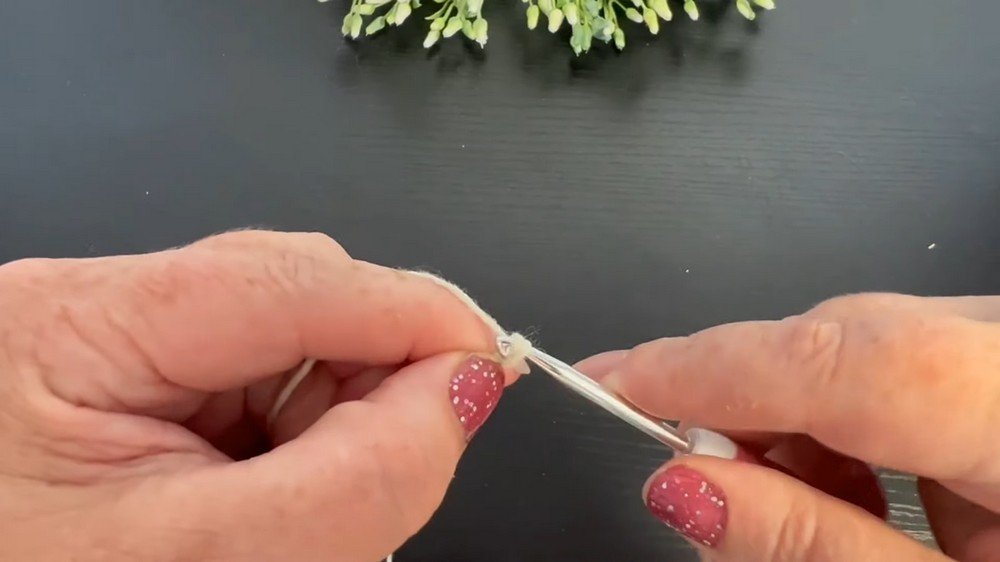
- Start with a Magic Circle:
- Create a slip knot and chain 4. Slip stitch into the first chain to form a circle.
- Round 1:
- Chain 2 (counts as the first stitch). Work 11 half-double crochets into the circle (12 stitches total). Slip stitch into the first stitch to close the round.
- Round 2:
- Chain 2. Work 2 half-double crochets into each stitch around (24 stitches total).
- Subsequent Rounds (Increase Rounds):
- Repeat the pattern of increasing the number of half-double crochets in between increases:
- Round 3: [1 half-double crochet, 2 half-double crochets in the next stitch] – repeat around.
- Round 4: [2 half-double crochets, then increase].
- Round 5: [3 half-double crochets, then increase].
- Continue until Round 8 (7 half-double crochets, then increase).
- Repeat the pattern of increasing the number of half-double crochets in between increases:
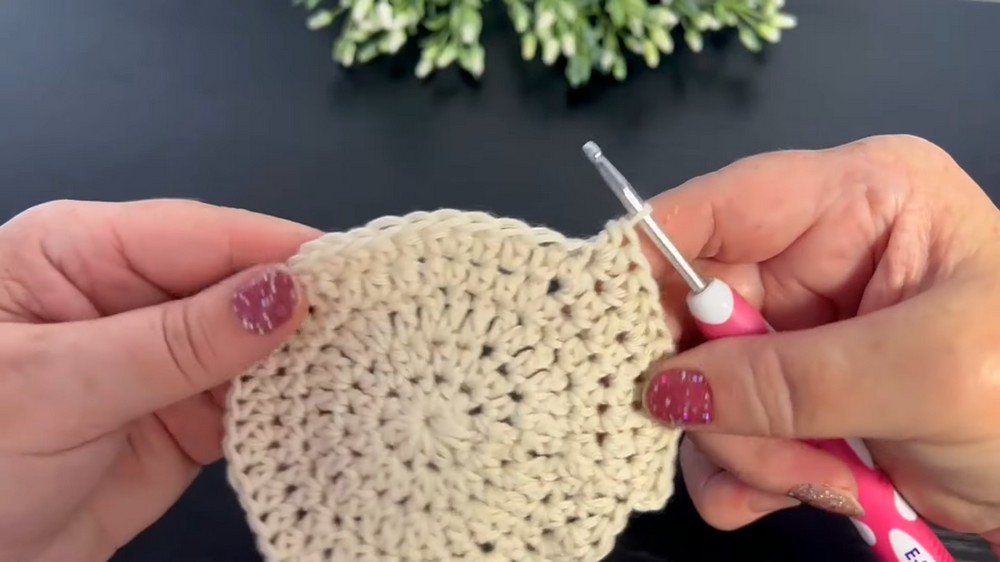
- End of Top Section:
- The top of the hat should measure about 6.5 inches. Stop increasing at this point unless a larger size is needed.
B. Creating the Body of the Hat
- Add Definition:
- Work one single crochet into the back loop of every stitch to define the edge of the top.
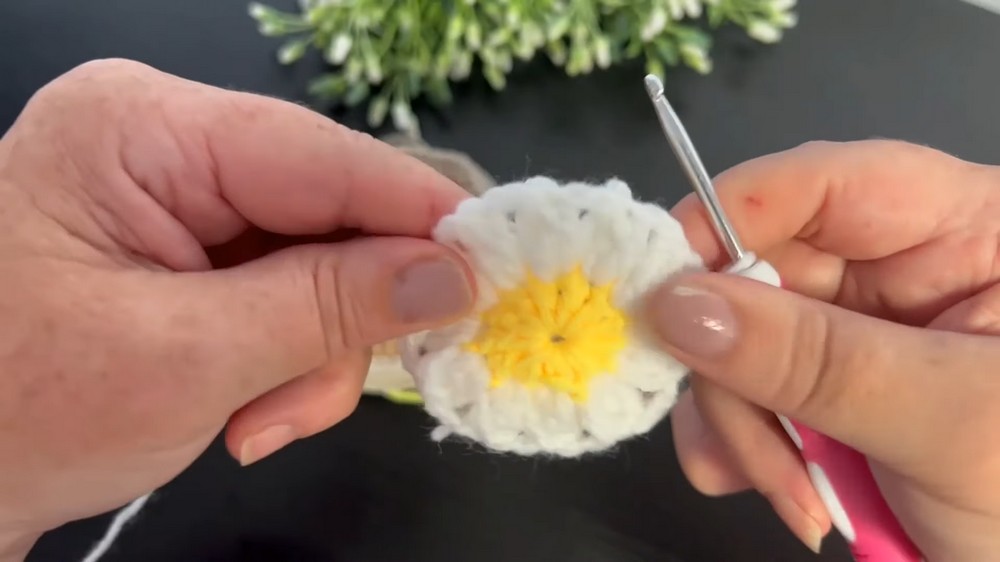
- Daisy Granny Squares:
- Make 6 granny squares to attach as a decorative band around the hat:
- Center (Yellow): Create a magic circle, chain 4, and work 12 double crochets. Fasten off.
- Petals (White): Attach the white yarn to any stitch. For each petal, chain 3, do 2 double crochets in the same stitch, and complete the petal with a special pull-through method.
- Square Border (Brown): Attach the brown yarn, work clusters of 3 double crochets, and create corners using sets of 3 treble crochets separated by 2 chains. Add a half-double crochet border to complete the square.
- Make 6 granny squares to attach as a decorative band around the hat:
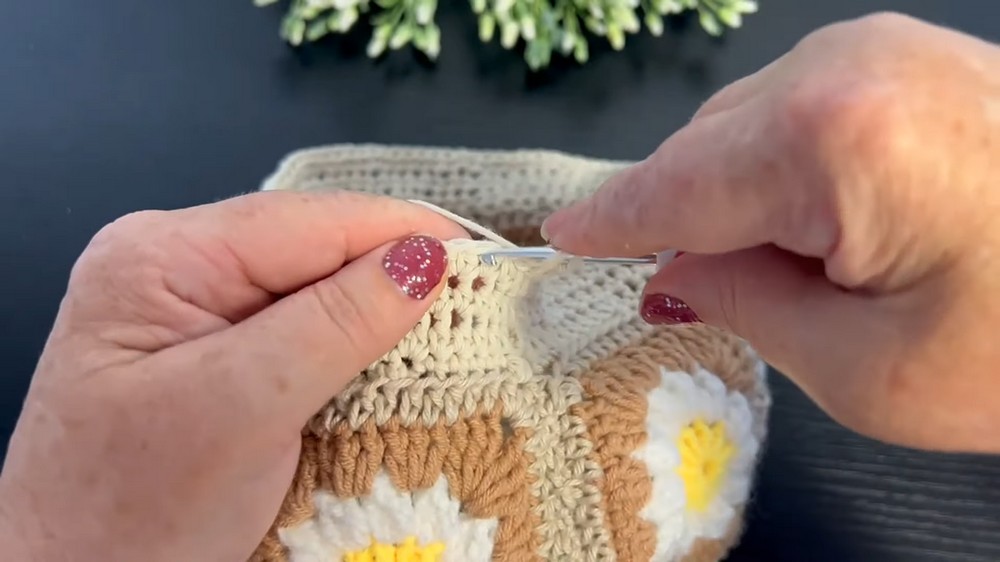
- Attach Squares:
- Sew or crochet the daisy squares into a single strip and attach them to the body of the hat using single crochets.
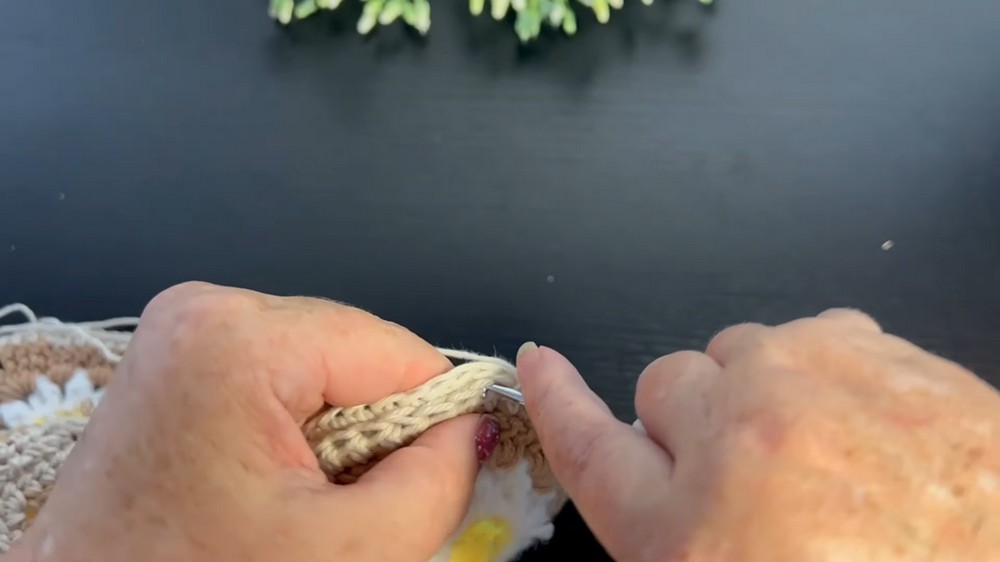
C. Creating the Brim of the Hat
- Brim Start:
- Chain 2 and work 5 half-double crochets, followed by an increase (2 half-double crochets in the same stitch) – repeat around.
- Subsequent Rounds:
- Alternate between rows of even half-double crochets and rows with increases every 5-6 stitches to gradually expand the brim.
- Final Finish:
- Once the brim reaches the desired width, fasten off and weave in all the loose ends.
Tip for Success
To avoid tension issues in the brim, ensure your stitches remain loose when increasing. Tight stitches can distort the shape or prevent the brim from lying flat.
Conclusion
This Daisy Bucket Hat pattern offers a beginner-friendly yet creative project, blending functional design with a touch of floral whimsy. With its cheerful daisy elements and customizable size, this hat is a delightful accessory for sunny days or a meaningful handmade gift.


Leave a Reply