

How Can You Crochet a Headband to Match Any Outfit? Try This!
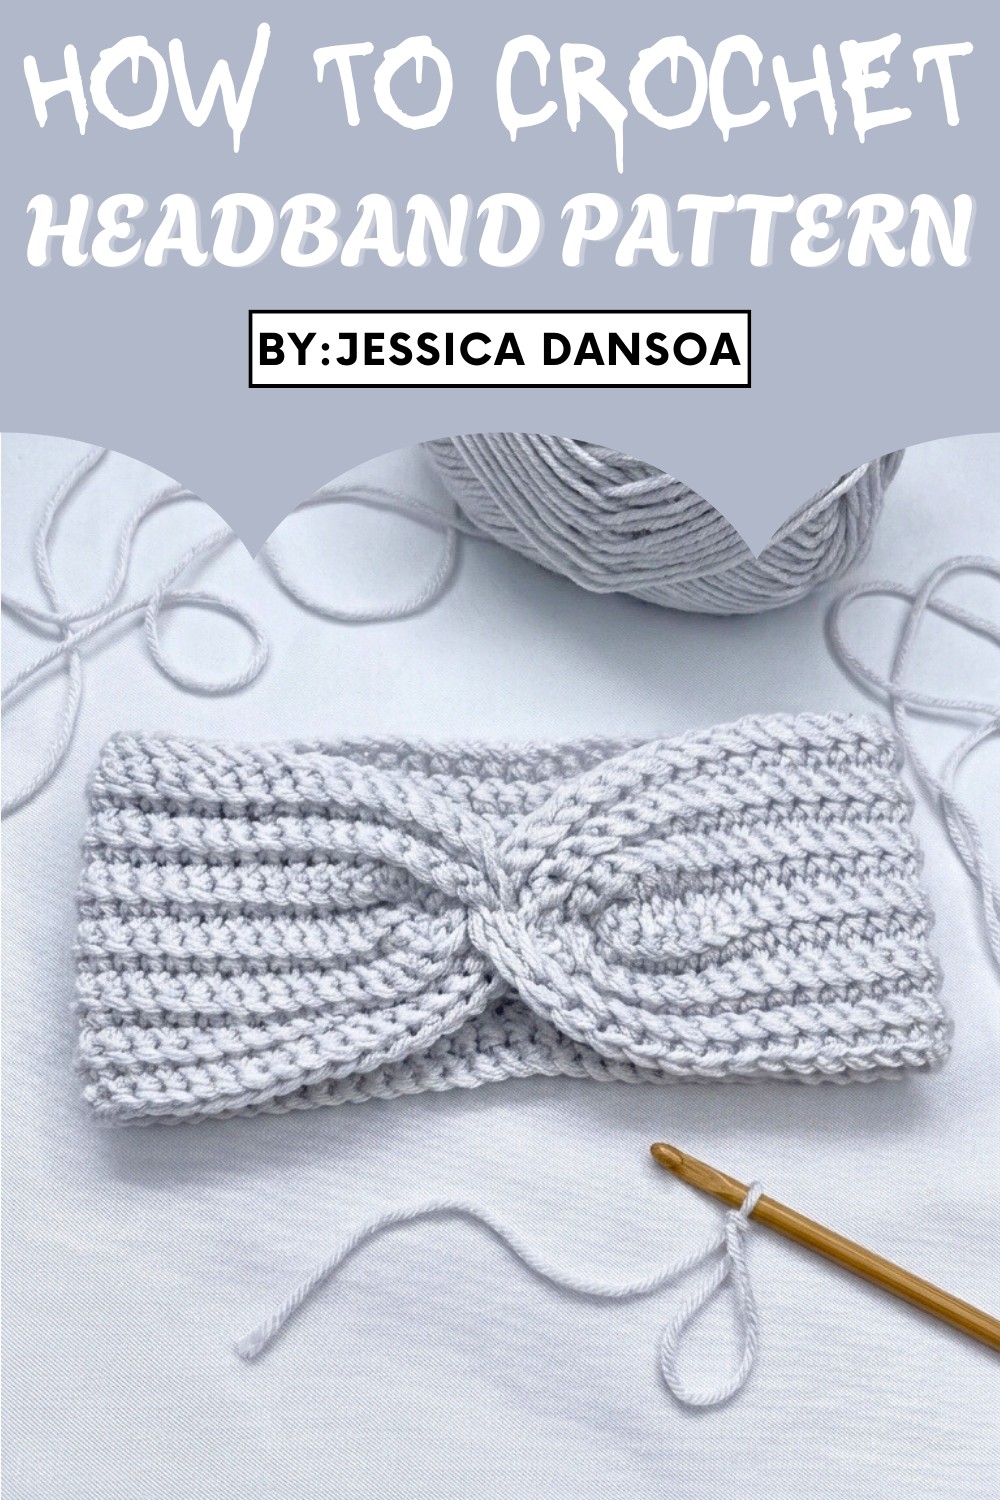
Ideal for beginners and seasoned crocheters alike, the pattern uses basic techniques, making it a great opportunity for those learning how to refine their skills while producing something useful. Plus, the minimal materials required—just yarn, a hook, scissors, and a darning needle—make it budget-friendly and easy to start. It's also highly customizable, allowing you to experiment with colors, yarn weights, or widths to suit your personal taste or gift-giving goals.
More than just a fun project, it’s a thoughtful way to stay sustainable by using up leftover yarn or experimenting with eco-friendly fibers. Lightweight yet durable, this headband pattern goes beyond a simple accessory, becoming the perfect addition to both casual looks and elevated styles.

Level of Difficulty
Beginner-friendly – Suitable for crocheters who are familiar with chain and single crochet stitches.
Materials Needed
- Yarn: Choose a yarn that suits your desired thickness. (Tip: Double thin yarn if necessary for better results.)
- Hook: A crochet hook appropriate for your yarn size.
- Scissors: For cutting loose ends.
- Darning Needle: For stitching and weaving in ends.
Special Features
- Customizable to fit all head sizes.
- Uses only basic crochet stitches (chains and single crochets).
- Features a subtle textured pattern from crocheting in back loops only.
- Can be adjusted for different levels of thickness.
Pattern Instructions
Step 1: Foundation Chains
- Using your yarn and hook, begin by making chains that match the circumference of your head. The chains should not be too tight or too loose—just comfortable enough to fit around your head.
- For a medium-sized adult head, start with approximately 40 chains (adjust as per your measurements).
2: First Row
- Once your chains are complete, chain 1 for turning.
- Begin working single crochets (SC) into each chain across the foundation chain.
- When you reach the end of this row, your work should look like a flat strip of single crochets.
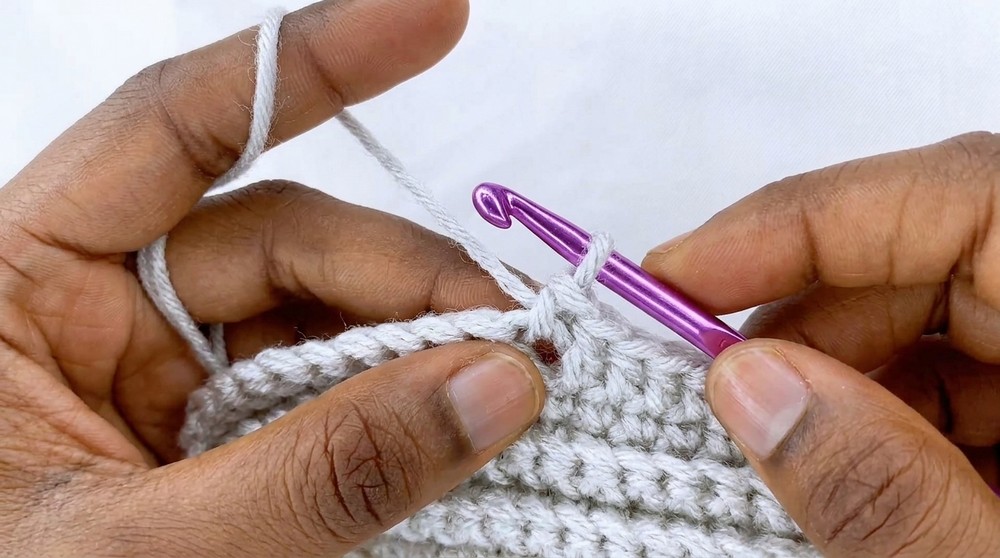
Step 3: Textured Pattern - Second Row and Beyond
- Chain 1, turn your work, and start crocheting single crochets in the back loop only of each chain.
- By working in the back loops, you’ll create a textured ribbing effect that’s both stretchy and decorative.
- Repeat this pattern of "chain 1, single crochet in back loops" for each row until your piece reaches the desired width of your headband.
- If you want a wider headband, add more rows. For a thinner one, make fewer rows.
- Continue until you have the preferred thickness for your headband.


4: Final Row and Finishing Touches
- Once your desired width is achieved, end your last row and cut the yarn, leaving some extra yarn to sew the edges together.
- Weave in the loose ends on the edges using a darning needle for a clean finish.
5: Creating the Twist Design (Optional)
- To add a twist to your headband:
- Fold your headband in half, horizontally bringing both short ends together.
- Place one end over the other, creating an "interlocking fold".
- Use the darning needle to sew both ends together, ensuring you insert the needle through all layers.
- Work back and forth across the seam for extra strength and neatness.
6: Final Assembly
- Turn your headband inside out, so that the seam is hidden.
- Stretch the fabric lightly to ensure the twist design sits properly.
- Your headband is now ready to wear!

Tutor’s Suggestions
- Yarn Thickness: For a thicker and warmer look, use 2 strands of yarn together for crocheting. If your yarn is already thick, a single strand will suffice.
- Customization: This pattern is flexible, allowing customization in length, width, and even the texture. Experiment with different colors and fiber types to create unique designs.
- Versatility: The finished headband can be used as a fashion accessory, a practical tool to keep hair away from your face, or even as an ear warmer during colder weather.
Conclusion
This crochet headband is a simple yet rewarding project to make. The textured ribbing pattern and optional twist design add both style and functionality, making it a versatile accessory for everyday wear. By adjusting the size, color, or thickness, you can personalize the headband according to your preferences or make thoughtful handmade gifts for loved ones.
Extra Tip
To achieve a professional finish, always block your crocheted headband after completing it. Lightly dampen the piece and stretch it into shape, allowing it to dry. This process ensures even stitches and a polished final look.


Leave a Reply