

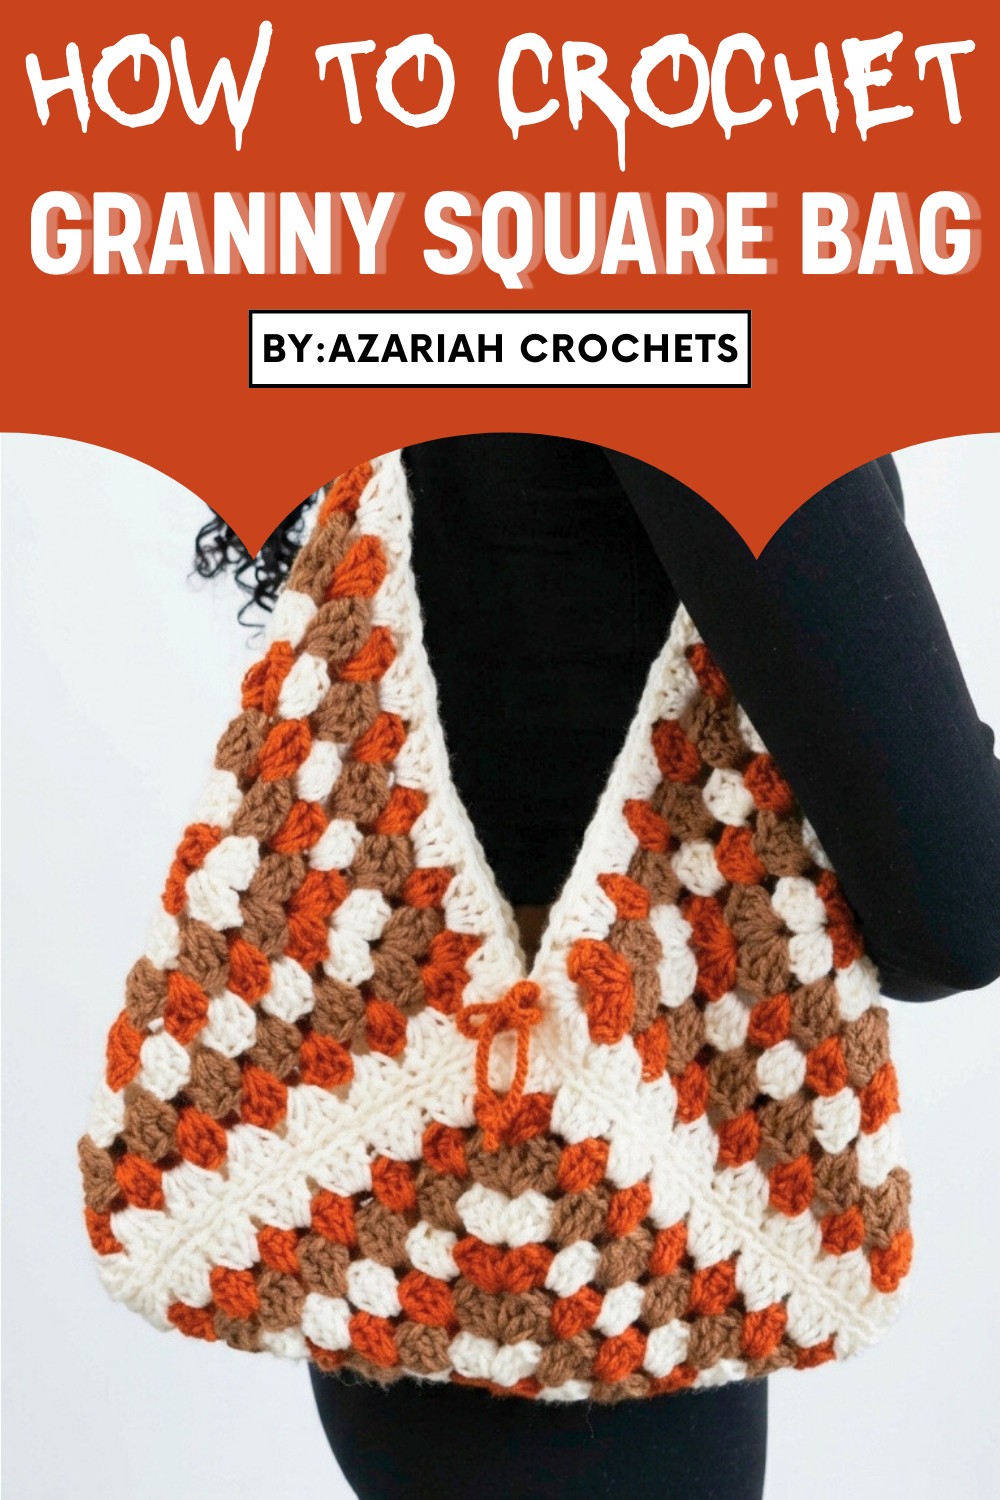
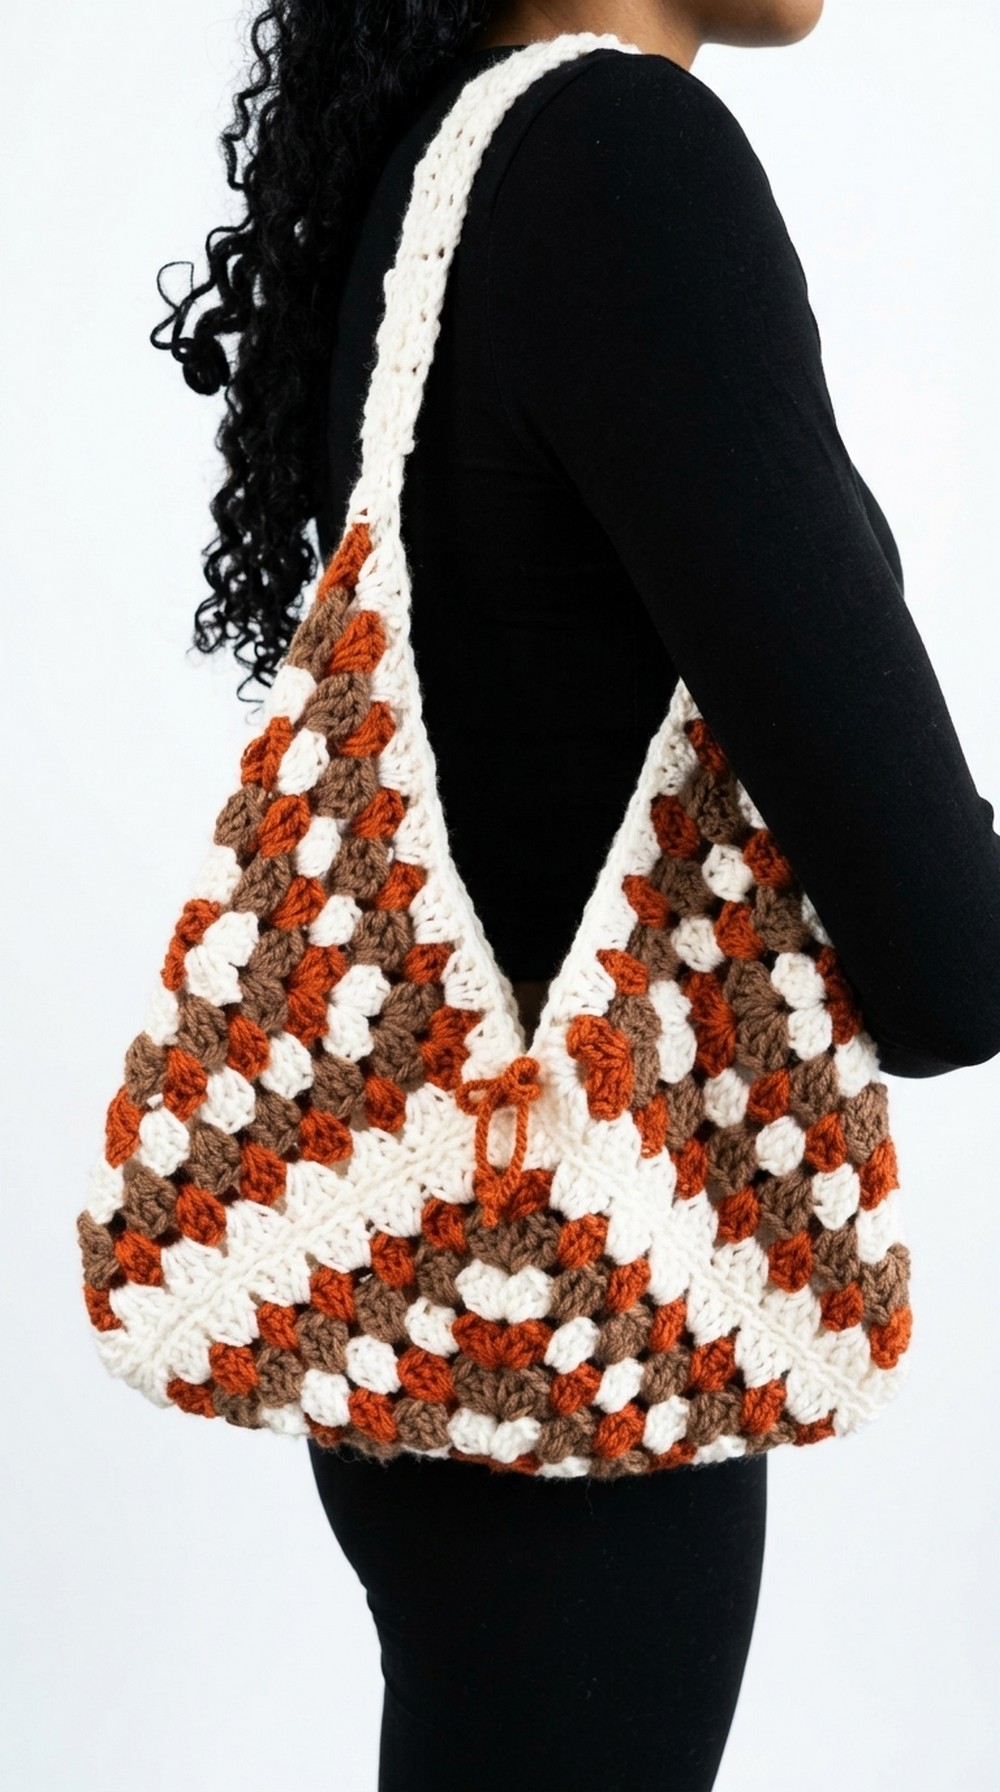
Hold charm everywhere with this Free Crochet Granny Square Bag Pattern that adds a pop of color and style while holding essentials, gifts, or handmade treasures!
Carrying everyday essentials can be simple, practical, and full of charm with the right handmade accessory. Its bright and colorful design instantly adds a cheerful touch to any outfit. The Free Crochet Granny Square Bag Pattern teaches how to create a sturdy yet soft bag made from connected granny squares, each stitched carefully for a unique handmade look.
Free Crochet Granny Square Bag Pattern for Every Day
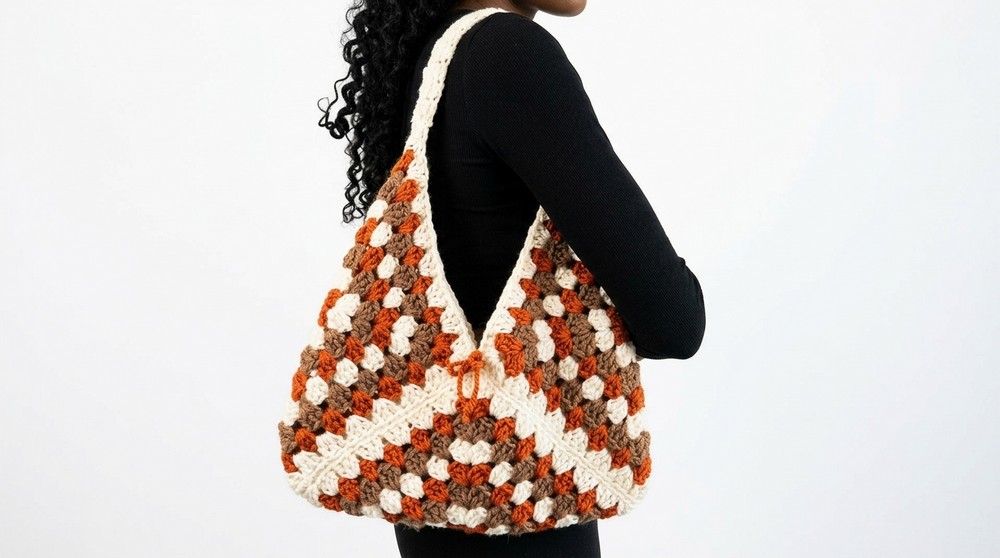
This bag usually has a neat texture and polished crochet stitches that make it both functional and charming. Its roomy but lightweight shape is perfect for holding small items like a phone, wallet, keys, or cosmetics while staying easy to carry. The pattern uses clear, step-by-step instructions, making it approachable even for beginners. By choosing different yarn colors, the bag can look playful, bright, or subtle, giving each piece a personal touch. In the end, this crochet granny square bag is a creative, stylish, and practical handmade accessory full of charm.
Crochet Granny Square Bag Pattern
This adorable bag is created with just three simple granny squares stitched together and a strap added to complete it. Perfect for beginners or even experienced crocheters looking for a quick project, this bag takes about 2.5 to 3 hours to make.
Materials
- Yarn:
- 3 skeins of medium weight #4 acrylic yarn (different colors if desired). The designer used yarn from Hobby Lobby and Red Heart.
- Optional: Use leftover yarn for a fun, colorful look!
- Crochet Hook: 5.75mm hook (or size needed to achieve the desired stitch size; the larger hook gives bigger, quicker stitches).
- Tapestry Needle: For sewing squares together and weaving in ends.
- Scissors
- Optional: Smaller crochet hook (e.g., 3.25mm) for the bow accents if desired.
Skill Level
Beginner to Intermediate: This project primarily uses double crochet and basic joining techniques.
Key Abbreviations (US Crochet Terminology)
- ch: chain
- dc: double crochet
- sl st: slip stitch
- yo: yarn over
- st: stitch
- beg: beginning
- RS: right side
- WS: wrong side
- whip stitch: A sewing method to join crochet pieces.
Special Notes
- This bag consists of three large granny squares that are sewn together in a triangular shape to form the bag body.
- You can make the granny squares as colorful as you desire by changing colors every few rounds.
- The strap is worked separately and attached to the bag using whip stitches.
- The optional bow adds charm and can be placed anywhere on the bag!
Pattern Instructions
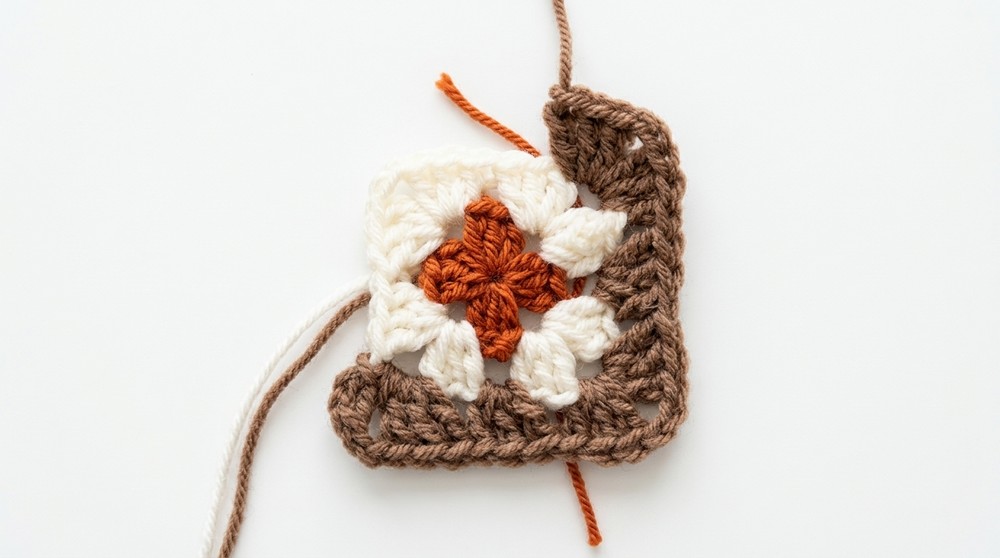
Granny Squares (Make 3)
Foundation and Round 1
- Start with a magic ring:
- Hold the yarn and create a loop with an "X" at the front. Insert your hook under the first yarn and over the second. Pull through and chain 1 to secure.
- Alternatively, chain 4 and slip stitch to form a ring if you prefer not to use a magic ring.
- Ch 3 (counts as first dc). Work 2 dc in the ring. Ch 2 (this creates a corner).
- (3 dc, ch 2) 3 times, all into the magic ring.
- Pull the tail of the magic ring tightly to close the ring.
- To finish Round 1, ch 2 and make 1 dc into the starting ring (this completes the 4th side). Sl st to the top of the starting ch-3 to close.
- [4 sides created, each with 3 dc and corners of ch-2 spaces]
Round 2
- Sl st to the next gap (corner space), ch 3 (counts as dc), then work 2 dc into the same corner gap. Ch 2, then work 3 dc into the same gap.
- Corner formed: 3 dc, ch 2, 3 dc.
- In the next gap, work:
- (3 dc, ch 2, 3 dc).
- Repeat this sequence (3 dc, ch 2, 3 dc) in all corners.
- At the end of the round, sl st to the first corner dc.
Round 3 (and Additional Rounds)
- At the start of each round, sl st into the next corner space, chain 3, and repeat the corner formula:
- (3 dc, ch 2, 3 dc) into each corner space.
- Work 3 dc into each non-corner gap/space around the square.
- Continue expanding your granny square for 8 total rounds (or your desired size).
Changing Colors
- To add a new color, fasten off your current yarn by chaining 1, cutting the yarn with a tail, and pulling through to secure.
- Attach the new color to the corner space with a slip knot on your hook, pull through, and begin the next round with a ch 3.
Assembling the Bag
Step 1: Layout
- Lay your three finished granny squares flat, wrong side facing up.
- Arrange the squares in an L-shape configuration:
- Place two squares side by side (forming the back of the bag).
- Place the third square vertically on the right side (this square will be the front of the bag).
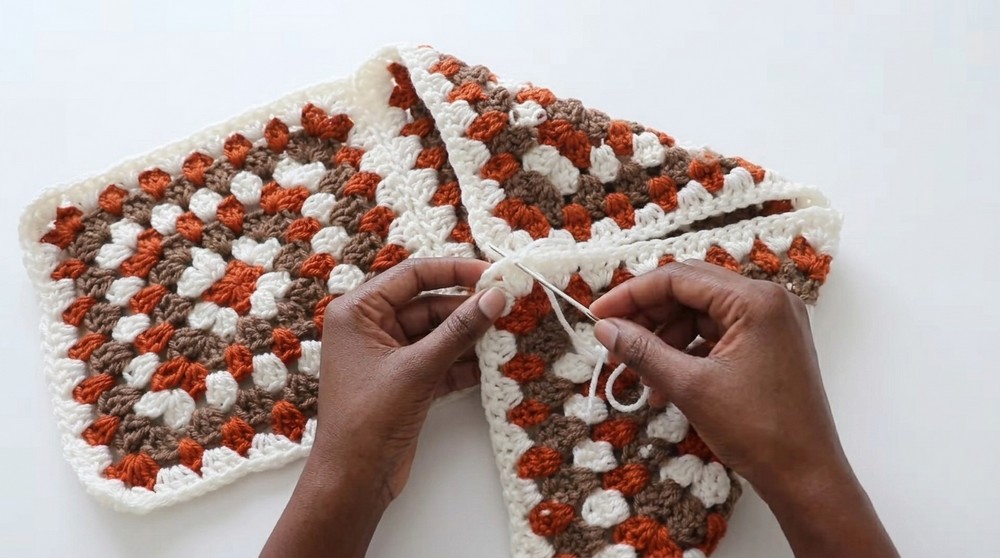
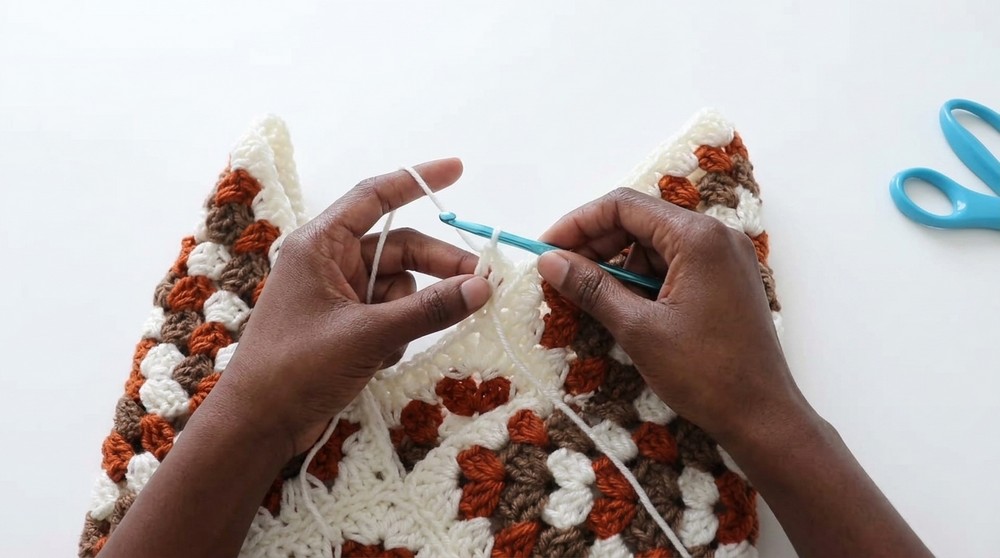
Step 2: Joining the Squares
- Take two squares and place them RS together. Use a tapestry needle and whip stitch to join along one edge, matching up each stitch.
- Once the first two squares are joined, attach the third square to one of the sides of the pair, creating a folded triangular shape.
- When sewing, stitch only through the back loops for a clean and flat seam. Tie off securely and weave in ends.
Step 3: Close the Bag
- Fold the joined squares into a triangular bag shape.
- Whip stitch the two open sides together using the same technique as before. Once stitched, weave in all ends securely.
- Turn the bag inside out so the seams are hidden.
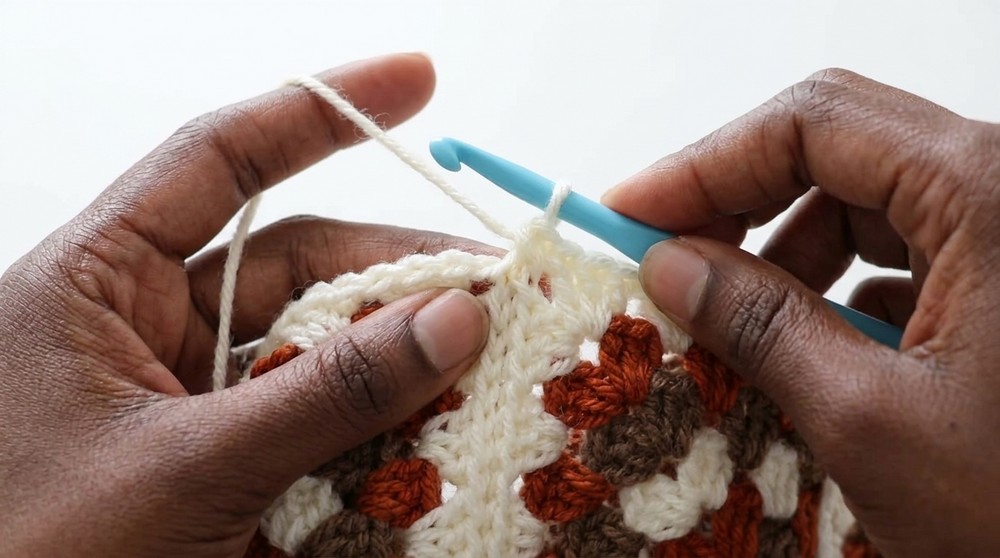
Strap
- Attach yarn to one top corner of the bag.
- Ch 2 (not 3, to avoid extra bulk). Dc across the top edge of the bag.
- At the end of the row, ch 2, turn, and work dc across the previous row.
- Repeat for 17 rows (or your desired strap length).
- Fasten off and leave a long tail for sewing.
- Attach the strap to the opposite top corner of the bag using whip stitches. Align the strap to avoid twisting. Sew securely and weave in ends.
Bow (Optional)
- With a smaller hook (3.25mm), ch 70 (or desired length for a dainty bow).
- Fasten off the chain and weave through two gaps at the top of the bag.
- Tie the chain securely into a bow shape.
Finishing the Project
- Weave in all loose ends using a tapestry needle.
- Block the bag if necessary to shape the granny squares, ensuring a neat finish.
Tips for Success
- Color Harmony: Select complementary yarn colors or use scraps for a fun multicolor look.
- Count Stitches: Ensure that all granny squares are uniform with the same number of stitches per side.
- Stitching Neatly: Use the whip stitch method for cleaner joins; avoid pulling the thread too tightly to prevent puckering.
Final Words
Congratulations! You’ve just crocheted your very own Granny Square Bag! This quick and fun project is perfect as a personalized accessory or a thoughtful handmade gift. Experiment with different colors, yarn textures, or even embellishments to make a unique bag every time.


Leave a Reply