

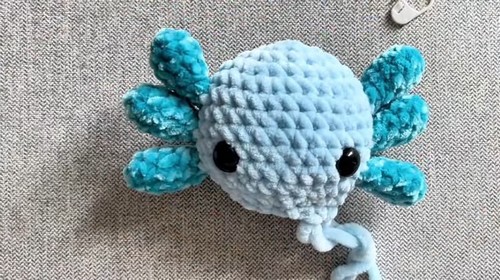
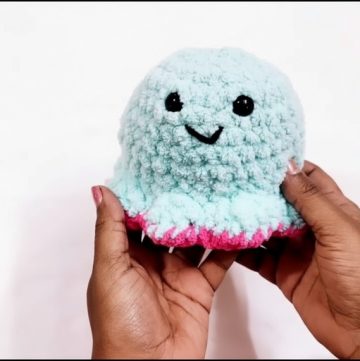
This amazing Crochet Axolotl amigurumi Pattern is a fun project that's great for anyone who likes to crochet, whether you are just starting or have lots of experience. You'll make a cute, soft axolotl with this easy guide. We'll show you each step clearly, so you can enjoy making a new stuffed friend. Gather your crochet hooks and yarn, and let's start crafting together!
Easy Crochet Axolotl Amigurumi Tutorial

Materials Needed:
- Loops and Threads Sweet Snuggles Light Yarn in Aqua Blue (or any color of choice)
- Velvet Yarn (Number 4) for the gills
- Polyfill for stuffing
- Crochet hooks: 6mm and 4.25mm
- Yarn needle
- Stitch marker
- Scissors
- Safety eyes: 16mm
- Plastic washers for eyes
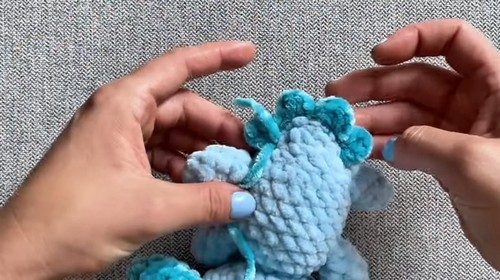
Gills (Make 6):

- Setup: With the 4.25mm hook and velvet yarn, start with a magic circle.
- Row 1: 6 single crochets (sc) into the magic circle. Secure tightly.
- Row 2: 1 sc in the first stitch, 1 increase (inc) in the next stitch. Repeat from * to * two more times (9 sc total).
- Rows 3-4: 9 sc around.
- Row 5: 1 sc, then 1 decrease (dec) three times (6 sc total).
- Row 6: 6 sc around, then slip stitch to finish. Fasten off.
Arms and Legs (Make 4):
- Setup: With the 6mm hook and loops and threads yarn, create a magic circle.
- Row 1: 6 sc into the circle, secure the first row.
- Rows 2-4: 6 sc around for each row. Fasten off after row 4.
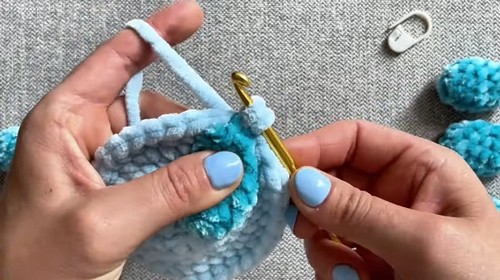
Head and Body:
- Setup: Start with a magic circle using the 6mm hook.
- Row 1: 6 sc into the circle.
- Row 2: Increase in each stitch around (12 sc total).
- Row 3: 1 sc, inc six times (18 sc total).
- Row 4: 1 sc, inc, 2 sc, inc five times, 1 sc (24 sc total).
- Row 5: 3 sc, inc six times (30 sc total).
- Row 6: Start attaching gills; 12 sc, attach a gill with 3 sc using the no-sew method, 12 more sc.
- Row 7: 30 sc around.
- Repeat a similar pattern for attaching the remaining gills in subsequent rows, alternating between 30 sc around rows and gill attachment rows.
Final Steps:
- Continue following the pattern for increasing, attaching parts (eyes, arms, legs), decreasing for the head shaping, and securing with slip stitches as instructed.
- Stuff with polyfill as you go, particularly before closing sections.
- Attach safety eyes between rows 9 and 10, around eight stitches apart.
- Final decreasing rows for the head, then proceed to crochet the body, attaching arms and legs in a manner similar to the gills.
- Finish with closing the body, adding any final details like tail fins, and weaving in loose ends.
Tail Detail:
- Setup: Use the 4.25mm hook and blue velvet yarn, start on the side of the tail.
- Create Detail: Chain stitch along the tail, then work a pattern of stitches to create a fin look.
Closing:
- Secure all yarn ends, stuff the body fully, and close up the final part of the crochet axolotl.
This pattern captures the essence of the tutorial you've specified, presenting a concise and structured crochet pattern for an adorable axolotl plush. Happy crocheting!

Leave a Reply