

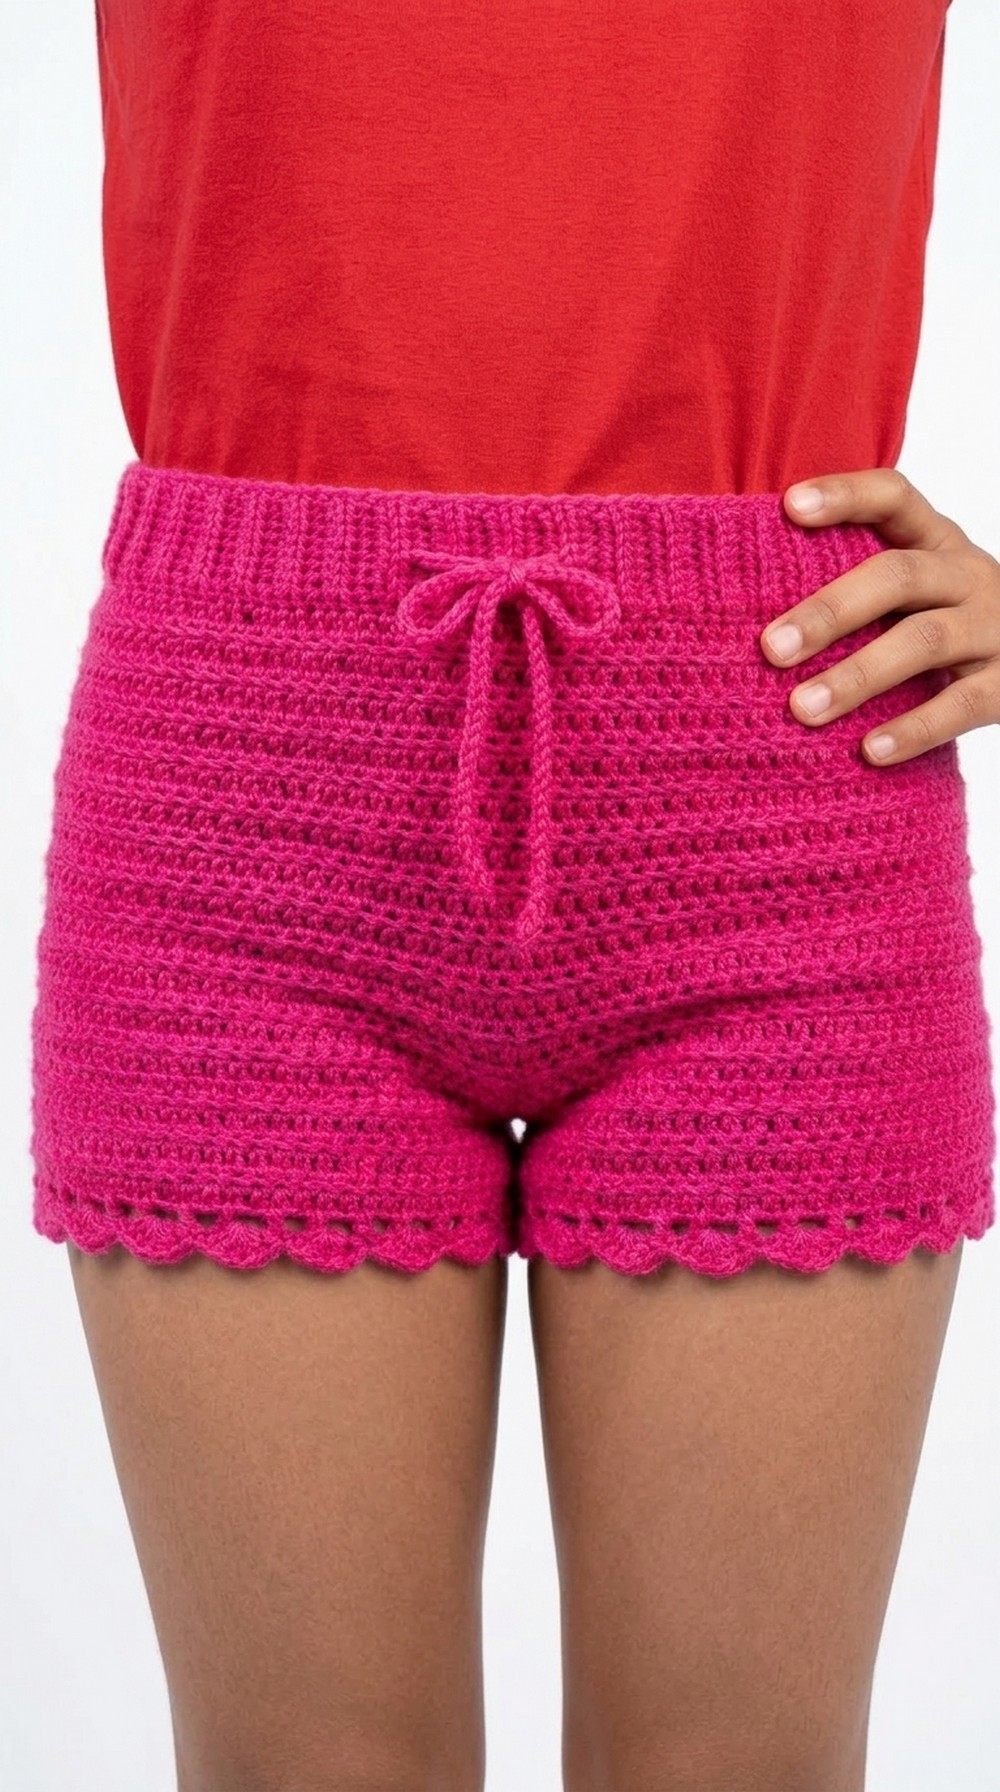
Stitch soft and breathable crochet shorts with this free guide, highlighting unique details like a drawstring waistband and charming scalloped edges.
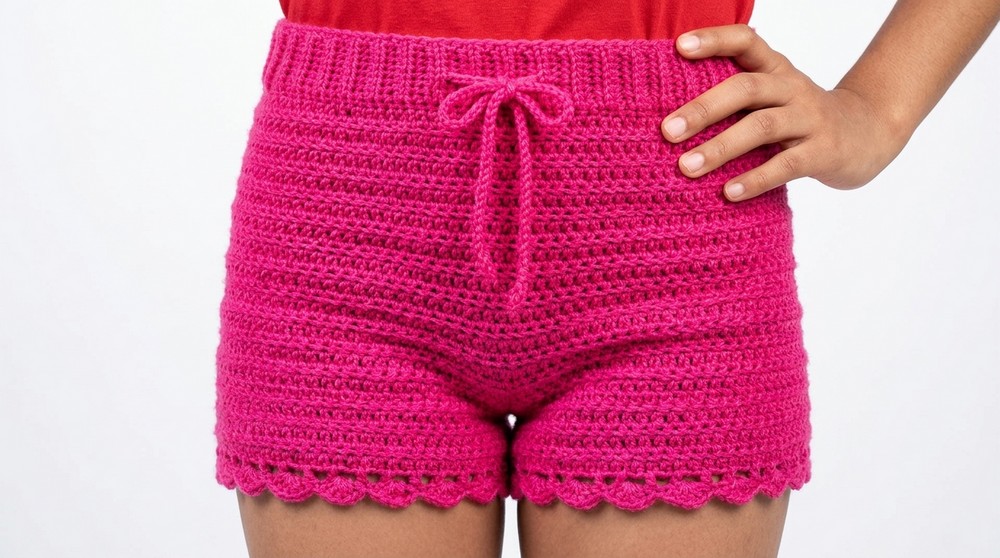
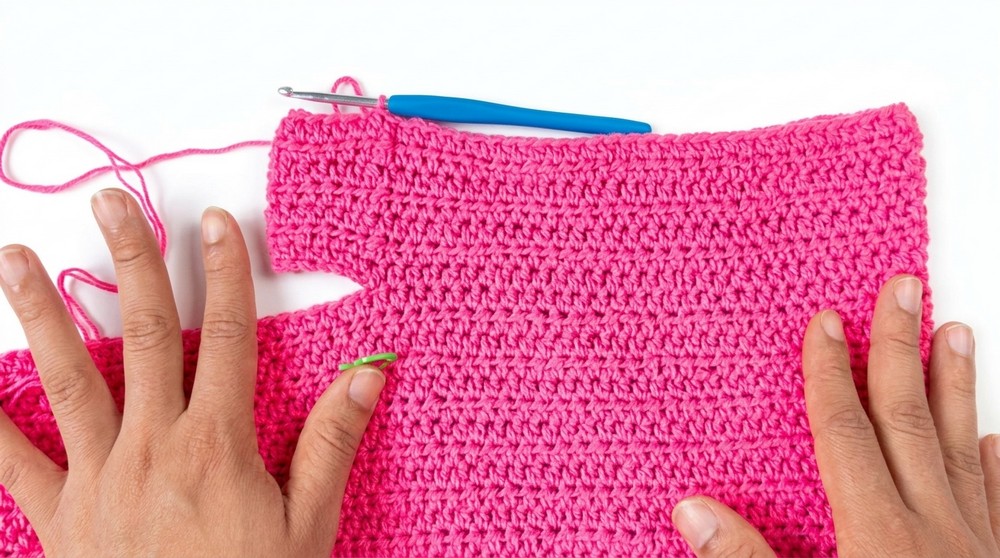
Creating a stylish and comfortable piece of clothing with your own hands is always exciting, and this project brings life to a simple yet elegant design. This Free Crochet Shorts Pattern offers a practical, step-by-step guide to crocheting your very own shorts, perfect for lounging at home, summer outings, or casual wear. These shorts are designed with beauty and functionality in mind, featuring a ribbed waistband that adds stretch and comfort, allowing for a snug and adjustable fit. Using techniques like single crocheting in the back loop and half double crochets for the body, the pattern creates a durable yet soft texture that is both visually appealing and cozy to wear.
Chic and Comfortable Crochet Shorts Pattern
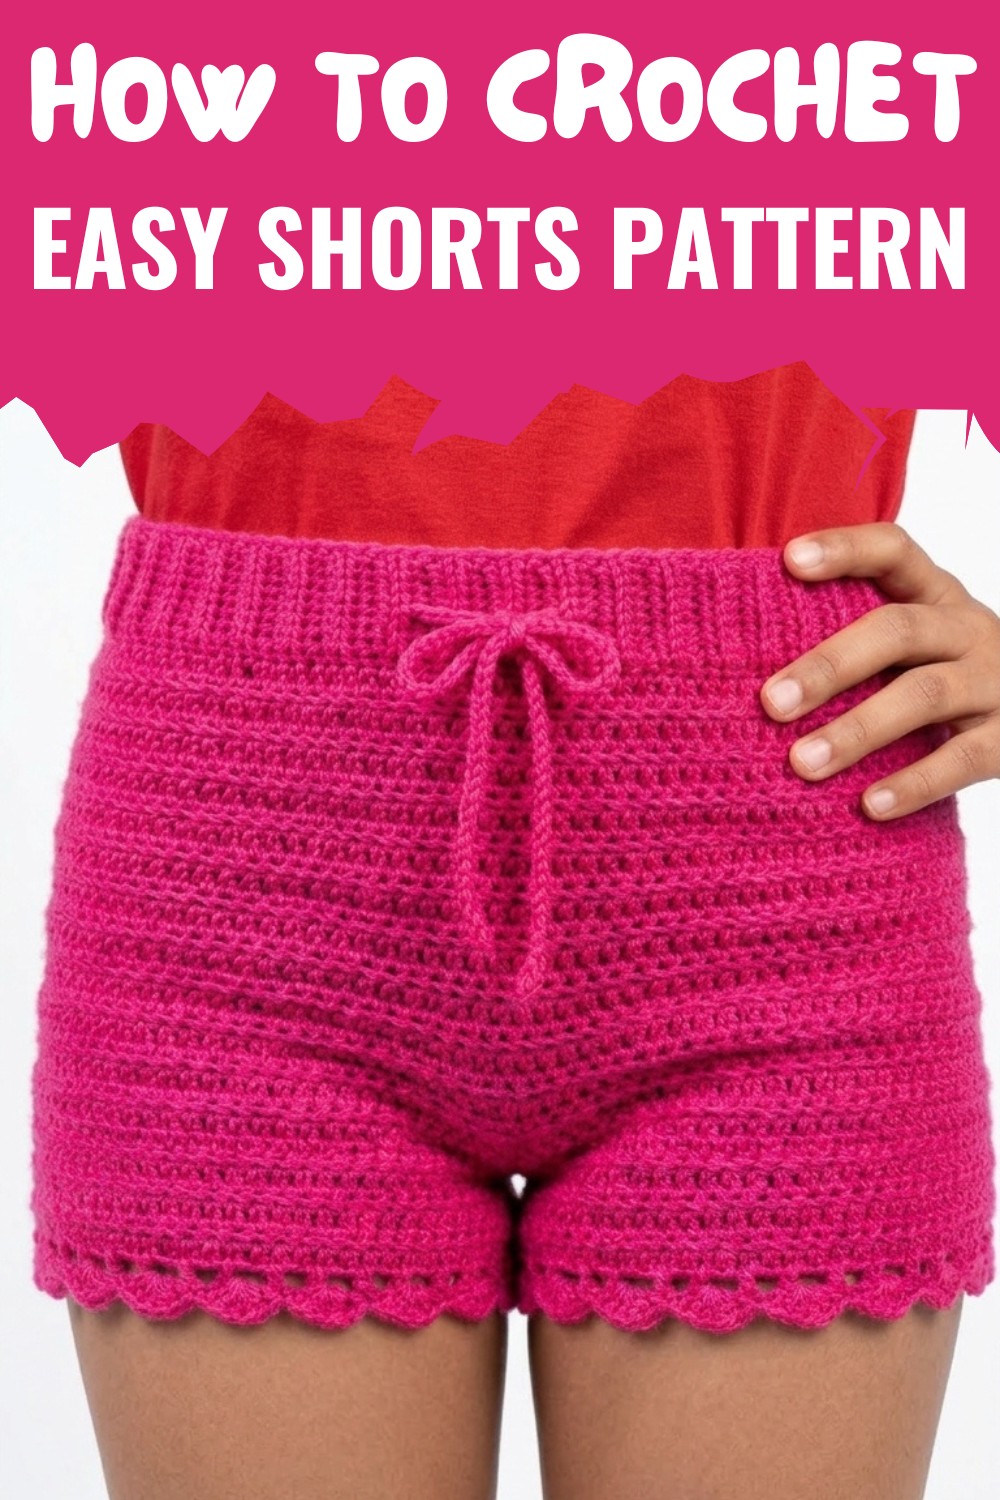
The adjustable drawstring waistband enhances both form and function, while the clean finishing, scallop edging, and optional mesh pattern give the shorts a playful flair. Whether styled with a matching top or worn on their own, these handmade shorts are perfect for customizing to your size, style, or preferred color combination.
The ease of making these shorts is what makes this pattern special—even beginners can follow along, with tips for accurate measurements provided at every step. Practical, fun, and fashionable, this is a project to showcase your creativity and enjoy for years to come.
Easy Crochet Short Pants Pattern
Materials Needed
- Yarn: Two-ply acrylic yarn (100% acrylic) used with double strands. Choose your preferred brand and color.
- Crochet Hook: 4 mm size.
- Accessories:
- Scissors
- Needle (for sewing loose ends and inserting waistband straps)
- Stitch Markers (important for marking stitches for beginners)
- Measuring Tape
Special Techniques
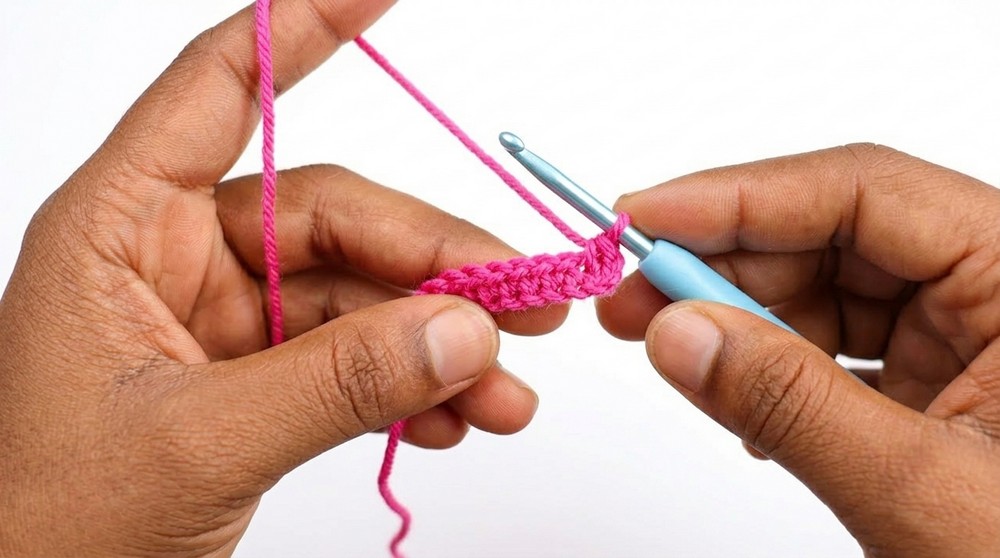
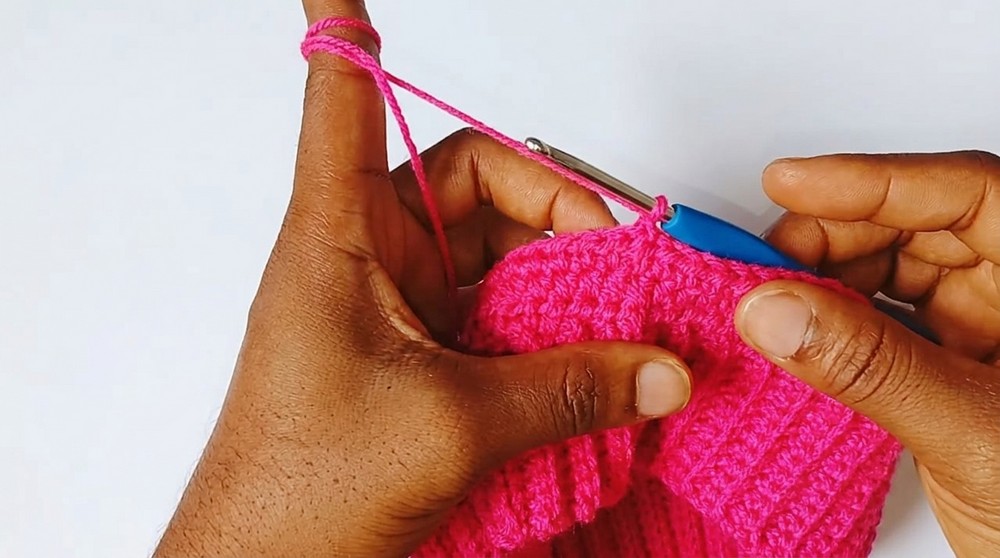
- Slip Knot: Used to start the project. Create by twisting the yarn and pulling a loop through.
- Chain (ch): The foundation of the project.
- Single Crochet (sc): Insert the hook, yarn over, pull up a loop, yarn over again, and pull through two loops.
- Half Double Crochet (hdc): Yarn over, insert the hook, yarn over, pull up a loop, yarn over again, and pull through all three loops at once.
- Double Crochet (dc): Yarn over, insert the hook, yarn over, pull up a loop, yarn over again, and pull through two loops twice.
- Back Loop Single Crochet: A single crochet stitch worked into the back loop only, creating a ribbed effect.
- Slip Stitch (sl st): Insert the hook, yarn over, and pull through all loops.
Pattern Instructions
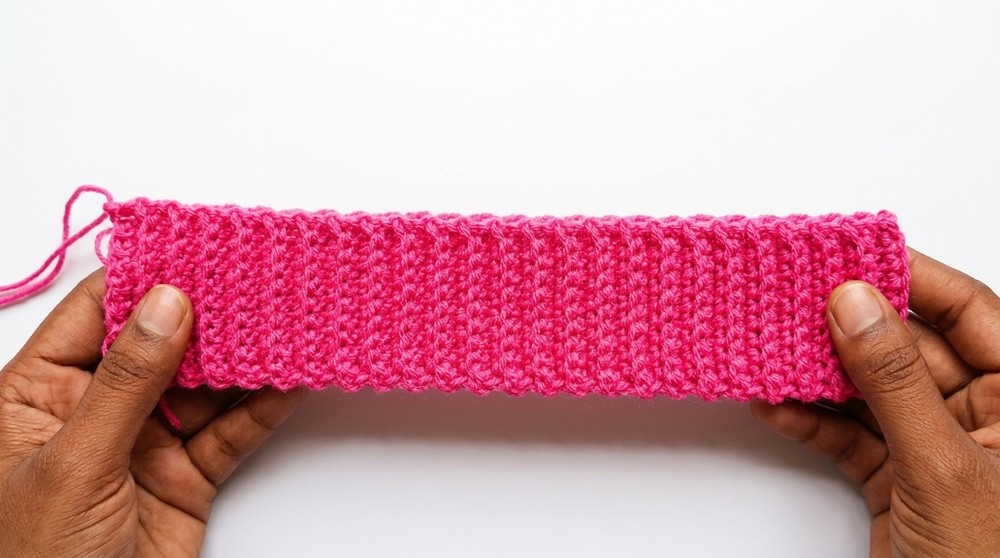
1. Waistband
- Start with a slip knot.
- Chain 10. The 10 chains will give a 2 ½-inch waistband width (this may shrink slightly to 2 inches).
- Row 1: Single crochet (sc) in the second chain from the hook and across the row. You should have 10 sc stitches. Mark the first stitch with a stitch marker for ease.
- Row 2: Chain 1, turn your work, and single crochet (sc) in the back loop only of each stitch. Insert a stitch marker in the first and last stitches of every row to prevent confusion.
- Repeat Row 2 until the waistband reaches your desired length. To measure, stretch the waistband lightly to ensure it meets the required length. For example, if the relaxed length is 11 ½ inches, it should stretch to 13 ½ inches for a proper fit.
2. Joining the Waistband
- Once the waistband is complete, fold it in half lengthwise with the right sides facing each other.
- Align the edges and join them using slip stitches. Insert the hook into the back loop of one side and into the beginning chain of the opposite side, making slip stitches across.
- Turn the work to prepare for the body of the shorts.
3. Body of the Shorts
- Round 1:
- Chain 1 and work half double crochet (hdc) evenly around the waistband.
- Place a stitch marker in the first hdc stitch to mark the beginning of the round.
- Join with a slip stitch to the first hdc once the round is complete.
- Round 2 (Increase Round):
- Chain 1 and turn your work.
- Work increases at two points (one on each side). To increase, place two hdc stitches in the identified stitch and mark the second hdc with a stitch marker.
- Continue to hdc across, placing another increase at the second marked point.
- Round 3 (Non-Increase Round):
- Chain 1 and turn your work, ensuring no increases are made in this round. Simply hdc across all stitches.
- Continue Alternating Rounds: Repeat Round 2 (Increase Round) and Round 3 (Non-Increase Round) until the shorts reach the desired hip measurement when slightly stretched.
4. Shaping the Crotch
- After completing the measured length for the hip, work until you have a total body length of 9 inches (for a size small).
- Mark the middle point of the shorts with a stitch marker for dividing the legs.
- Crotch Bridge (Joining with Chains):
- Chain enough stitches (approximately 3.5 inches or 15 chains) to bridge the crotch. Ensure the chains are loose enough for ease of stitching later.
- Join the chain to the opposite side of the shorts using a slip stitch.
5. Working the Legs
- Starting the Left Leg:
- Turn the shorts and work half double crochets (hdc) evenly around the newly created leg opening.
- Use stitch markers to mark the first stitch of the round.
- Continue working hdc rounds until the desired length is achieved.
- Mesh Pattern (Optional for Decorative Edge):
- After reaching the desired leg length, begin the mesh pattern. To do this:
- Chain 3 (counts as 1 dc and 1 chain).
- Skip 1 stitch and work 1 dc into the next stitch.
- Chain 1, skip a stitch, and repeat the pattern.
- Finish the round by slip stitching into the second chain of the beginning chain-3.
- After reaching the desired leg length, begin the mesh pattern. To do this:
- Scallop Edging:
- Begin with a single crochet in a stitch.
- Chain 3 and work 3 dc into the same stitch to form a scallop.
- Skip one stitch and secure the scallop with a single crochet in the next.
- Repeat the process around the leg opening and join with a slip stitch.
- Repeat for the Right Leg: Follow the same process as the left leg for the second leg.
Finishing
- Weave in all loose ends using a tapestry needle.
- Create a drawstring or strap for the waistband:
- Use a chain of sufficient length to wrap around the waistband and tie securely.
- Thread the chain through the ribbed stitches of the waistband, skipping every two stitches.
- Stretch the shorts gently to shape them and ensure proper fit.
Final Words
Congratulations on completing your handmade crochet short pants! This project combines style and comfort, making it perfect for any casual occasion. Whether lazy days at home or a stylish touch to your outfits, these shorts are sure to impress.
Tips to Maintain the Pattern
- Washing: Hand wash in cold water, as acrylic yarn may lose its shape with machine washing.
- Storage: Fold neatly or hang to avoid stretching.
- Custom Sizing: Adjust the waistband and body length to fit your measurements. Add or reduce chains to create a perfect fit.
- Practice Stitches: If new to crochet, practice the single and half double crochet stitches on scrap yarn before starting.
Leave a Reply