

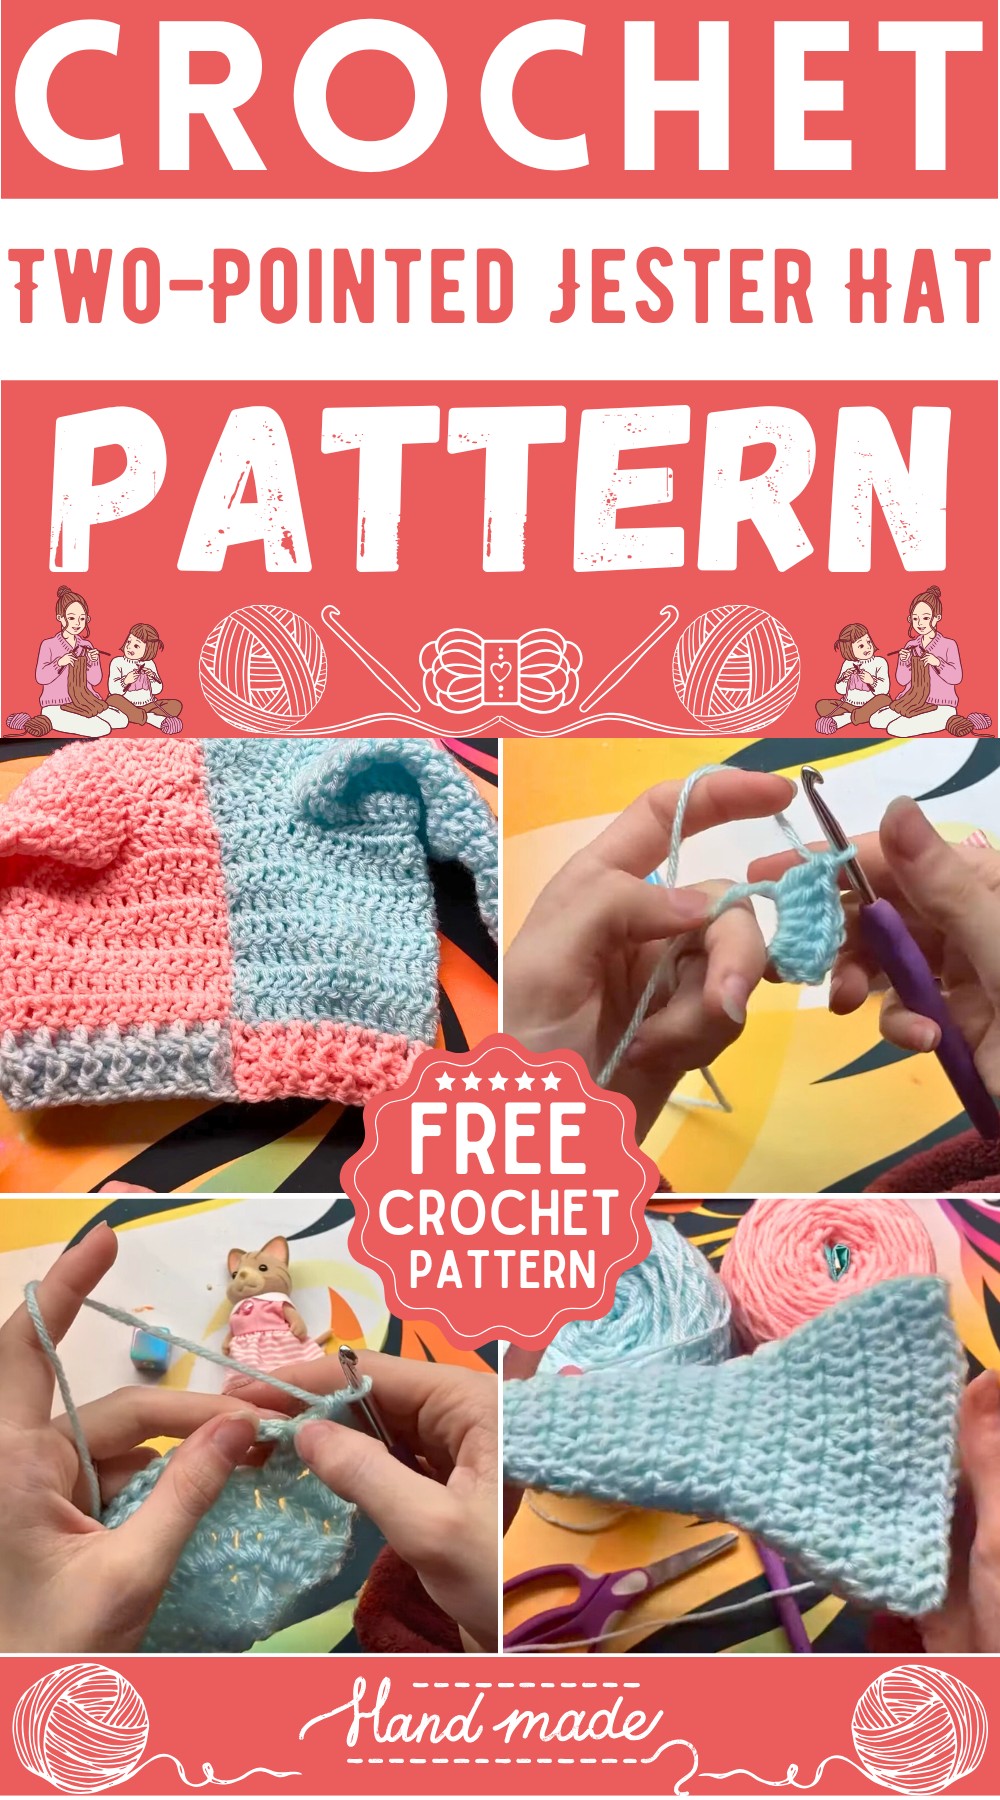
Brighten up your day or your costume wardrobe with a crochet two-pointed jester hat! This playful accessory can add a splash of color and whimsy to any outfit, making you stand out in a crowd. Making your own jester hat involves simple crochet techniques and allows you to choose from a rainbow of colors.
Crochet Two-Pointed Jester Hat
Materials Needed:
- Two colors of worsted weight yarn
- 5 mm crochet hook
- Scissors
- Darning needle
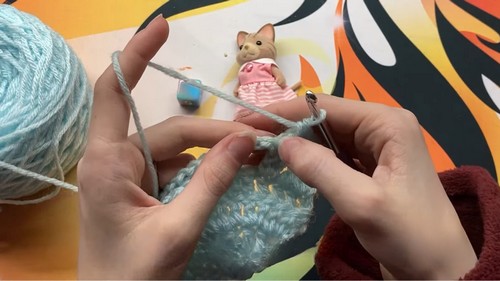
Cone (Make 2 in Different Colors, Rounds 1 to 15 as per original video):
- Begin with a slip stitch and leave a long tail (~18 inches) for sewing later.
Crown of the Hat (Starting with your main color):

Magic Ring:
- Chain 2 (counts as a stitch).
- 5 double crochets into the magic ring.
- Close ring with 6 stitches total.
Round 2:
- Chain 2 (counts as a stitch).
- Increase across by completing two double crochets into each stitch around.
- End with 12 stitches.
For Round 3:
- Chain 2 (counts as double crochet).
- Alternate between one double crochet and one increase in the next, around.
- Finish round with increases.
Round 4:
- Chain 2.
- Do 4 regular double crochets, then one increase.
- Repeat this pattern to the end of the row.
Round 5:
- Start with a chain of 2 and two double crochets (3 stitches total).
- Perform an increase.
- Chain 19, skip 13 stitches, and resume double crocheting to the end of the round.

Finishing Crown (Sizes Small & Large):
- Continue adding rounds as per the size requirement (Small: 22 inches, Large: 24 inches) until the crown covers the desired head circumference.
- For a small hat, continue straight with one double crochet in each stitch for 13 rows.
- For a large hat, rows increase in size, resulting in more stitches per row until you reach 13 rows total.
Brim (Both Sizes):
- Fasten off the first color and attach the second color.
Row 14:
- Double crochet across.
Row 15:
- Chain one (does not count as a stitch), alternate between front post double crochet and back post double crochet across.
In Row 16:
- Chain one, start with back post double crochet, alternate to the end.
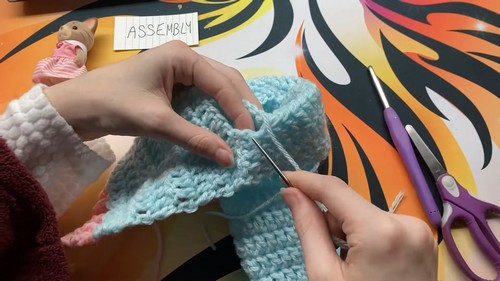
Assembling the Hat:
- Use the long tail from the cone pieces to sew the point to the crown, aligning the hole in the crown with the base of the cone.
- Adjust and secure the cone to the crown with stitches, ensure matching colors are on correct sides.
- Finish by sewing the two crown pieces together, ensuring color alignment for the two-toned effect.
Pom Poms:
- Create pom poms using a pom pom maker or cardboard template.
- Attach pom poms to the tips of the hat for the full Jester effect.
Completion:
- Weave in any remaining loose ends within the hat.
- Sew pom poms to the tips of each cone.


Leave a Reply