

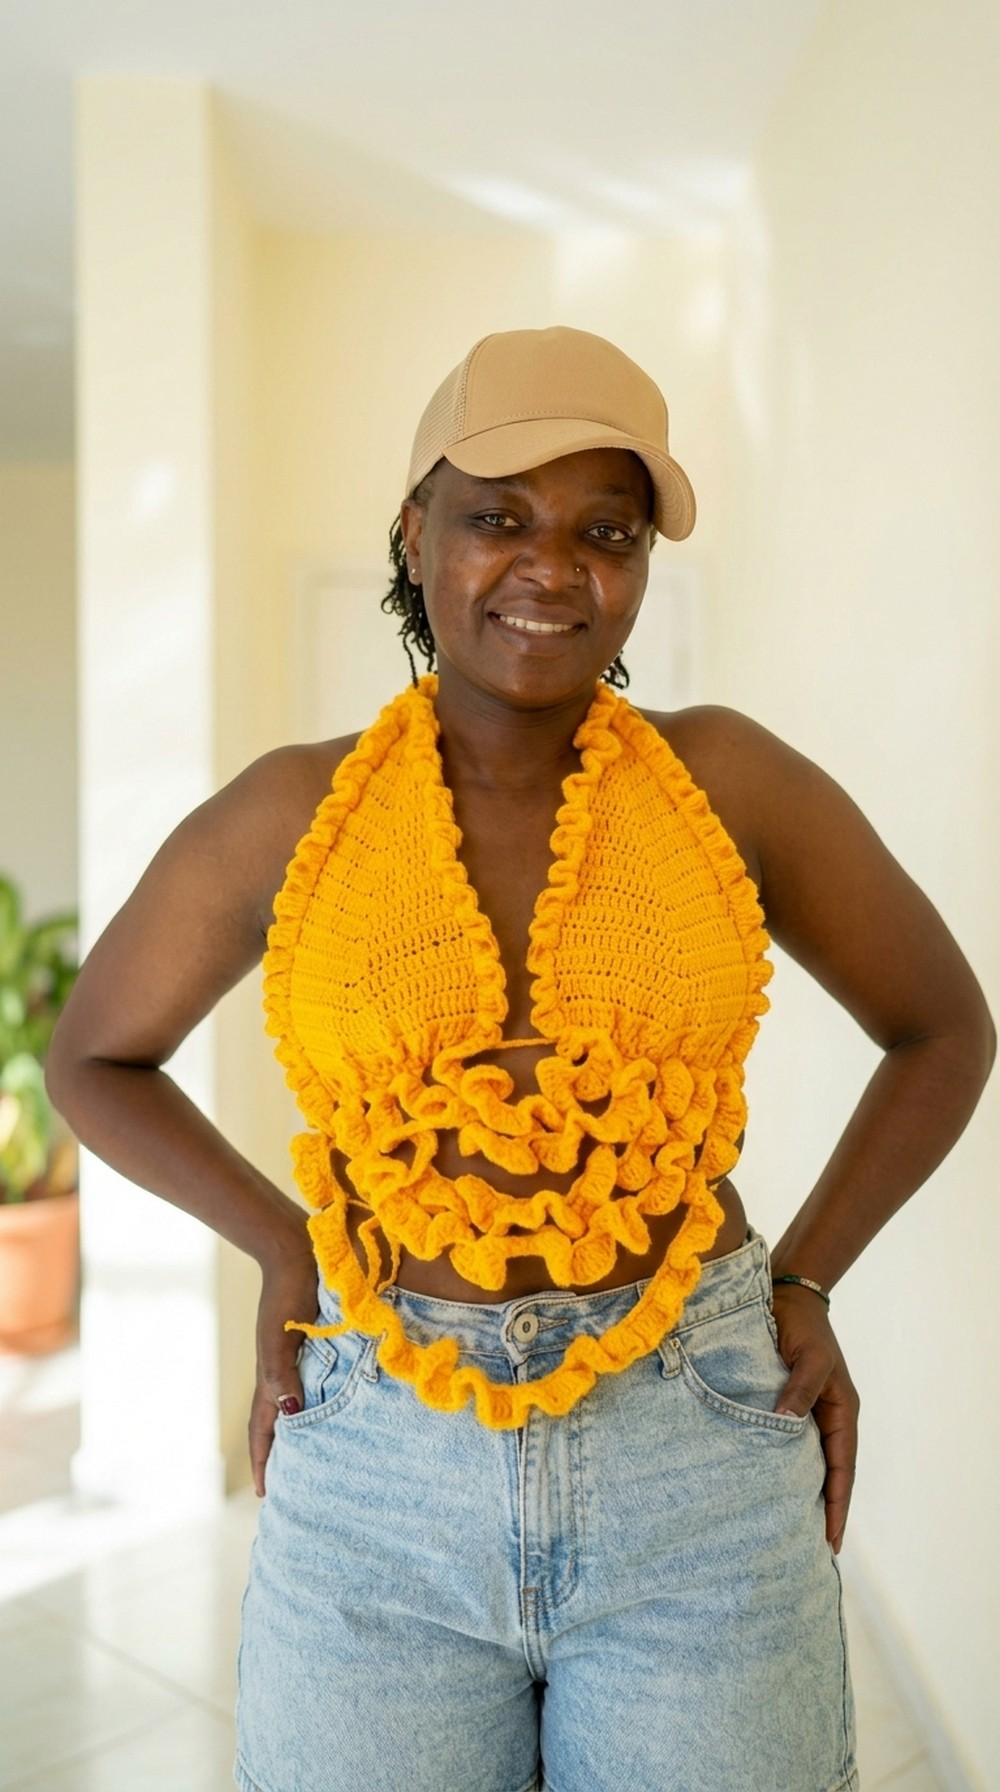
Learn This Crochet Ruffle Halter Crop Top Pattern For Bold Style

The ruffle details make the pattern stand out with their voluminous, feminine look, while the halter neck fit provides great support and a flattering silhouette. Fully customizable, this pattern allows you to tailor the size and coverage to your personal preferences, making it suitable for any body type. From a casual pairing with high-waisted shorts to a statement addition over maxi skirts, the versatile style ensures you’re dressed both comfortably and stylishly.
Working through this pattern offers the opportunity to produce a wearable pattern with a personal touch, making it perfect for gift-giving or keeping as a wardrobe staple. With adjustments for fit, simple stitches, and creative ruffle placements, this project is ideal for intermediate crocheters looking for fashionable yet functional additions.
Skill Level
Intermediate
Although beginners can attempt this pattern, the increasing rows, ruffle technique, and strap assembly may require familiarity with crochet basics such as stitching, color changes, and measurements.
Special Features
- Ruffled edges at the back, under-bust areas, and sides for a feminine, voluminous design.
- Fully adjustable bra cups to suit multiple sizes.
- A supportive halter strap tied at the neck.
- Includes tips to customize coverage and size.
Materials Needed
- Medium-weight yarn (100% Acrylic or equivalent; example: Winter King).
- 3 mm crochet hook.
- Darning (yarn) needle.
- Stitch markers (optional for middle stitch marking).
- Scissors.
Detailed Step-by-Step Pattern
Step 1: Making the Bra Cups
- Start With a Slip Knot:
- Chain 5, and count 1, 2, 3 into the 4th chain (yarn over, insert hook).
- Work 3 double crochets (DCs) in total to complete Row 1.
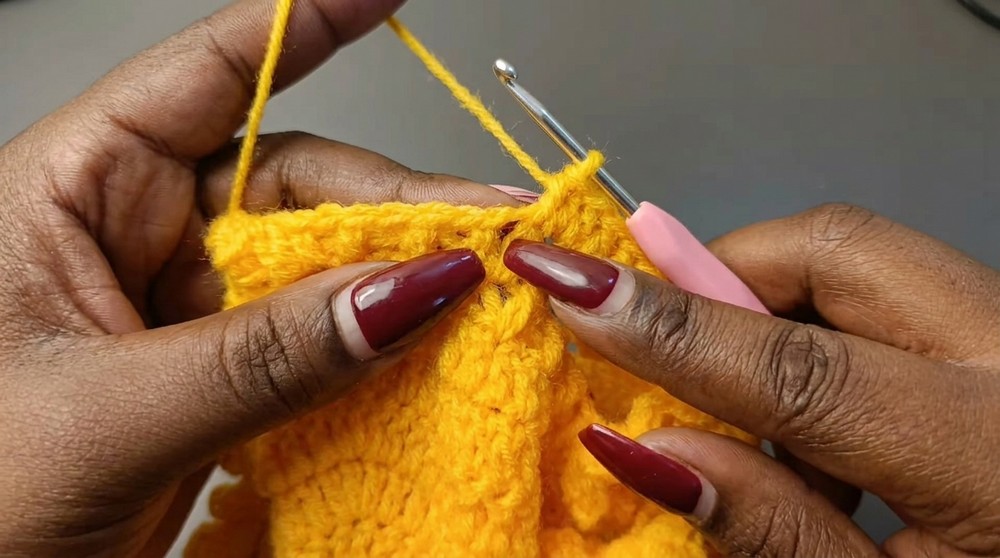
- Row 2:
- Chain 3 (counts as first DC), turn.
- Skip the first stitch; work DC into the second stitch, and DC into the top of the chain 3.
- Repeat Row 2 for a total of 30 rows.
- This forms the strap that goes around the back of the halter top.
- Adjust the row count for longer or shorter coverage (depending on body size).
2: Increasing Rows for Full Bust Coverage
- Start Increasing: Chain 3, turn.
- In Row 31, place 3 DCs in the second stitch (middle stitch of the row), followed by 1 DC in the last stitch.
- This row will now have 5 DCs in total.
- Mark the Middle Stitch:
- If you have trouble identifying the middle stitch, use a stitch marker for easy reference during increases.
- Repeat Rows With Increasing Stitches:
- Continue adding 1 more DC on each side of the middle increase stitch as you progress through rows.
- Example: Row 32 = 2 DCs before the middle stitch, increase, 2 DCs after. Row 33 = 3 DCs before and after.
- Stop When You Reach Full Coverage:
- For a size small, this typically takes 18 rows of increase after the initial 30 rows (total: 48 rows).
- Check the coverage by placing the cup on your bust and ensuring the strap lies comfortably over your shoulder.


3: Adding Ruffles to the Bra Cups
- Attach Yarn to Bra Cup Strap:
- Secure yarn on the side of the strap, chain 3 (counts as first DC).
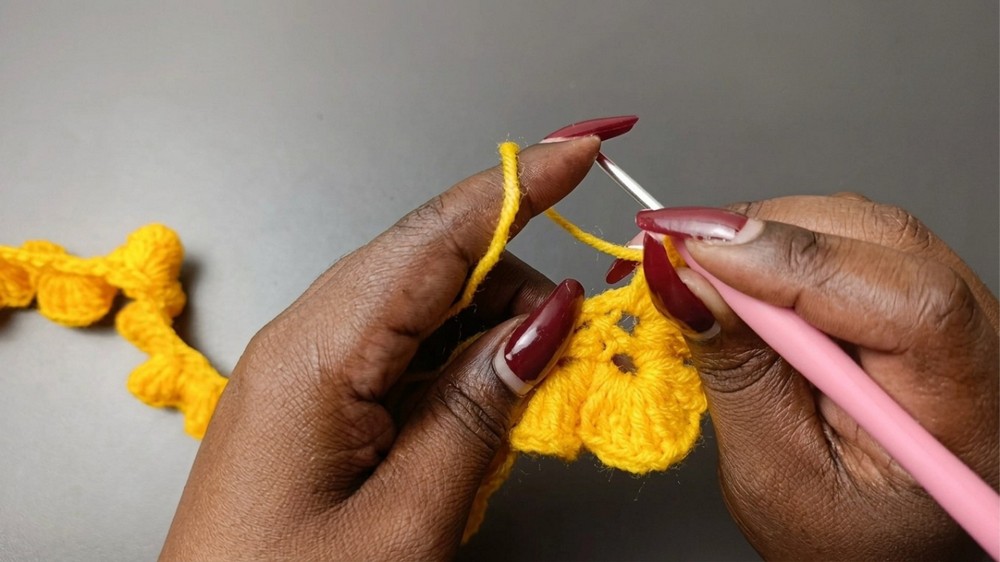
- Work Ruffles:
- In each row along the strap, work 8 DCs into each row’s edge.
- For more pronounced ruffles, increase to 10 DCs per row.
- At the very edge of the strap, place 15 DCs to create a fuller ruffle look before turning to the other side.
- Continue Ruffles on the Other Strap Edge:
- Repeat the same process on the opposite side of the strap, slipping stitches as needed to connect securely.
4: Creating and Attaching Halter Neck Straps
- Double the Yarn for Thicker Straps:
- Hold two strands together, make a slip knot, and chain 200 (or adjust length based on preference).
- Attach Strap:
- Use a darning needle to weave the strap securely through the bottom row of each bra cup.
- Ensure even distribution and pull slightly to tighten for a gathered effect.
5: Bottom Ruffle Design
- Start With a Chain:
- Measure your waist for sizing (example: 21 inches). Chain an appropriate number (about 60 stitches) to match, giving slight stretch allowance.
- Single Crochet Foundation Row:
- Create a row of single crochets over the chain for even ruffle attachment.
- Work Ruffles:
- Add 4 DCs in each single crochet stitch across to form lush ruffles.
- Add Additional Rows:
- Repeat the process for the ruffles at the bottom section, gradually reducing the chain lengths (example: 65 chains, 50 chains, 40 chains for tiered effects).
Tutor Suggestions
- Marking the Middle Stitch: Carry a stitch marker to simplify increases and ensure symmetry on both bust cups.
- Ruffle Customization: Adjust DC count in ruffle rows for softer or more dramatic looks.
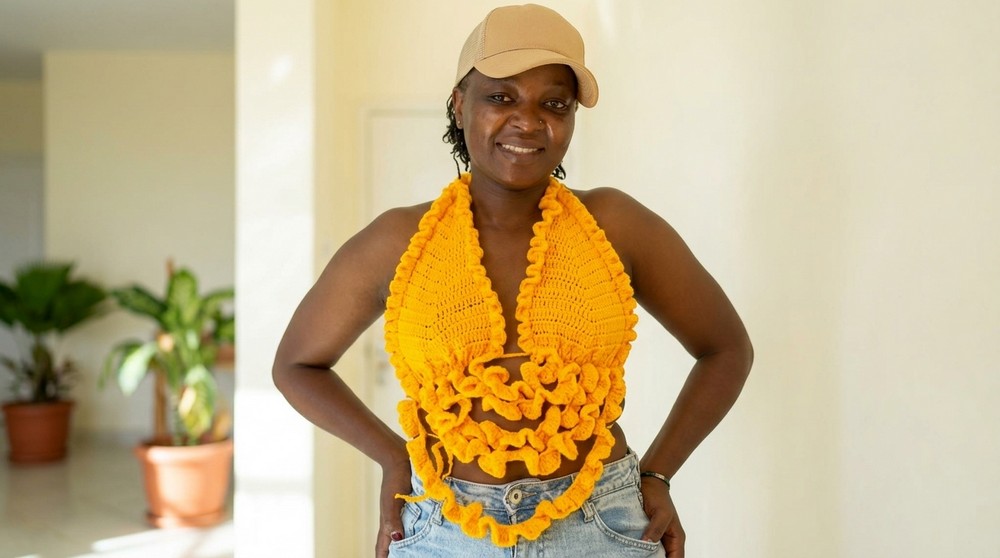
Uses and Benefits
This halter crop top is perfect for beach outings, casual poolside attire, summer festivals, or as part of a layered boho outfit. The ruffled edges add playful detail and allow the top to stand apart as a fashion-forward statement piece. Its fully adjustable fit means you can tailor it to match your body type.
Tip!
When working ruffles, keep stitches loose to avoid curling or twisting. If too many stitches are added, the fabric may fold into overly tight waves. Finding a balance between pronounced and elegant ruffles ensures the best look!
Conclusion
The Crochet Ruffle Halter Crop Top is a beautiful project that combines practicality and style, offering fun ruffle details and adjustable features for the perfect fit. The step-by-step pattern ensures that crocheters of all levels can enjoy creating this eye-catching garment. Whether worn casually or for a special occasion, this top is sure to turn heads and be a delightful addition to your handmade wardrobe.


Leave a Reply