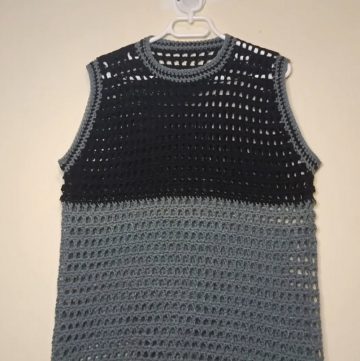
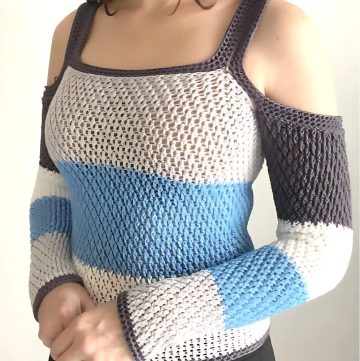
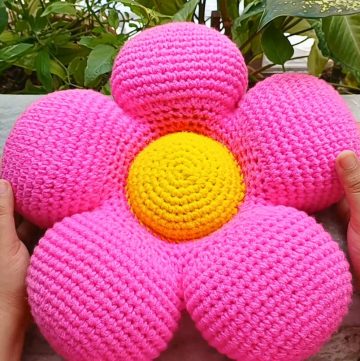
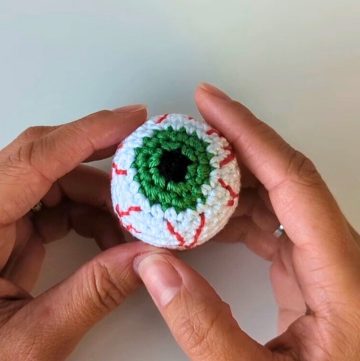
Start your crochet adventure with a fun and easy mesh hat pattern perfect for beginners! With clear instructions and a straightforward design, you'll soon be hooking up a stylish, breezy hat ideal for sunny days. Whether you're picking up a crochet hook for the first time or looking to add a quick project to your collection, this tutorial will guide you through each stitch with ease, helping you make a charming new accessory for your wardrobe or a thoughtful gift for a friend.
Crochet Mesh Hat Tutorial

Materials Needed:
- Yarn (thicker type suggested for this project)
- Measuring tape
- A tool for threading beads onto the yarn
- Crochet hook (8 mm suggested for thicker yarn)
- Beads (example used beads from Walmart)
- Additional thread for attaching beads
- Scissors
Pattern Overview:

Starting Loop:
- Create a loop around your finger by wrapping the yarn once towards the back.
- Grab the yarn and keep it a bit loose.
- Insert your crochet hook and grab the yarn at the back to pull forward.
- Perform a twisting motion to lock the initial loop.
First Stitch & Chain:
- Go into the loop, wrap yarn around, pull through to have two chains on the hook.
- Wrap around, pull through one. Repeat this 8 times for the top of the hat.

Closing the Circle:
- Pull the short end of the string to close the circle.
- Feed into the top two chains on the opposite side to start forming the circle properly.
Creating the Base Shape:
- Chain up 3 for the base.
- Perform two double crochets into one spot repeatedly for increasing stitches.
Increasing Stitches:
- Follow the pattern until you've increased enough to have a total of about 18 stitches, aiming for a total top size to fit your head.
Building the Hat’s Body:
- After achieving the circle shape, continue with the pattern but start incorporating spaces by chaining one extra between stitches.
- For thinner yarn, you may need to adjust the pattern accordingly.

Direction and Shape Adjustments:
- Only crochet into half of the chain to change the direction of the hat, creating a unique design shape.
Finishing the Body:
- Continue with double crochets and chain ones, ensuring to go through both top chains for each stitch.
- After reaching the desired length, perform a slip stitch to close off the row.
Repeating the Pattern:
- Repeat the pattern of chain 3, skip one stitch, and then double crochet in the top of the chains until you reach the hat's bottom.
Final Rows:

- Once you've reached the desired length (suggested seven rows for thicker yarn), finish off by cutting the yarn and weaving in the ends.
Adding Beads:
- Take a piece of thread, fold it in half, and thread it through the bottom edge of the hat.
- Use your tool to weave in the thread through the beads, then push them down onto the thread on the hat, securing them with a knot (consider using a bit of super glue for extra security).
Final Touches:
- Attach multiple beads using the method described for decorative trinkets around the hat.
Completion:
Your crochet beaded hat is now complete! Enjoy your new creation and feel free to modify it according to your taste!
Credit
This post is featured by our amazingly talented knitter/ crocheter partner KIARA. The above video can help you learn about this pattern visually and make it easier for you to follow the amazing guide for achieving your desired results. If you wanna know more about Kiara. Here's a link to her Youtube channel ( Kiara'shooks )


Leave a Reply