

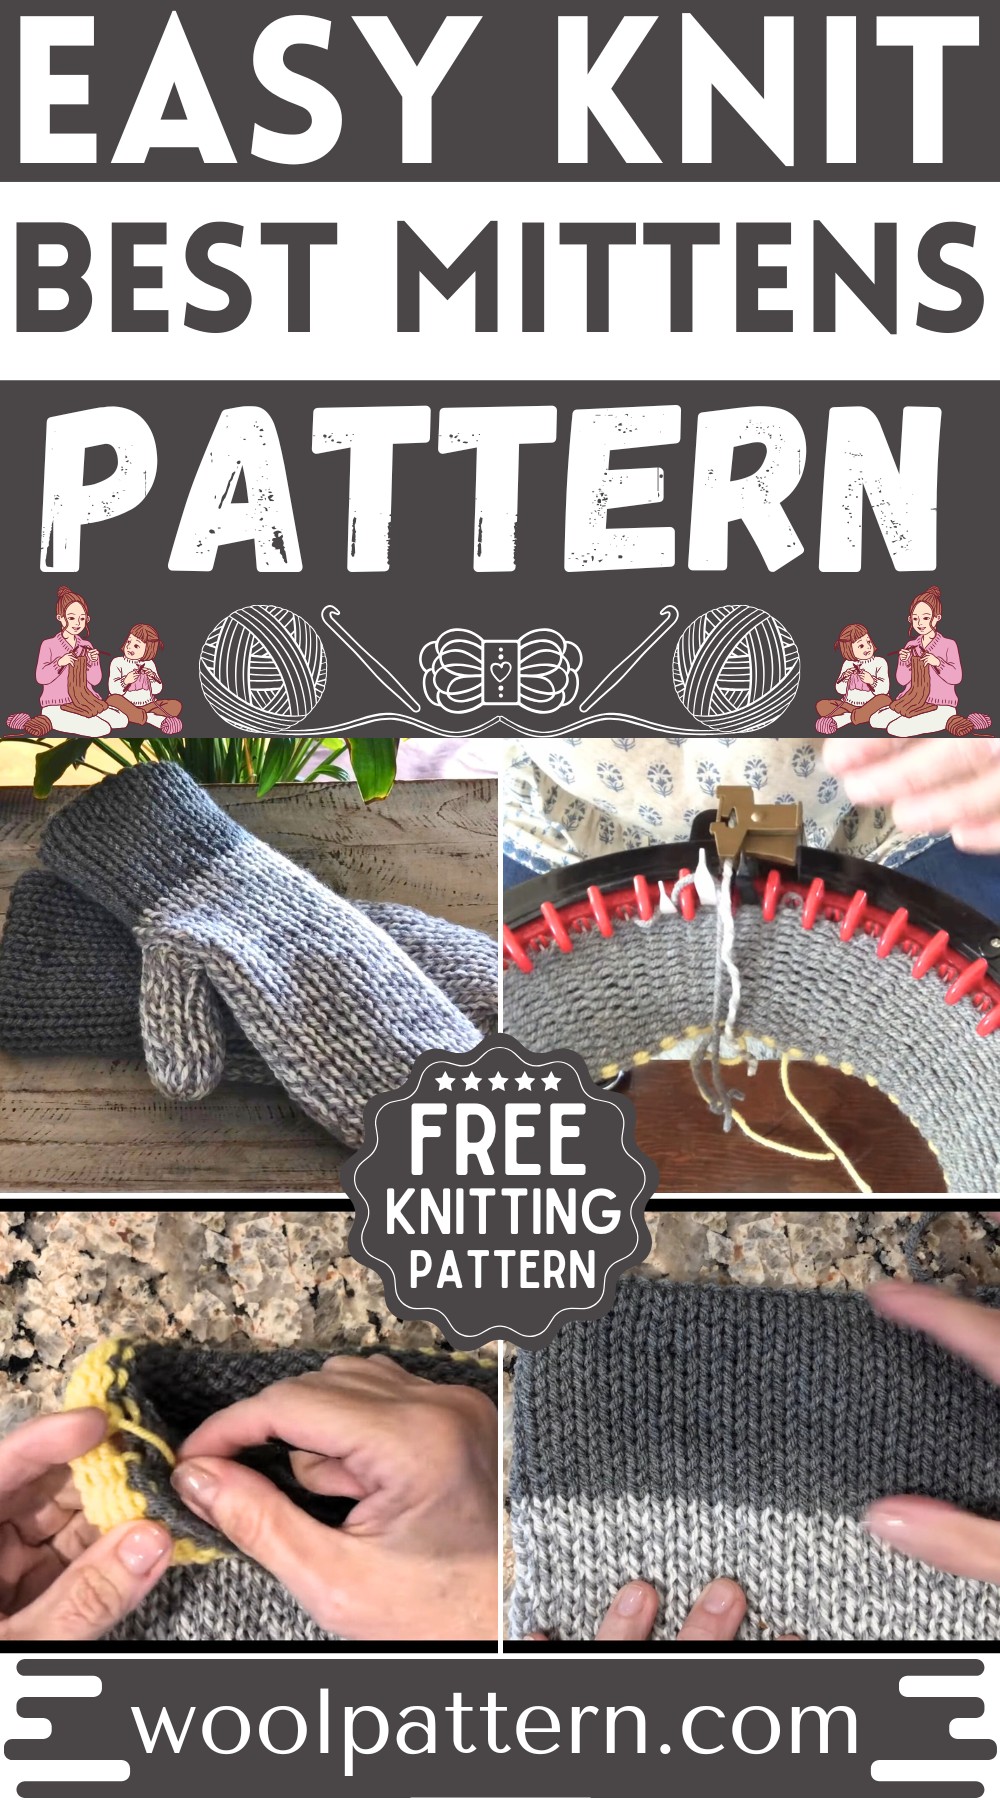
Want to Knit your own cozy mittens? Follow this simple guide, and you'll be on your way to creating a warm pair just for you or a special someone. With easy-to-follow steps, you'll piece together perfect mittens. Perfect for chilly days or cool evenings, these mittens are a great way to keep warm. Choose your colors and start knitting some snug mittens for wearing or sharing.
Knit Mittens
Materials:
- Waste yarn in a contrasting color
- Cuff yarn color (Medium Grey in the video)
- Main mitt yarn color (Grey and White Fleck, Red Heart Comfort, Color: "Grey Marl" or "Tope")
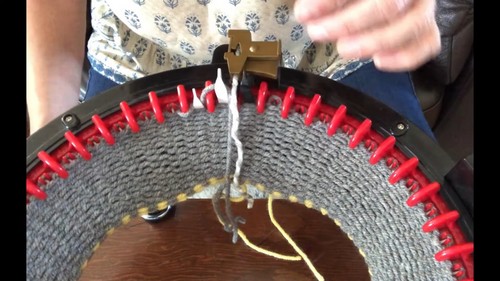
- Circular knitting machine (Addi King size for the mitt and Addi Professional 22 needle for the thumb)
- Scissors
- Yarn needle
- Row counter (optional)
- Stitch markers or bobby pins
- Crochet hook (4.5mm suggested)
The Cuff:
- Start by adding waste yarn onto the machine for a foundation (7-8 rows recommended).
- Reset the row counter to zero after the waste yarn is added.
- Change to the cuff color yarn (7-8 rows for waste yarn recommended).
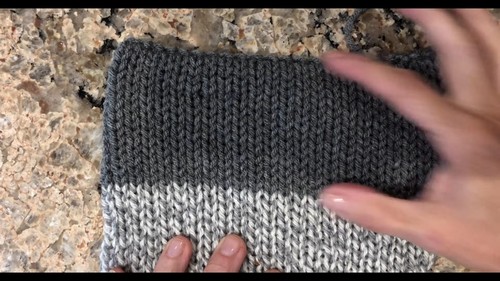
- Knit 16 rows for the cuff in the cuff color.
Making the Mitt:
- Cut the cuff yarn and switch to the mitt color yarn (Medium to Large size: 37 rows, Small size: 32 rows).
- Knit your selected number of rows for the mitt size.
- Cut the working yarn and do a long tail cast off.
Making the Thumb:
- Set up the Addi Professional machine (22 needle).
- Add waste yarn for the foundation.
- For Medium to Large mitt, do 14 rows for the thumb; for a Small mitt, do 12 rows.
- Switch back to the main mitt color yarn after completing necessary rows.
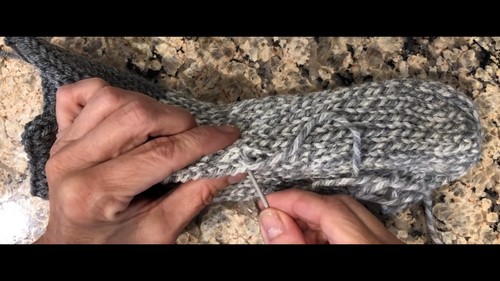
Assembling the Mitt:
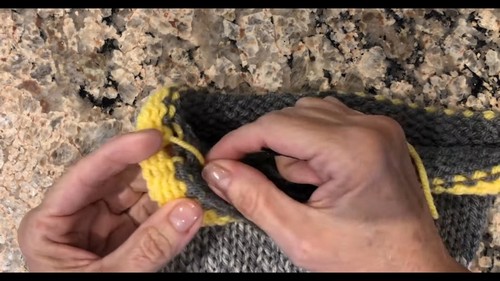
- Start by stitching the straight edge of the cuff using your stitch markers to identify where to sew.
- Cinch the top edge of the mitt closed, go through the loops twice or thrice for security.
- Sew the mitt seam together up to the position where the thumb will be attached (use the 16-row cuff as a guide for placement).
- Attach the thumb to the mitt at the pre-determined position.
Finishing Touches:
- Stretch and smooth out the finished mitt.
- Remove waste yarn from the thumb first, then from the cuff to finish the edges.
- Sew the seams of the thumb closed as you did with the mitt.
- Place the thumb inside the opening in the mitt and sew around securely.


Leave a Reply