

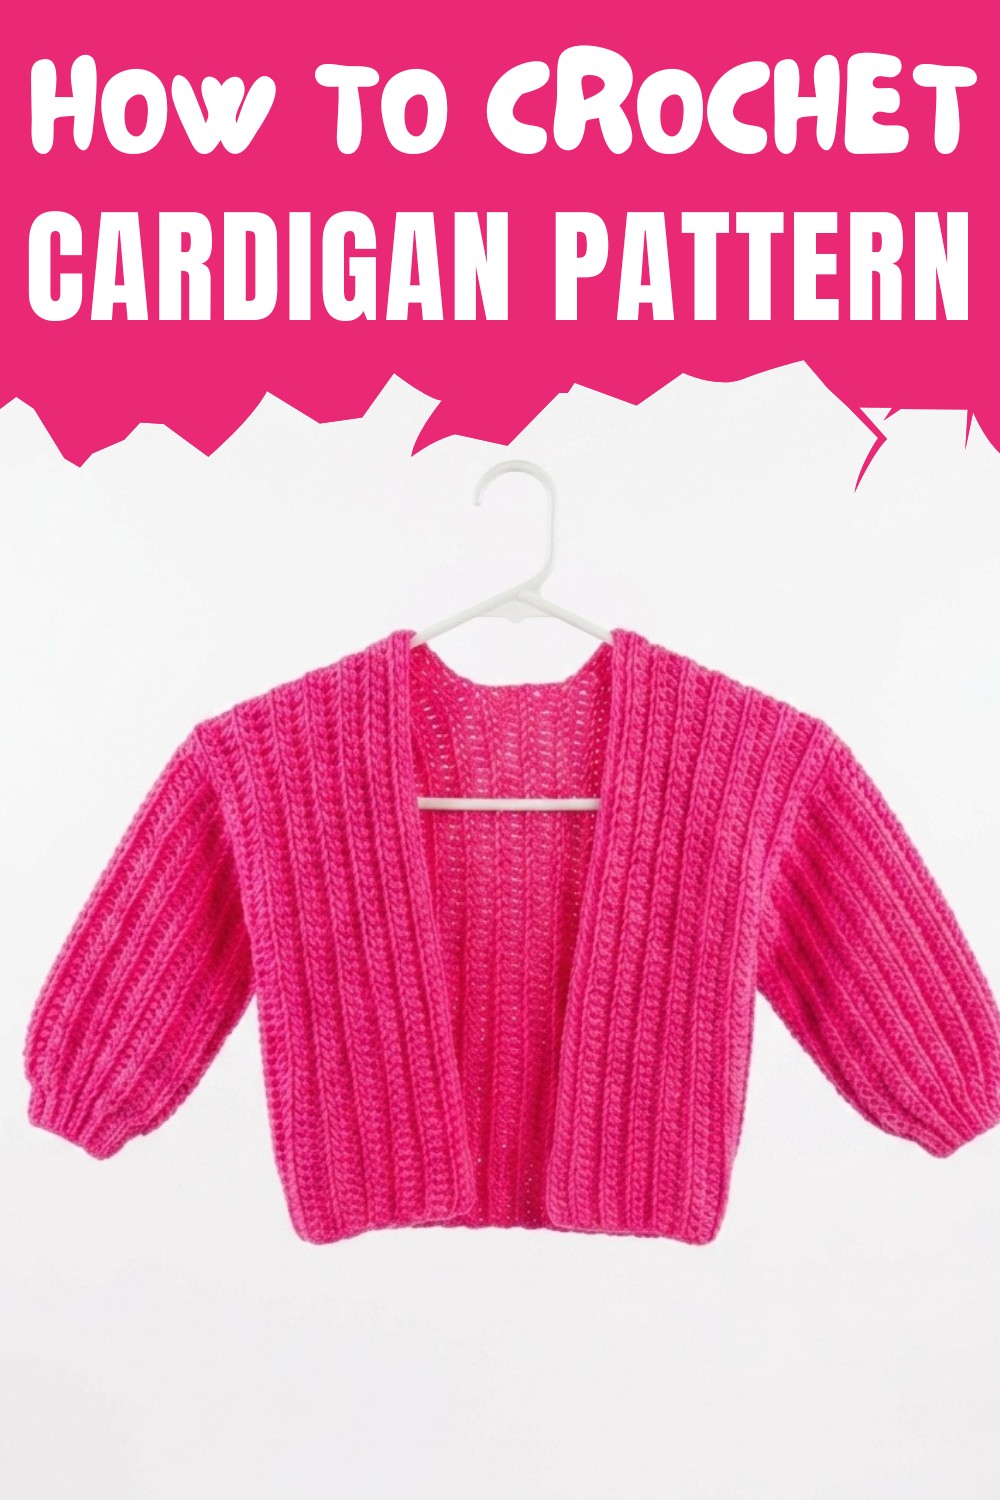
Learn how to make a cozy and stylish crochet cardigan with this free pattern that is easy to follow and perfect for adding warmth and charm to your wardrobe.
Some sweaters feel stiff and heavy, but this one is soft, lightweight, and incredibly cozy. It wraps you in warmth while still being comfortable and easy to wear. With its gentle texture and stylish appearance, it’s perfect for layering over casual or dressy outfits for any occasion. Available in different sizes and colors, it suits everyone’s preferences and adds a personal touch to your wardrobe.
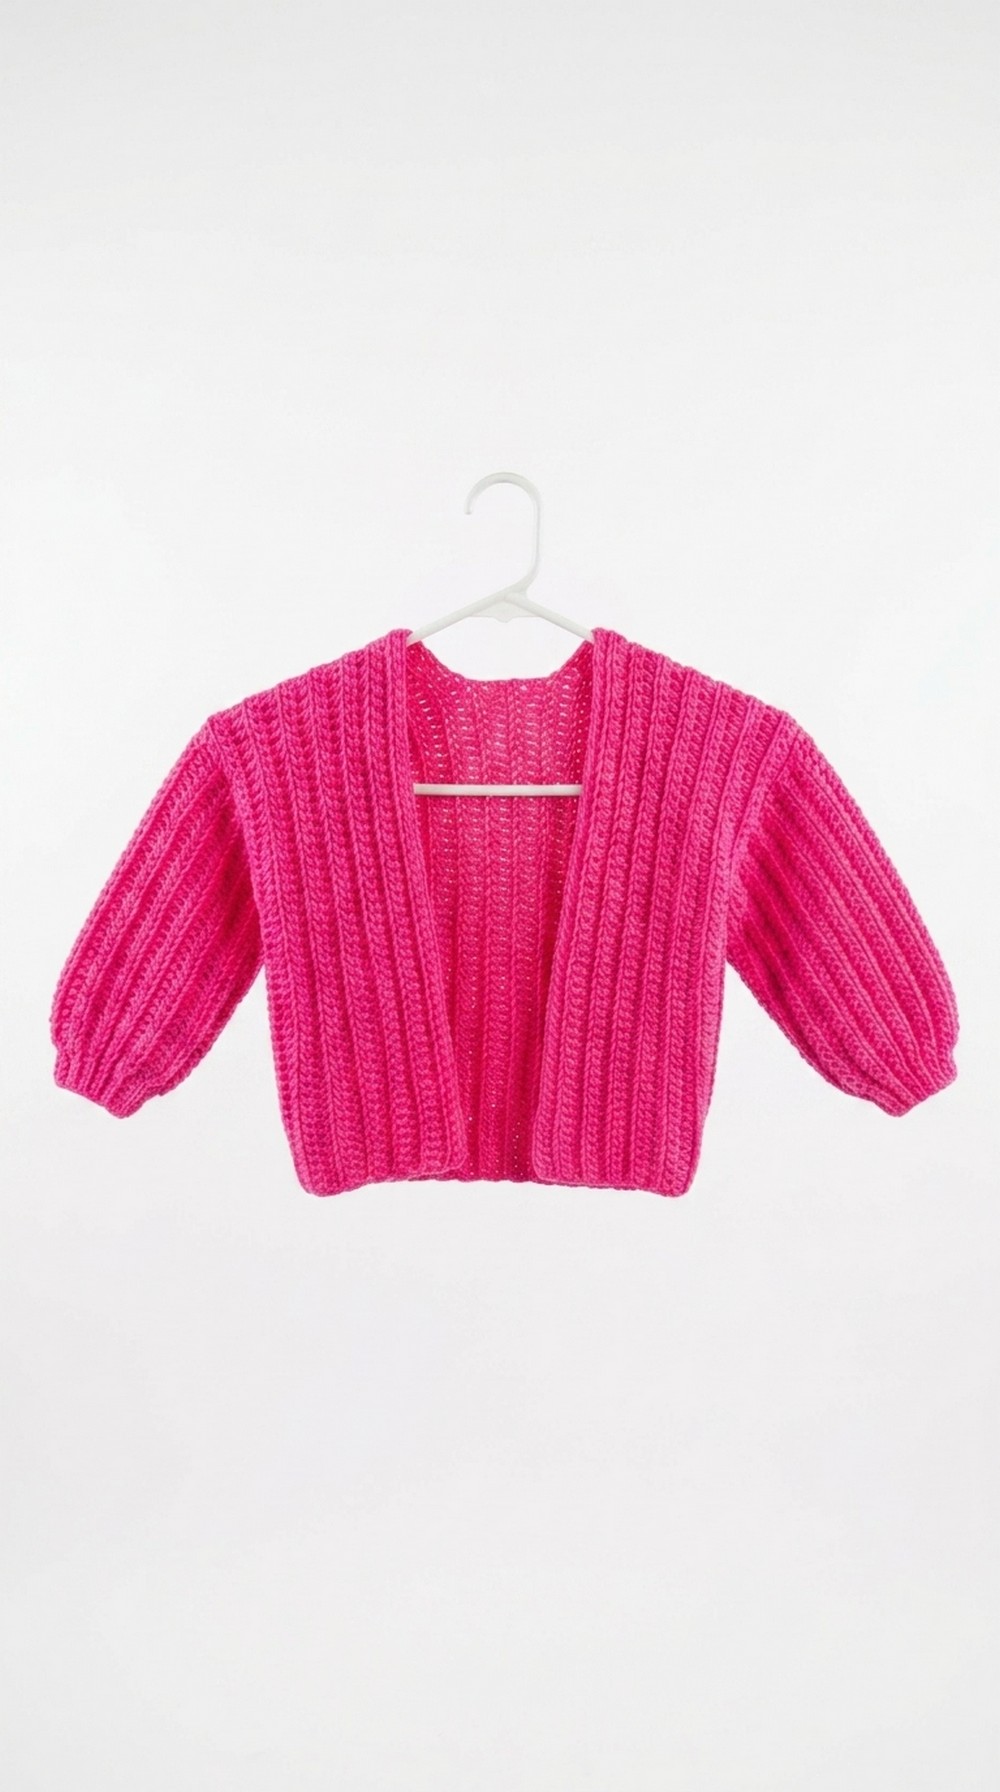
Modern Crochet Cardigan Pattern Design for Everyday Comfort
Its design avoids bulkiness, offering just the right amount of warmth for cool days or evenings indoors. This piece stands out for its charm and simplicity, making it ideal for those who value comfort and timeless style. Unlike ordinary sweaters, it brings a unique look that feels both practical and beautiful, making it a favorite clothing choice for any season.
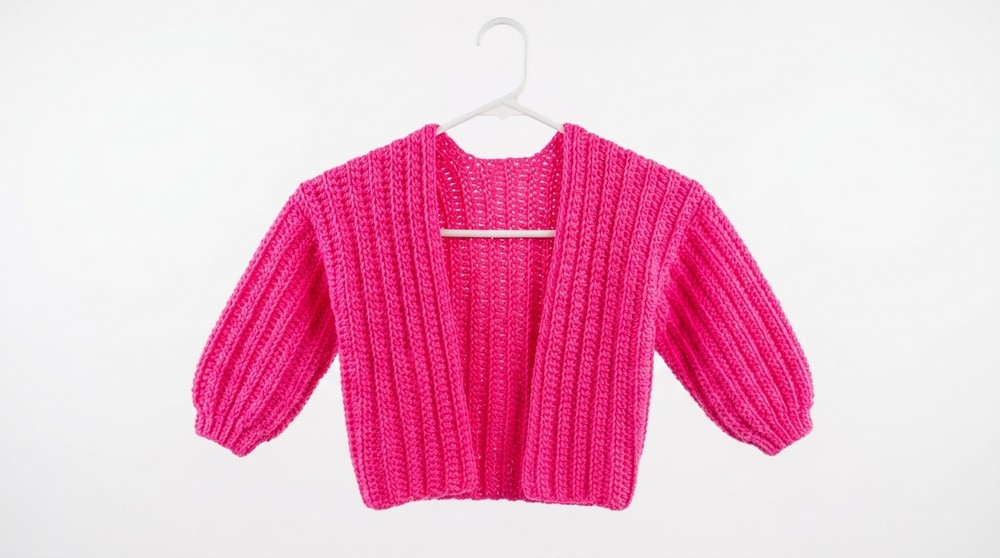
Crochet Toddler Cardigan Pattern
Materials Needed
- Yarn:
- "I Love This Cotton Yarn" from Hobby Lobby (color: Bright Pink).
- 100% cotton, 180 yards per skein.
- Recommended crochet hook: 5.5 mm; however, this pattern uses a 5 mm hook for tighter stitches.
- One skein should suffice, although buy extra for precaution.
- Tools:
- Crochet hook (size 5.0 mm).
- Stitch markers.
- Scissors.
- Darning needle for joining and whip stitching.
Measurements
- Measure your child’s shoulder down to the desired cardigan length (e.g., hips) for the foundation chain of the back and front panels.
- Measure the shoulder to wrist for the sleeve length and the bicep circumference for sleeve width. Adjust based on your child’s size.
Pattern Overview
The cardigan is worked in these components:
- Back Panel: Forms the main structure of the cardigan.
- Front Panels: Two identical narrower panels.
- Sleeves: Worked with slip stitches near cuffs for proper shaping.
- Assembly: Joining seams at shoulders, sleeves, and sides using the whip stitch.
Step 1. Back Panel
- Foundation Chain:
- Chain 54 stitches (or the required number based on your desired cardigan length).
- Add 1 chain for the turning chain (55 chains total).
- Row 1:
- Turn your work and locate the back bumps of the foundation chain.
- Insert your hook into the second chain from the hook and work 1 half double crochet (hdc).
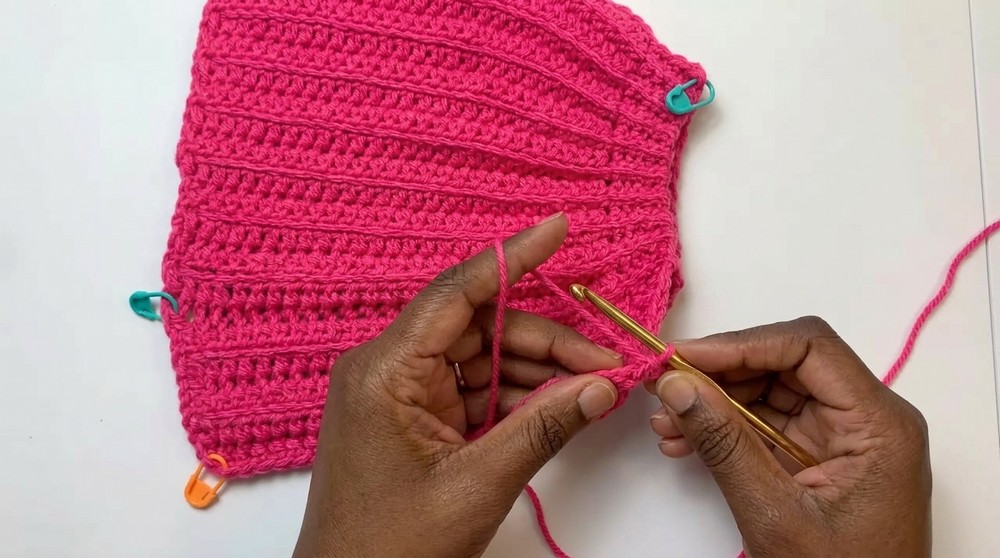
- Use stitch markers at the start and end of rows to ensure alignment and straight edges.
- Continue working one hdc into each back bump across the row.
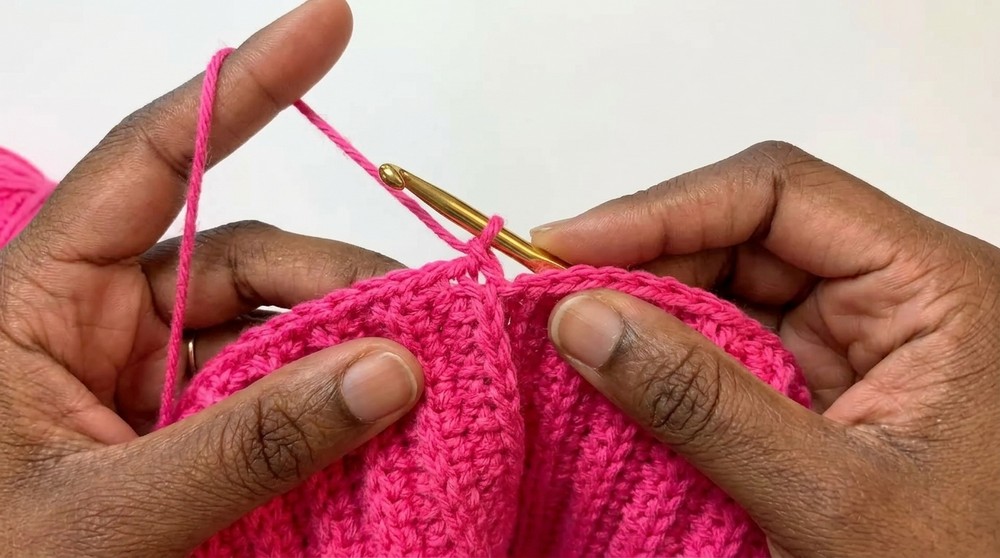
- Row 2:
- Chain 1, turn your work.
- In the first stitch, work 1 hdc into both loops of the stitch. Place a stitch marker here.
- From the second stitch onward, work hdc in the back loop only until you reach the second-to-last stitch.
- In the last stitch, work 1 hdc into both loops.
- Repeat Row 2:
- Continue repeating this row until the desired width for the back panel is achieved (based on your child’s measurements).
Step 2. Front Panels
- Foundation Chain:
- Repeat the same process as the back panel. Chain 54 stitches plus 1 turning chain for the foundation (55 total chains).
- Row 1 and Row 2:
- Follow the same process as described for the back panel (hdc stitches worked into back bumps and back loops).
- Repeat Rows:
- Work the required number of rows to create half the width of the back panel for each front panel.
- Complete Both Front Panels:
- Make two identical front panels following these instructions.
Step 3. Sleeves
- Foundation Chain:
- Based on shoulder-to-wrist measurements, chain 35 stitches plus 1 turning chain for the foundation.
- Row 1:
- Turn the work and insert your hook into the back bump of the second chain from the hook.
- Work hdc across the first 29-30 stitches.
- For the final 5-6 stitches, switch to slip stitches. This creates a fitted cuff at the end of the sleeve.
- Row 2:
- Chain 1, turn your work.
- Work slip stitches across the cuff area first.
- After reaching the slip stitch section from Row 1, transition back to hdc for the remainder of the row.
- Repeat Rows:
- Continue working hdc in the back loops and slip stitches at the cuff edge.
- Ensure consistent tension for slip stitches (not too tight) so the hook can easily pass through loops in subsequent rows.
- Stop When Width Matches Circumference:
- Measure your child’s bicep circumference and stop stitching when the sleeve matches that width.

Step 4. Assembly
- Joining the Panels:
- Lay the front panels on top of the back panel so they align perfectly at the shoulders.
- Use stitch markers to ensure the number of rows matches evenly on each side.
- Whip Stitching the Shoulders:
- Thread a darning needle with yarn and join the shoulder seams using the whip stitch technique for a clean edge.
- Attaching the Sleeves:
- Align the sleeves with the armholes of the cardigan body. Use stitch markers for proper positioning.
- Whip stitch the sleeves securely to the body.
- Joining Sleeves and Side Seams:
- With the cardigan still inside out, whip stitch the side seams and undersides of the sleeves together.
Step 5. Finishing
- Turn Right Side Out:
- After all pieces are joined, turn the cardigan right side out.
- Add Personal Touches (optional):
- Add pockets, buttons, or other embellishments if desired.
- For this project, no pockets were added as requested (optional for customization).
Final Words
Congratulations on completing the crochet toddler cardigan! This timeless design features clean edges, a textured back-loop-only stitch pattern, and comfortable fitted sleeve cuffs. It is perfect for keeping little ones warm while ensuring durability and style.
Tips for Success
- Use Stitch Markers: Always mark the start and end of rows to maintain straight edges and prevent uneven shapes (e.g., trapezoids).
- Work Slip Stitches Loosely: Avoid tight tension with slip stitches to keep work manageable.
- Measure Often: Double-check measurements frequently while working the panels and sleeves to ensure accurate sizing.
- Customize: Adjust chain counts, row counts, or add embellishments to suit your child’s size and preferences.

Leave a Reply