

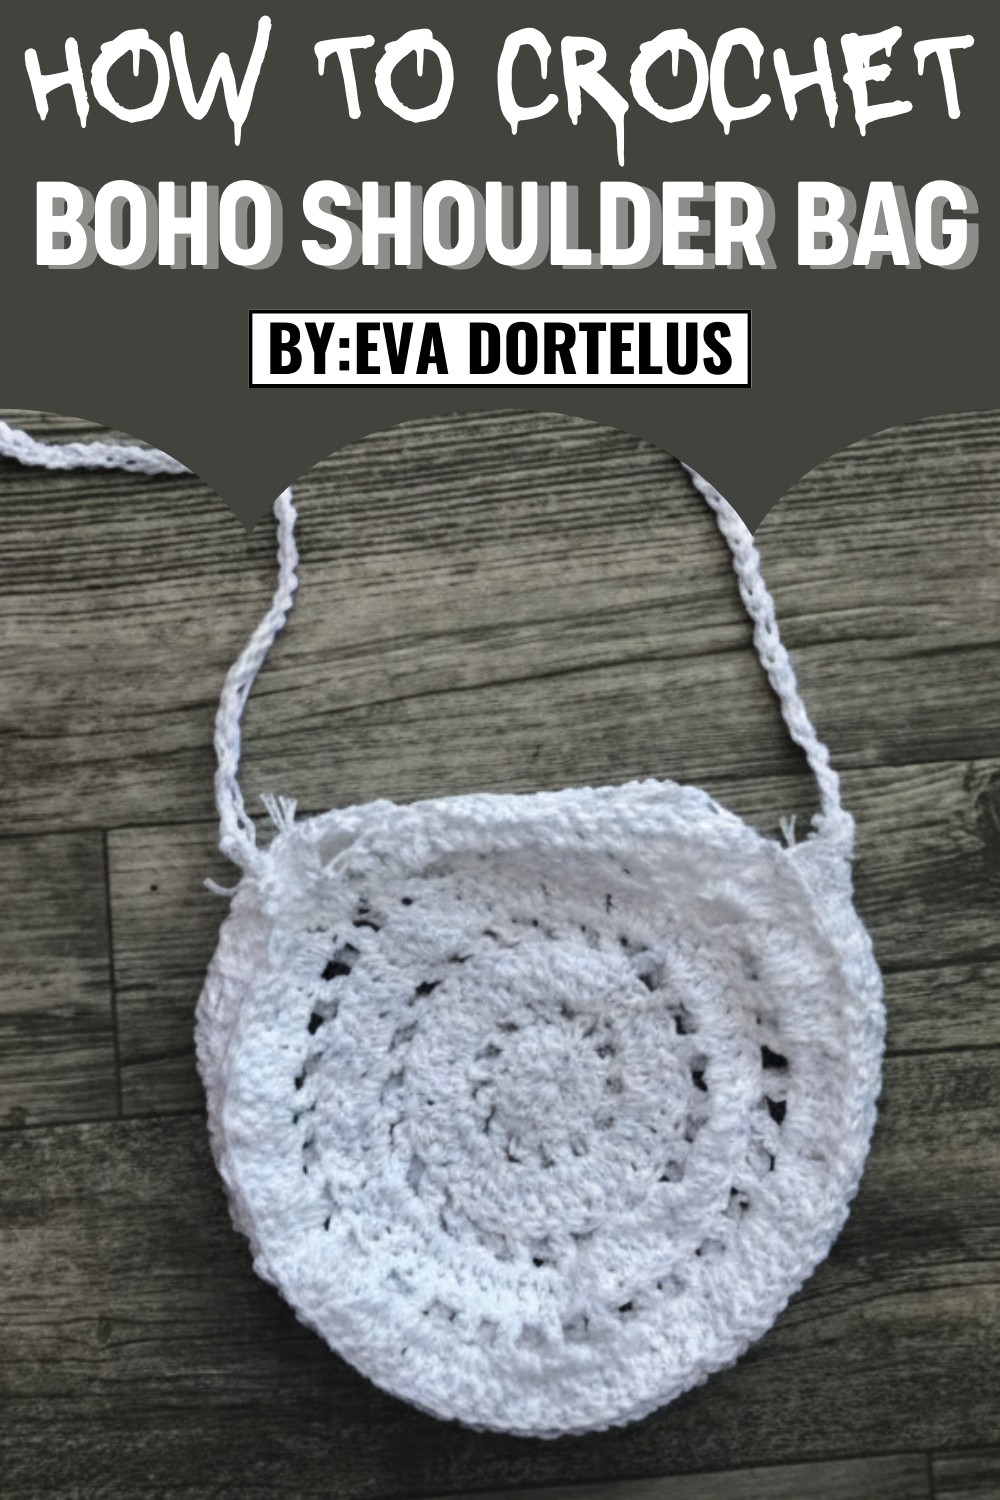
Carry essentials with a free crochet shoulder bag pattern that is roomy durable and perfect for shopping trips casual outings and daily use.
Have you ever wished for a bag that is as beautiful as it is useful and easy to make? With the crochet shoulder bag pattern, you can create a stunning accessory that brings together style, color, and everyday practicality. The lovely crochet stitches form eye-catching shapes, and you can pick your favorite yarn for a personal touch. This bag has a strong strap that sits gently on your shoulder, making it comfortable whether you’re shopping or visiting family.
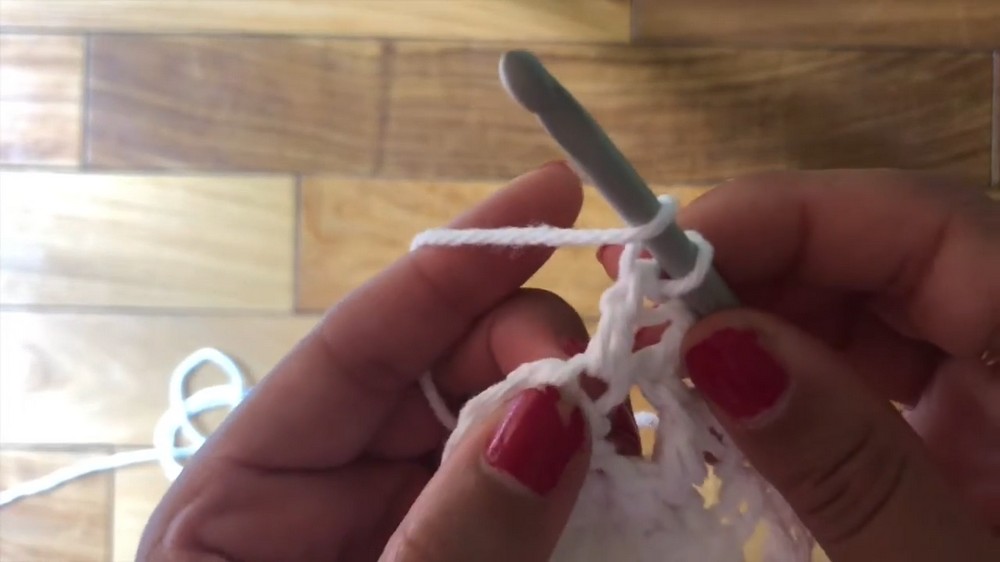
Free Crochet Shoulder Bag Pattern perfect for daily essentials
You can decide how big or small you want your bag to be, and it will still keep all your belongings safe inside with its sturdy texture. People enjoy making and using this bag because they are not just handy for carrying your things but also make every outfit look brighter and happier. Crocheting your own shoulder bag is a fun experience, and once you finish, you’ll treasure this special bag you made with your own hands.
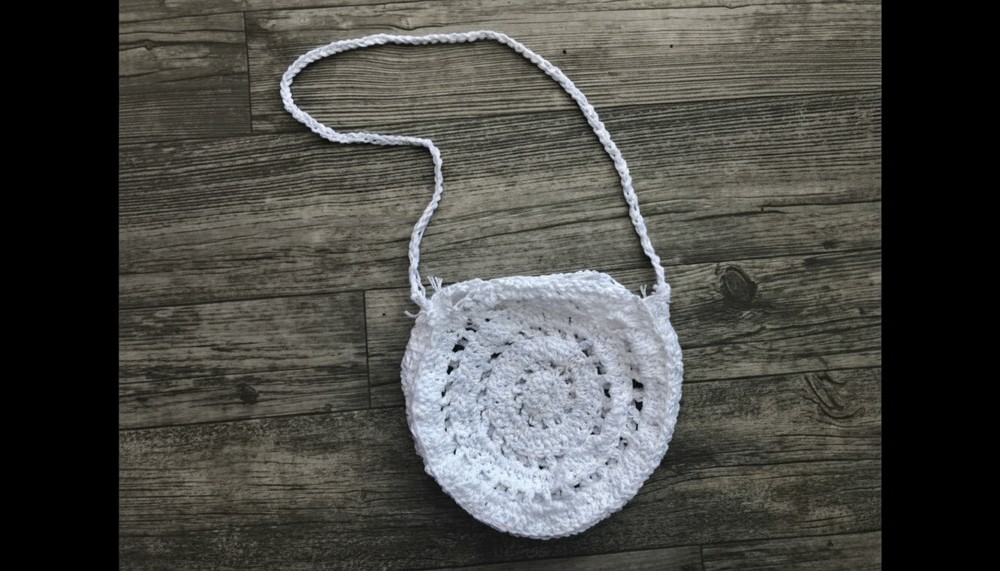
Bohemian-Style Crochet Bag Pattern
Materials
- Yarn: 100% Cotton, Worsted Weight (Category 4)
(Recommended for durability and minimal stretch) - Hook: 5 mm crochet hook
- Tapestry Needle
- Scissors
- Measuring Tape
- Markers or clips (optional)
- Optional: Cardboard for a rigid insert
Abbreviations
| Abbreviation | Definition |
|---|---|
| ch | chain |
| sc | single crochet |
| dc | double crochet |
| tr | treble crochet |
| sl st | slip stitch |
| st(s) | stitch(es) |
| rep | repeat |
| sp | space |
| yo | yarn over |
| RS | right side |
| WS | wrong side |
Special Notes
- This pattern is constructed with joined rounds for the bag body, and the strap is made separately and sewn on.
- The bag uses shell stitches (groups of double crochet clusters in the same space).
- The instructions focus on clarity and function; adjust the finished size as desired by altering the starting round or number of rounds.
- All steps are written in standard US crochet terminology.
Pattern Steps
1. Starting the Bag Base (Oval Foundation)
- Make a Magic Ring (or ch 4 and sl st to first ch to form a ring).
- Round 1:
- Ch 2 (does not count as a st), work 11 dc into the ring.
- Sl st to first dc to join. (11 dc)
- Round 2:
- Ch 2, 2 dc in each st around.
- Sl st to first dc to join. (22 dc)
- Round 3:
- Ch 2, (dc in next st, 2 dc in next st), rep around.
- Sl st to first dc to join. (33 dc)
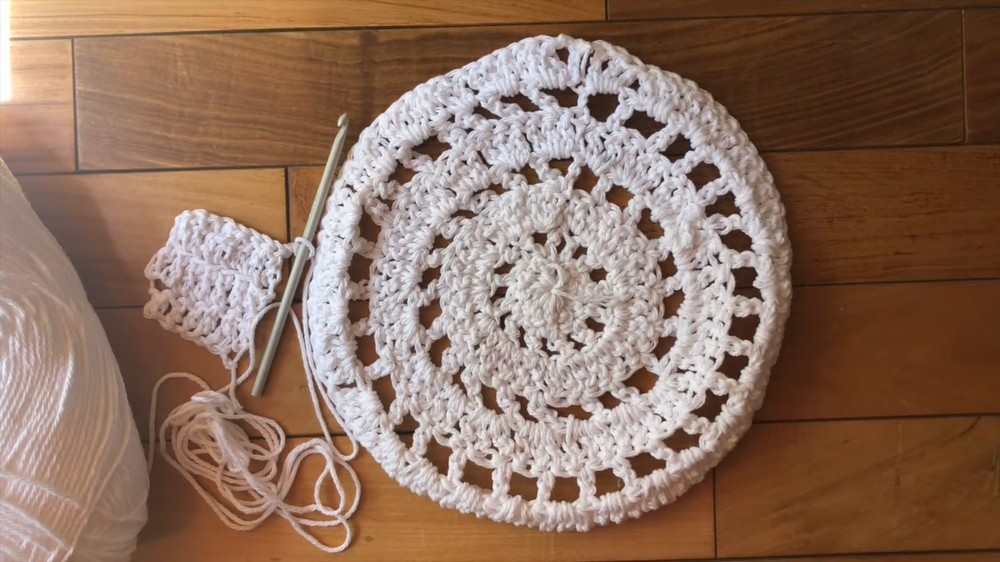
- Continue increasing (if you want a bigger base), always aligning and evenly spacing increases to keep your circle flat.

Your base should resemble a flat disc/oval, sized to your liking.
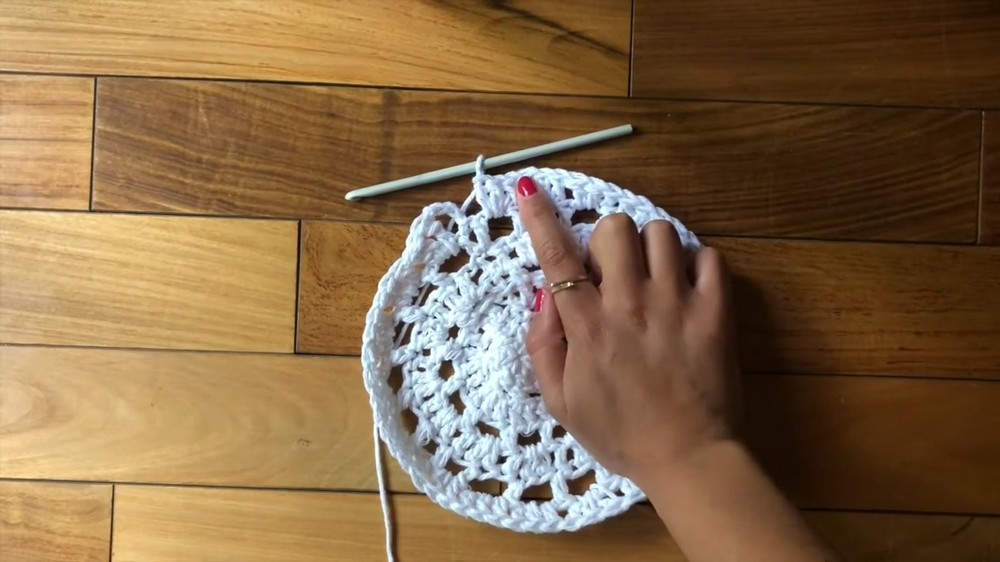
2. Creating the Shell Stitch Pattern for the Body
- Round 4 (First Shells):
- Ch 3 (counts as dc), (skip 1 st, shell [5 dc] in next st, skip 1 st, sc in next st); rep around to end.
- Sl st to join at the top of the first ch 3.
- Round 5:
- Slip st into the center dc of the first shell, ch 3, (shell [5 dc] in center dc of next shell, sc in sc between shells); rep around.
- Sl st to join.
- Continue Shell Rows:
- Rep Round 5 until your bag reaches desired height (typically 14-18 rounds for a medium-sized bag).
NOTE: For variety and following the video, alternate some rounds where you cluster into spaces or vary placements for a "bohemian" look.
3. Shaping the Sides and Edges
- When bag height is reached:
- Fasten off the yarn and join with sl st at the side to close the round.
- If you want to flatten/close the top edge more, work:
- 1 round of sc evenly along the top edge.
4. Creating and Attaching the Strap
Strap Option 1: Simple Chain Strap
- Cut a long double strand of yarn (or use yarn doubled).
- Hold doubled yarn and ch 95 (or as long as you wish).
- Secure one end inside a side of your bag (sew or knot through bag wall).
- Secure the other end to the opposite side, making sure the strap is flat, not twisted.
Strap Option 2: Flat Strap
- Ch 8, sc in 2nd ch from hook and each ch across (7 sc).
- Ch 1, turn, sc in each sc across.
- Repeat until the strap reaches your desired length.
- Seam each end inside the bag at opposite edges.
5. Seaming Bag Sides Together
- Fold the bag in half, aligning the edges neatly.
- Use your tapestry needle and yarn, whip stitch or slip stitch up each side to close the bag, leaving the top edge open.
- Secure and weave in all ends.
6. Optional: Add Fringe or Decorative Ties
For a classic boho finish, add fringe or decorative knots along the bag opening or sides.
- Cut several 8-12 inch pieces of yarn, fold, and attach with lark’s head knot through edge stitches.
- Trim as desired.
7. Optional: Stiffen the Bag
- For structure, cut a piece of cardboard to fit the base and slide it inside the bag.
- Alternatively, use fabric lining (sewn by hand) for extra sturdiness.
Finishing
- Weave in all loose yarn ends.
- Add any buttons, beads, or extra embellishments you like.
- Block if desired to neaten your work.
Conclusion
You have now made a beautiful, bohemian-inspired crochet bag perfect for everyday use or as a statement accessory! Cotton yarn ensures durability and a lovely structure. Personalize with fringe, beads, or by adjusting the size.
Pattern Correction & Tips
Pattern Correction:
- The video sometimes refers to "double crochet" as "double my," which is US dc (not sc, which is single crochet).
- The starting oval can also be made with a chain if you prefer not to use a magic ring.
- Always work into the central dc of shells to keep the pattern aligned.
Tips:
- Use stitch markers to track your round starts and joins.
- Keep stitches loose enough for easy insertion into the shell centers.
- Always count stitches at the beginning rounds to ensure symmetry.
- Adjust strap length for a comfortable crossbody or shoulder fit.
- 100% cotton is highly recommended for this sturdy, structured look.


Leave a Reply