

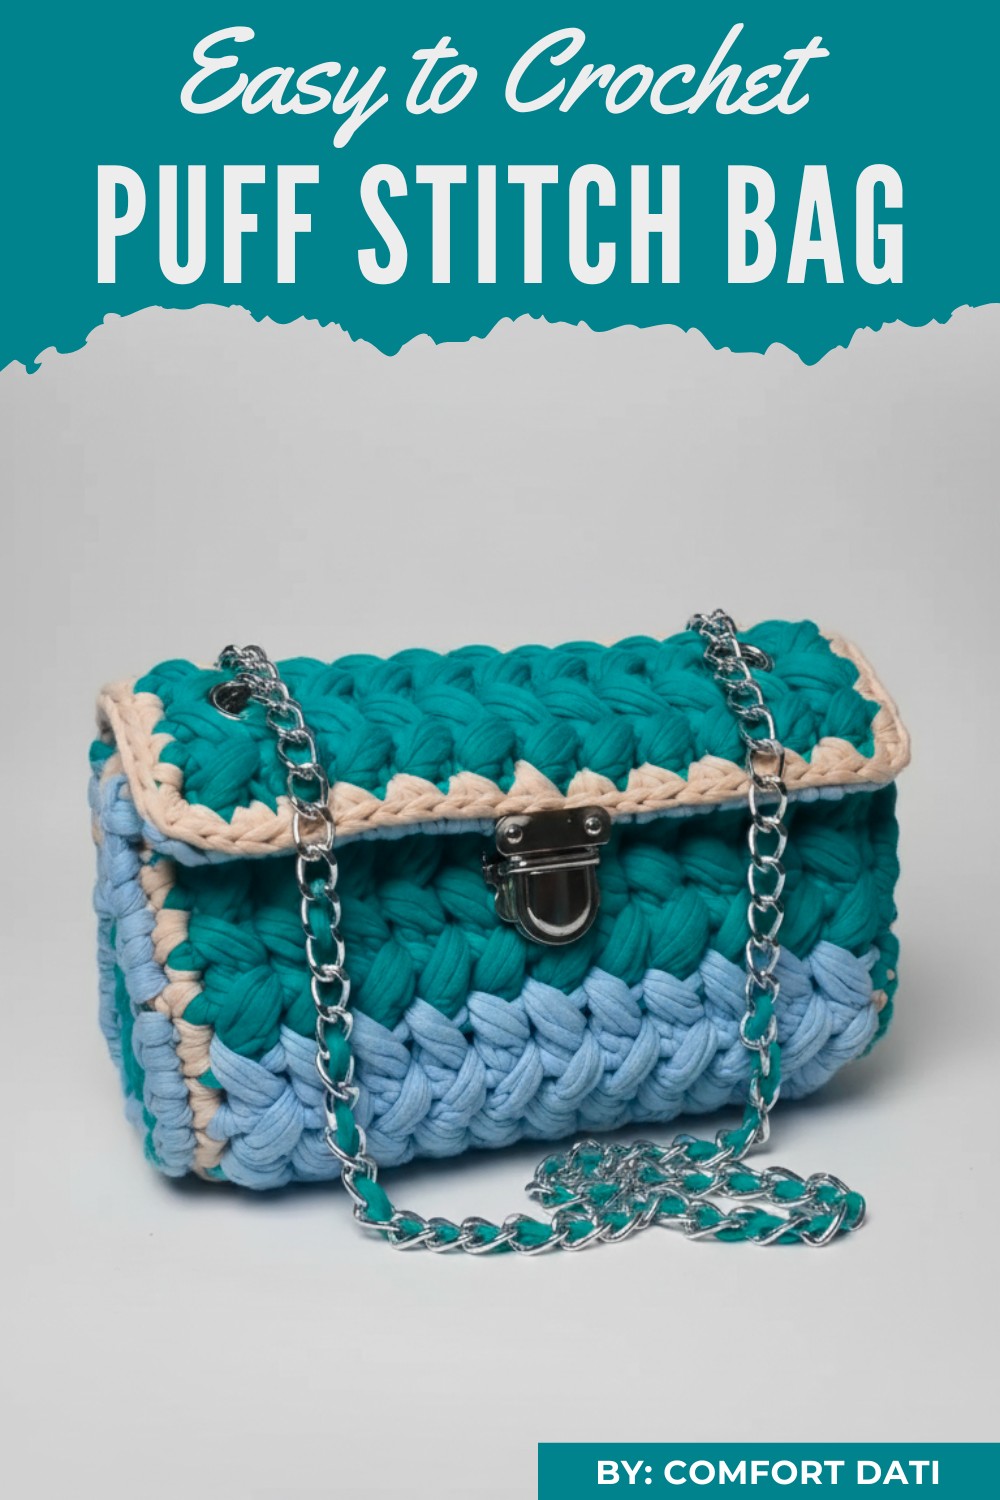
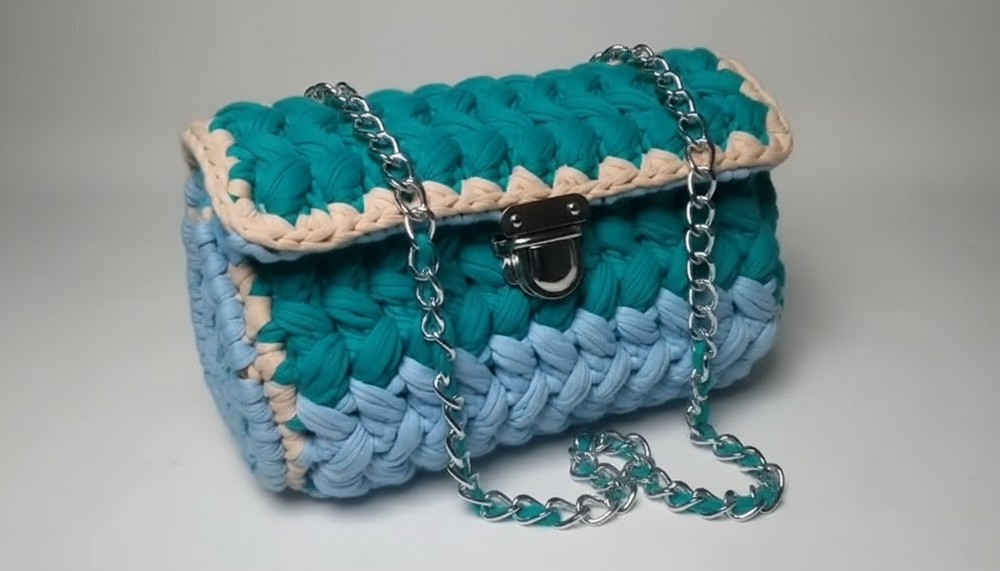
Nothing beats the charm of a handmade accessory that’s both functional and stylish. This puff stitch bag pattern brings texture and elegance together, offering a lasting design perfect for any occasion. With its soft, cushioned look created by the puff stitch technique, this pattern is not just visually appealing but also practical for daily use. From carrying your essentials to making a fashion statement, this trendy crochet pattern ensures versatility that suits all your needs.
How to Crochet Puff Stitch Bag Pattern for Everyday Looks
The lightweight nature of the bag makes it a comfortable companion for shopping trips, casual outings, or even as an accessory for a night out. What sets this pattern apart is its simplicity paired with its stunning result, making it ideal for both beginners and experienced crocheters who love crocheting something stylish yet easy to make.
You’ll also appreciate the flexibility this pattern provides—you can personalize it with your choice of yarn, colors, and additional elements like linings or handles to match your style. Plus, handmade bags like this offer a sustainable alternative to mass-produced products, letting you contribute to eco-friendly fashion. With this project, you’ll pattern a functional, fashionable, and eco-conscious piece that you’ll love to use and showcase!
Materials Needed
- T-shirt Yarn – Durable and ideal for the sturdy puff stitch design.
- Crochet Hook (6.5mm) – A suitable size for t-shirt yarn.
- Scissors – For cutting yarn and leather.
- Leather for Lining – For the inside of the bag, providing durability and structure.
- Glue – To attach and secure the leather lining.
- Needle and Thread – For sewing the edges and adding final details.
- Bag Lock – For securing the top of the bag.
- Puncher – To create holes in the leather for sewing.

Special Features
- Unique Design: The puff stitch creates a textured and visually appealing pattern for the bag.
- Leather Lining: The use of leather lining enhances durability and gives a professional finish.
- Customizable Size: The pattern allows easy adjustments for a larger or smaller bag—just ensure the starting chain count is an even number.
- Colorful Options: The tutor suggests changing yarn colors for added vibrancy and design variety.
Level of Difficulty
This tutorial is beginner-friendly but also engaging for experienced crocheters. The puff stitch and leather lining require attention to detail, but the step-by-step instructions make it manageable for all skill levels.
Step-By-Step Instructions
Step 1: Starting the Base
- Begin with 24 chain stitches (or any even number for your desired size).
- Work single crochet stitches through the chain, starting from the second loop.
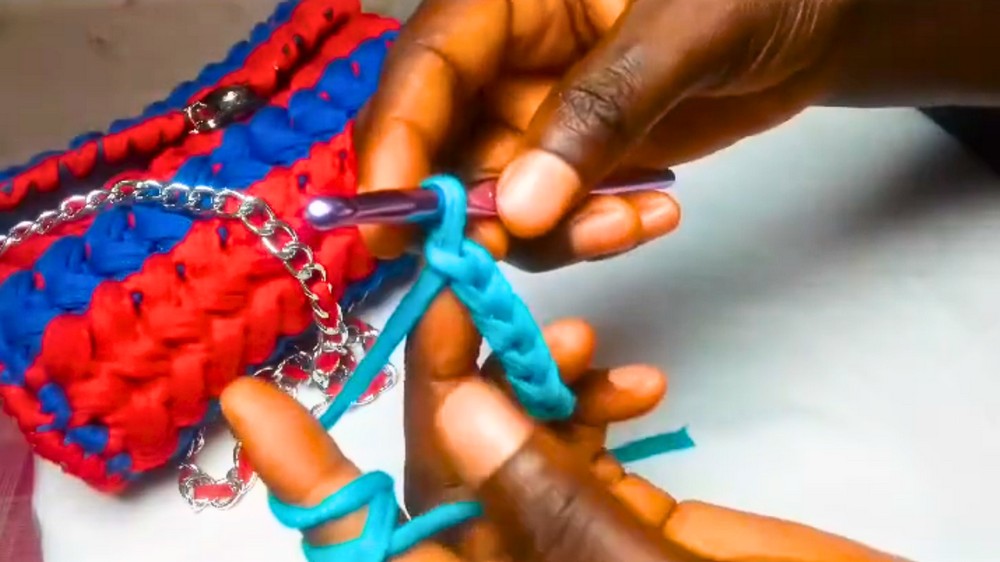
2: Double Crochet and Puff Stitch Rows
- At the end of the chain, make 3 chains and turn your work. Skip the first loop and make a double crochet in the second loop.
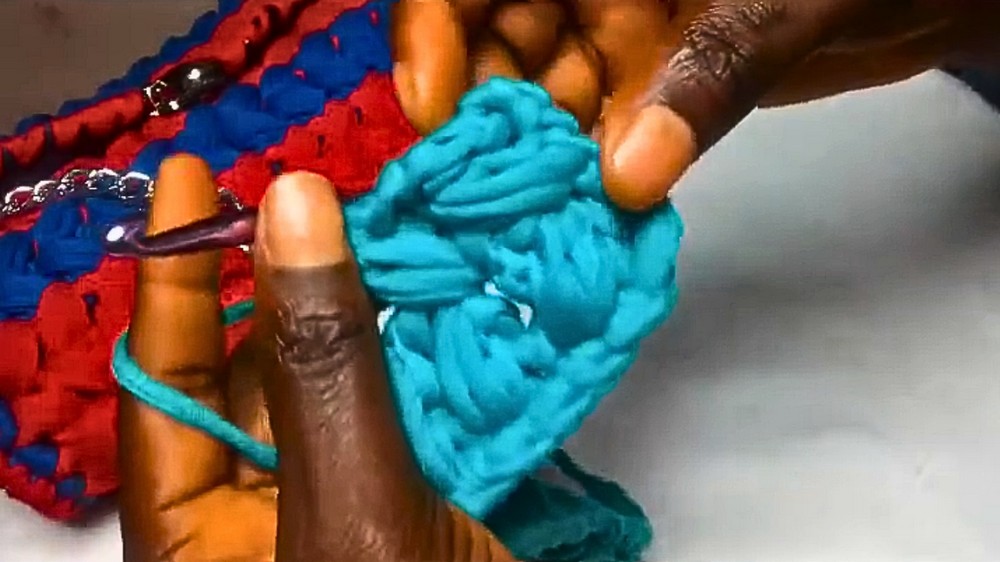
- Work a puff stitch in the skipped loop. To create the puff, yarn over, insert your hook into the skipped loop, and pull through three times before pulling through all loops on your hook. Secure with a chain stitch.
- Repeat: Skip one loop, work a double crochet in the next loop, then return to the skipped loop to create the next puff stitch. Continue this pattern to the end of the row.
3: Adding Rows
- At the end of each row, chain 3 and turn your work to start a new row.
- Repeat the double crochet and puff stitch pattern across the row.
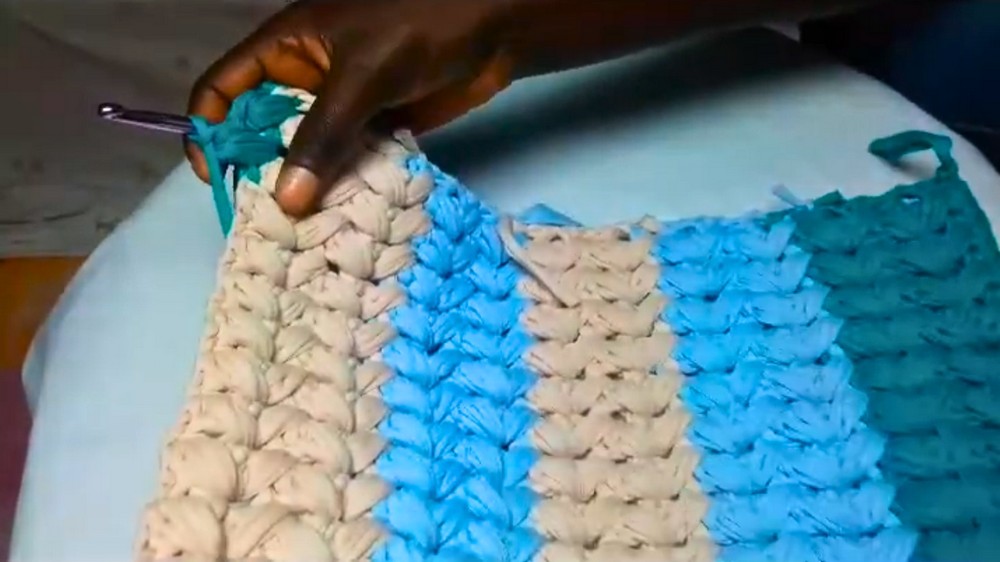
4: Switching Colors
- To add color, change the yarn at the end of a row. Finish the row with the new color and continue the puff stitch pattern.
5: Finishing the Crochet Portion
- Once the desired bag size is reached, work a single crochet around all edges for a neat finish.
6: Adding Leather Lining
- Measure the bag’s dimensions (length and width) and cut the leather slightly larger (with a quarter-inch allowance on all sides for folding).
- Use glue to fold and secure the edges of the leather. Let it dry for 10 minutes.
- Punch holes around the leather at half-inch intervals.
7: Attaching the Leather
- Glue the leather lining inside the bag for a smooth fit. Then, use a needle and thread to sew the lining securely to the bag.
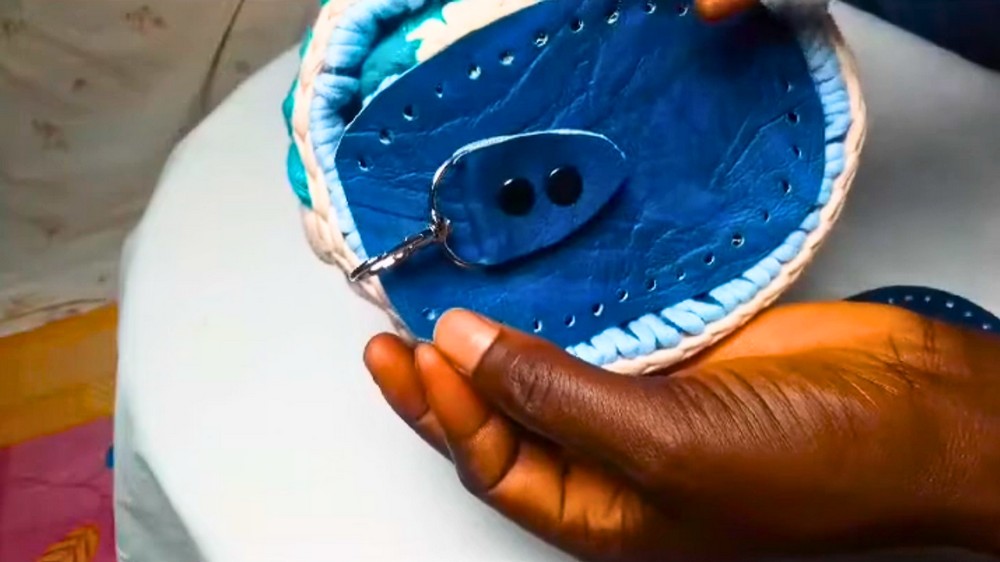
8: Assembling the Bag
- Fold the bag in half and determine the center point for attaching the bag lock.
- Punch a hole in the leather for the lock, ensuring it aligns with the top center of the bag. Secure the lock.
- To create side panels, cut matching leather pieces in the shape of the bag’s side and sew them to the bag using a needle and thread.
Uses
- Everyday accessory for carrying essentials.
- Stylish addition to casual or formal outfits.
- Handmade gift to surprise someone special.
Tutor Suggestions
- Yarn Choice: T-shirt yarn works best for this design due to its sturdiness, but feel free to experiment with other materials.
- Color Creativity: Mix and match yarn colors for an eye-catching effect.
- Consistency: Ensure even tension for each puff stitch to maintain a uniform look.
Extra Tip
When working puff stitches, avoid tightening your yarn too much—it may make pulling through all loops difficult. Keep a slightly loose hand for smooth and uniform puff stitches.
Conclusion
Crocheting this puff stitch bag with a leather lining is a fulfilling experience that results in a fashionable and practical accessory. Its versatile uses, customizable design, and elegant finish make it a project worth trying. Whether you're crocheting it for yourself or as a thoughtful gift, this handmade pattern will undoubtedly turn heads and last for years.
Leave a Reply