

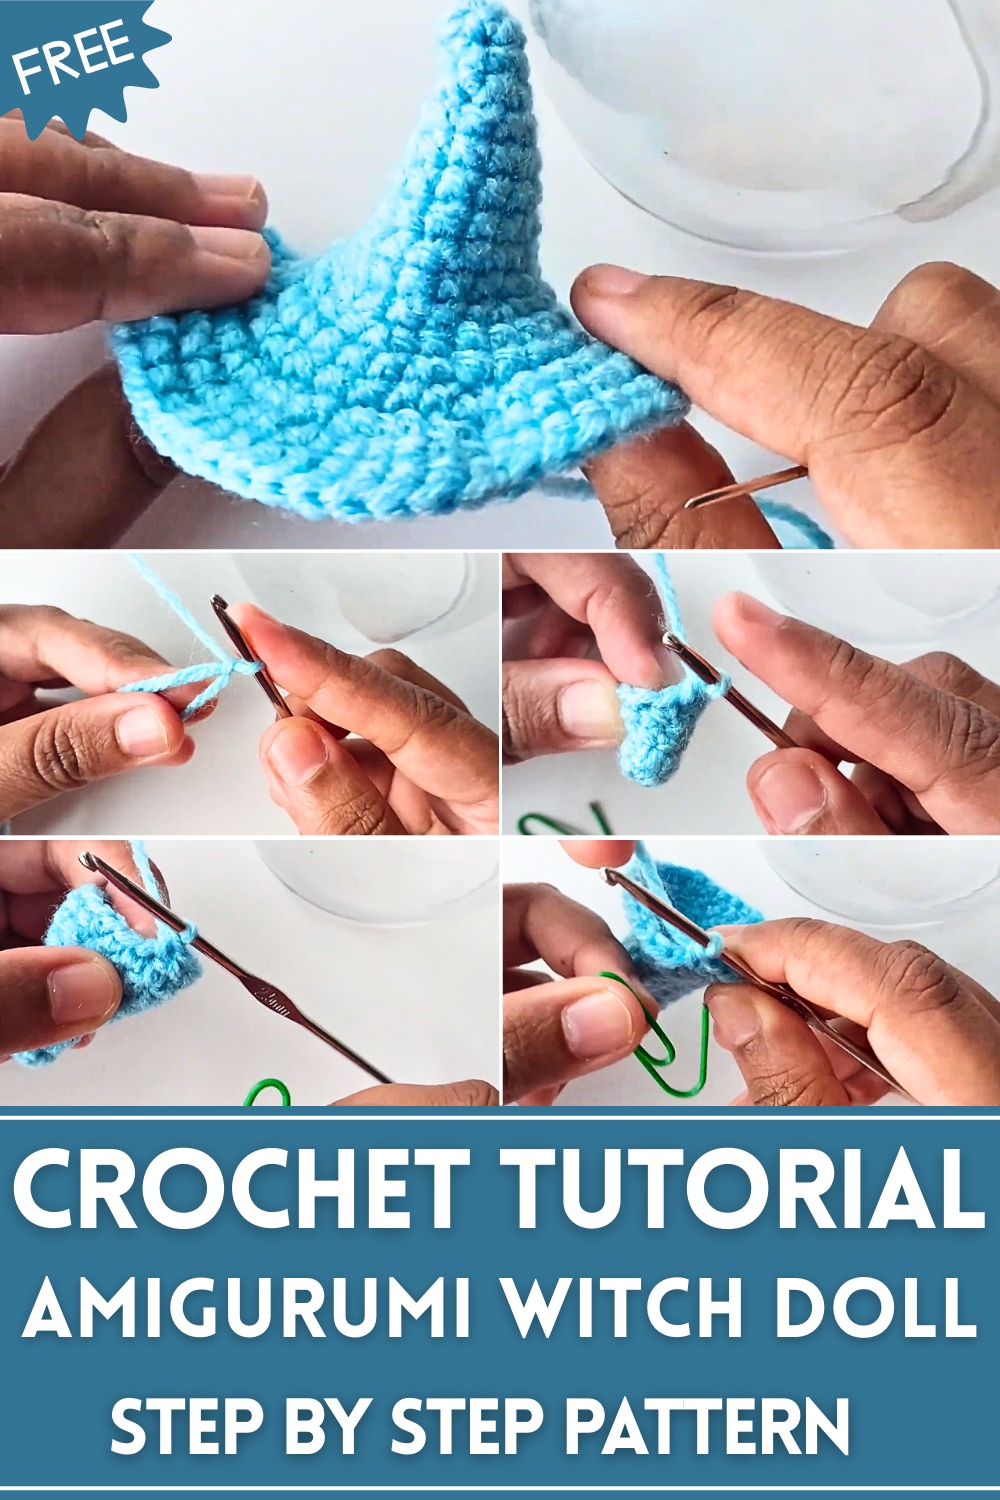
Try the Free Crochet Witch Hat Pattern for fun Halloween costumes, festive décor, and charming handmade accessories.
Long before Halloween became a season of costumes and candy, witches were often depicted wearing tall, pointed hats that symbolized mystery and wisdom. This charming Crochet Witch Hat brings that iconic accessory to life, offering a playful yet practical piece for festive celebrations, cosplay events, or themed décor. Its whimsical shape and textured stitches make it an eye-catching addition, suitable for adults, teens, and even as a decorative accent for tables or shelves.
Unique Crochet Witch Hat Pattern That’s Fun and Simple
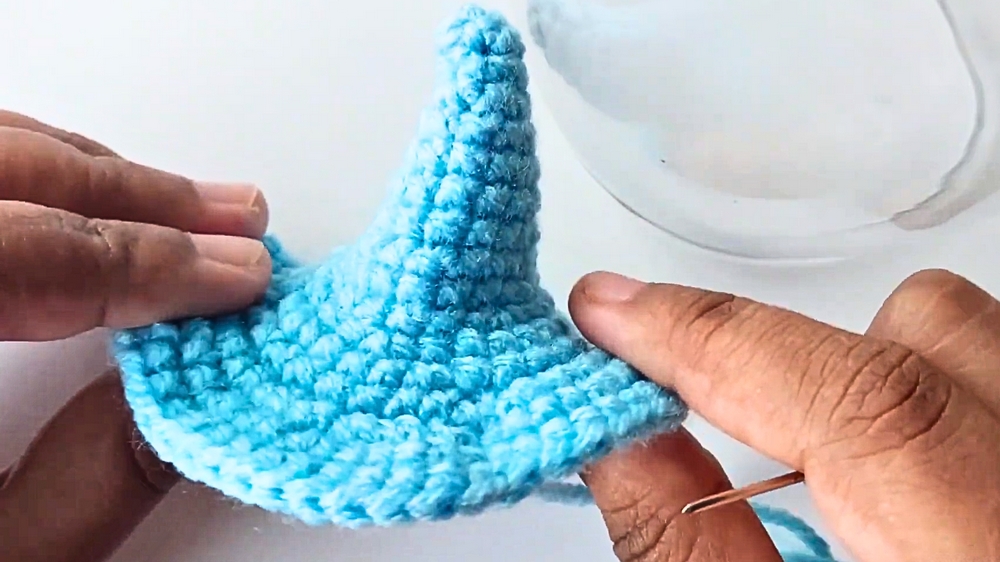
Circular foundation that forms the crown of the hat, gradually expanding with consistent increases to create a smooth, conical shape. Careful stitch placement defines the brim, allowing it to maintain structure while retaining a gentle, flexible curve. Additional detailing, such as a contrasting band or subtle edging, adds character and charm without complicating the process. The final rounds ensure the hat keeps its shape and sits comfortably when worn.
Beyond its visual appeal, this piece offers multiple benefits. It serves as a fun accessory for costumes, a unique décor item for seasonal celebrations, or a creative gift for craft enthusiasts. Working on this project promotes focus, patience, and fine motor skills, making the crafting experience as rewarding as the finished piece. The completed witch hat brings a touch of whimsy, charm, and festive spirit to any setting.
https://youtu.be/tKcTRTISIPM
Materials Needed
- Yarn: 4-ply yarn in black (or any color you prefer; blue was used in the tutorial for clarity).
- Crochet Hook: 2.5mm size.
- Yarn Needle: For sewing and finishing.
- Stitch Markers: To help track rounds.
- Scissors.
Step-by-Step Instructions
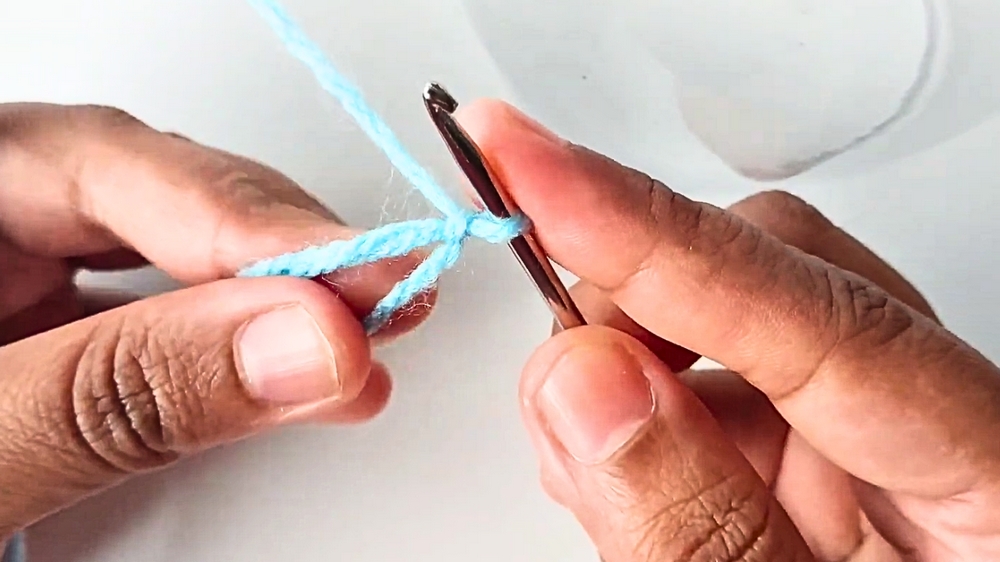
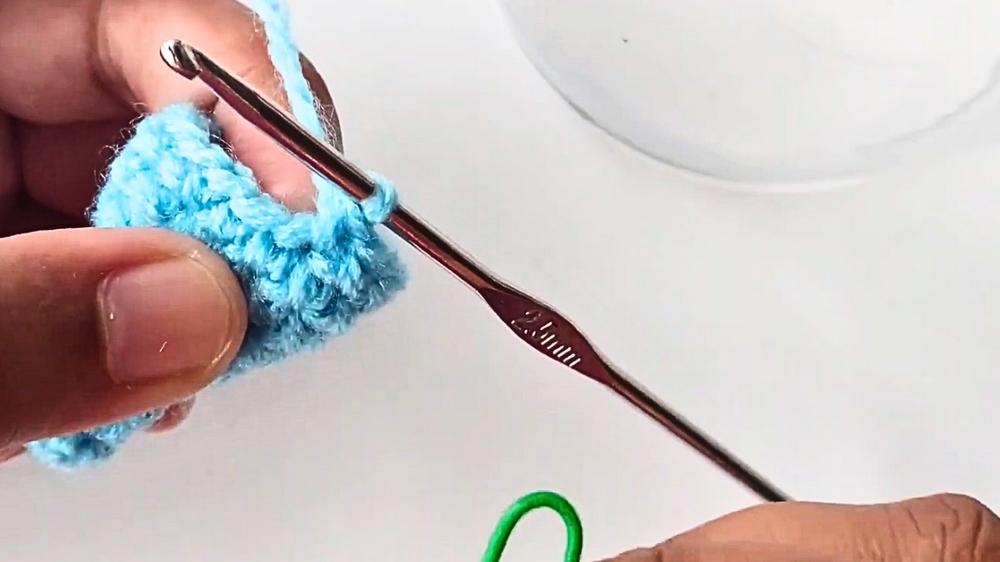
1. Initial Setup
- Start with a magic ring.
- Crochet 4 single crochets (SC) into the ring. Pull the loop closed.
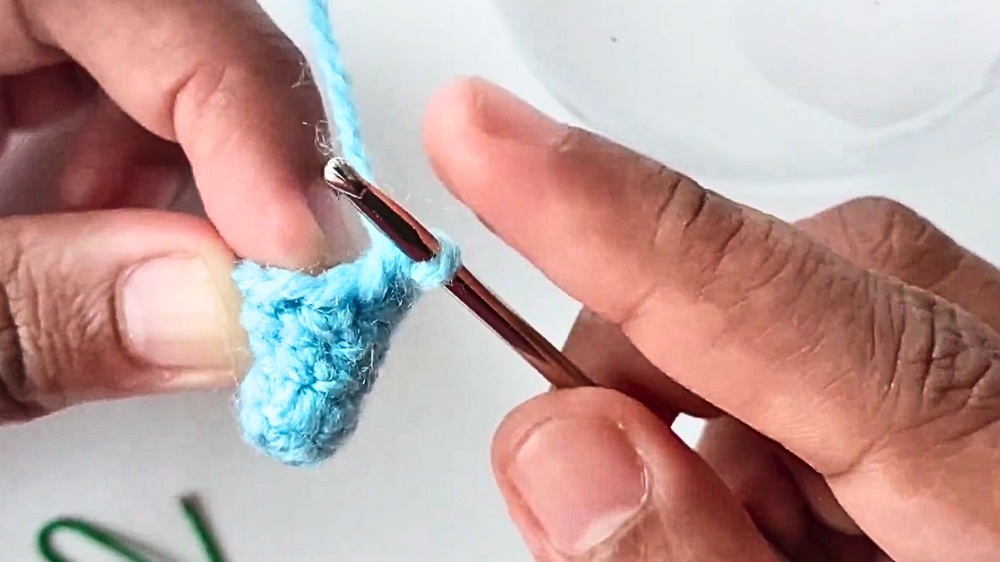
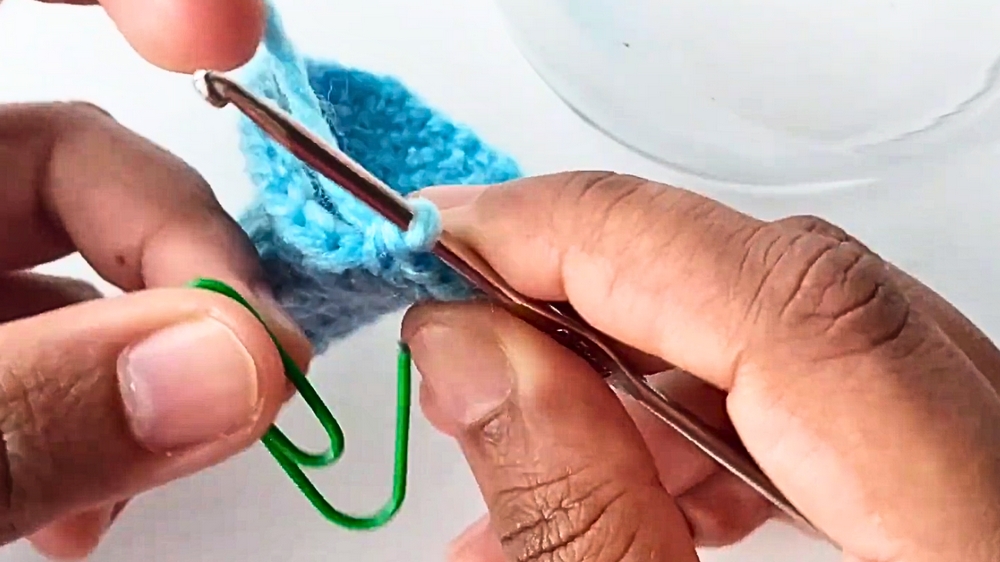
2. Building the Base (Rows 2-14)
Row 2
- Single crochet (SC) into each of the 4 stitches (total = 4 stitches).
Row 3
- Increase: Crochet 2 single crochets into the first stitch.
- SC into the next stitch.
- Repeat the pattern (increase into the next stitch, SC in the next).
- Total = 6 stitches at the end of Row 3.
Row 4
- SC in each stitch (no increases). Total = 6 stitches.
Row 5
- Pattern: SC into the first stitch, increase into the next stitch.
- Repeat until the end. Total = 8 stitches.
Row 6
- Pattern: SC into the first 2 stitches, then make an increase into the third stitch.
- Repeat until you finish the round. Total = 10 stitches.
Continue following this increasing pattern (gradually increasing the number of SC stitches between increases), as detailed in the tutorial:
- Row 7: 12 stitches.
- Row 8: 14 stitches.
- Row 9: SC in each stitch (14 stitches, no increases).
- Row 10: 18 stitches.
- Row 11: SC in each stitch (18 stitches, no increases).
- Row 12-14: Continue increasing until you reach 30 stitches.
3. Creating the Hat Brim
Row 15:
- Work only in the front loops of each stitch.
- Make increases in every stitch (2 single crochets in each stitch).
- Total = 60 stitches.
Rows 16-17:
- Work in both loops.
- SC into each stitch (no increases).
- Total = 60 stitches.
4. Fastening Off
- Cut the yarn, leaving a long tail for sewing.
- Use a yarn needle to finish the edge neatly and weave the tail into the fabric.
Final Assembly
- If attaching the hat to a doll, use the long tail to sew the base of the hat to the doll’s head.
- Alternatively, if using the hat as a keychain or charm, simply snip the yarn tail and hide it in the stitches.
Special Features
- Unique Design: A miniature witch hat with a flared brim makes the project whimsical and fun.
- Adjustable Yarn and Colors: You can switch yarn colors and weights to create different looks or sizes.
- Front Loop Technique: Adds a distinct brim structure to the hat.
Level of Difficulty
Beginner to Intermediate:
- The tutorial is beginner-friendly, but working in the front loops and creating a magic ring may require some practice.
- The instructor explains each step in detail, making it easy to follow.
Tutor's Suggestions
- Use a Dark Yarn Carefully: Sonali recommends using black yarn for authenticity but demonstrates with blue for better visibility of stitches. If you use dark colors, ensure you work in good lighting.
- Use Stitch Markers: To avoid losing track of stitches, especially when crocheting in rounds.
- Count Stitches: This is critical when creating brims or maintaining symmetry throughout the project.
Uses and Applications
- A cute addition to doll-making projects.
- Can be used as a keychain, bag charm, or even as Halloween decor.
- A great DIY gift idea for crochet enthusiasts or as party favors.
Conclusion
This crochet witch hat is a delightful project, versatile enough to use for dolls, accessories, or decoration. The tutorial by Sonali provides simple, clear instructions, making it easy to follow along and complete the project in one sitting.
Tip
When working with the front loops (Row 15), take special care to crochet loosely and consistently. This ensures the brim flares evenly and gives the hat a polished look.
Leave a Reply