

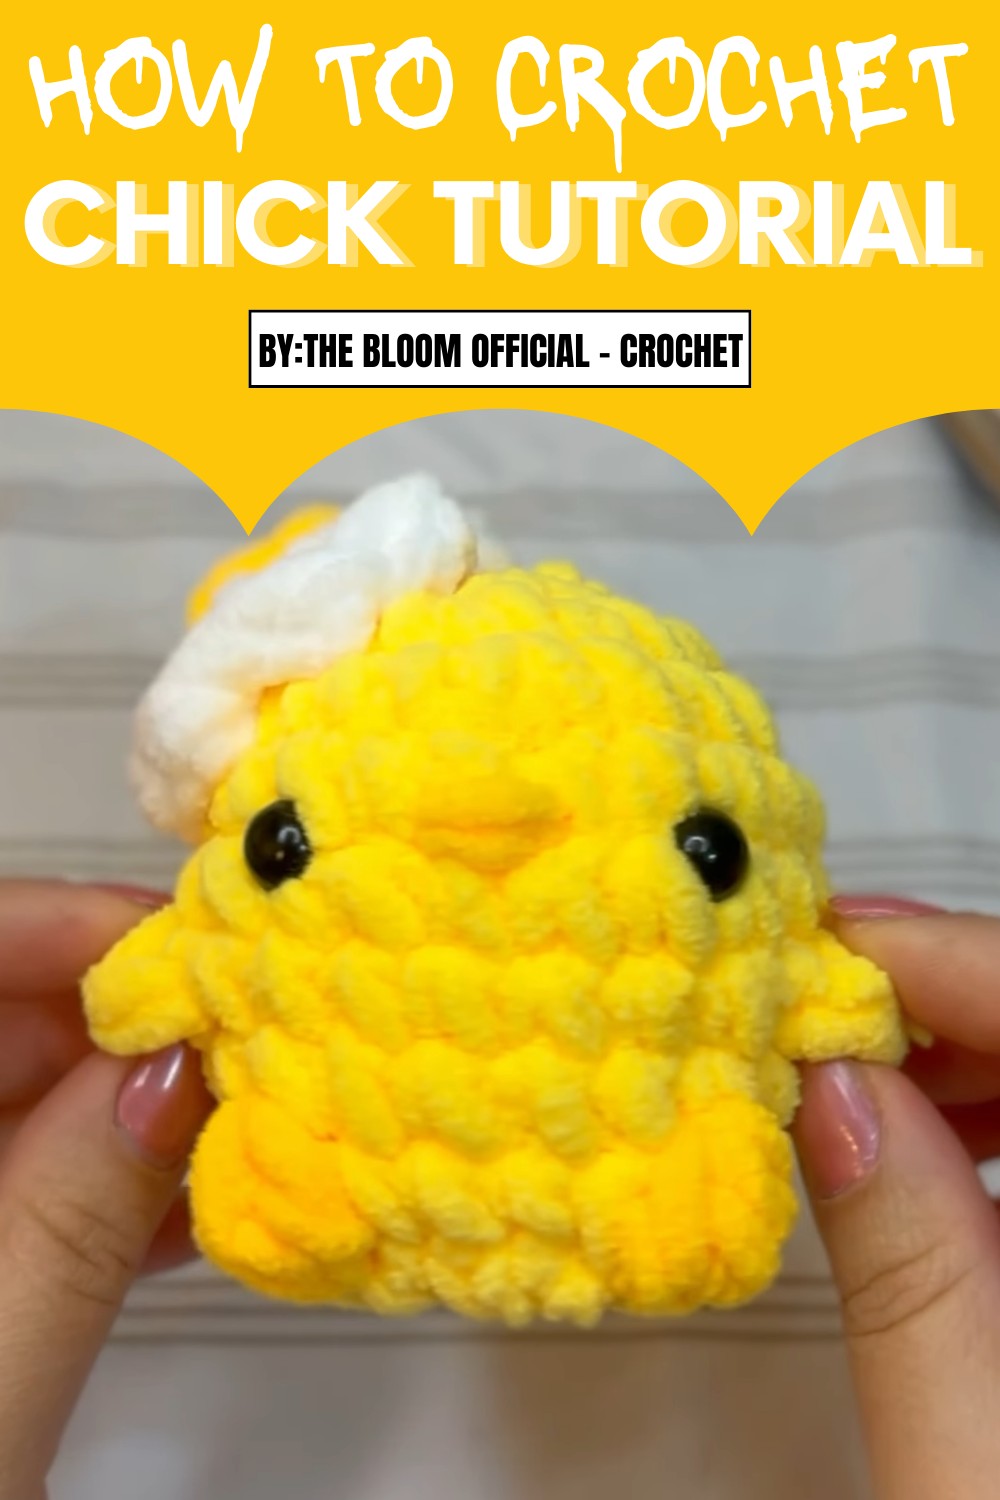
Bring smiles with this Free crochet chick pattern that’s perfect for gifting or adding a cheerful touch to any space or festive decoration.
Have you ever wanted something simple and adorable to brighten up your space? A crochet chick pattern is a delightful choice! This charming little chick can be made to add a cheerful touch to your home, decorate an Easter basket, or give as a thoughtful gift. Its soft and playful design fits perfectly in any setting, whether as a keychain, table decoration, or even a fun addition to a child’s toy collection.
Quick Crochet Chick Pattern to Spread Joy and Smiles
It’s easy to make and can be customized with vibrant colors or cute designs to match any theme or personal preference. This little creation brings joy and warmth no matter where you use it, making it ideal for seasonal décor or everyday decorations. If you want something that’s both easy and full of personality, this adorable chick is sure to capture hearts and put a smile on anyone’s face.

Materials Needed
- Yarn:
- Light yellow yarn (chick’s body, wings)
- Dark yellow yarn (feet, mouth, egg yolk)
- White yarn (egg hat)
- Hook Size: 3.5 mm crochet hook (or size that matches your tension)
- Accessories:
- Safety eyes (10 mm or preferred size)
- Hot glue gun (optional for attaching the egg hat)
- Stuffing material (fiberfill)
- Yarn needle for weaving in ends
- Scissors
Key Abbreviations (US Terminology)
- ch – Chain
- sc – Single crochet
- hdc – Half double crochet
- dc – Double crochet
- inc – Increase (2 sc in the same stitch)
- dec – Decrease
- sl st – Slip stitch
- Bobble Stitch – Special technique (instructions provided below)
- Magic Circle – A method to start working in the round
Special Notes
- The body and wings are crocheted directly, requiring minimal sewing.
- Work in continuous rounds unless stated otherwise. Use a stitch marker to keep track of the first stitch in each round.
- For adding the egg hat, you can either sew it onto the chick’s head or use a hot glue gun.
Step-by-Step Pattern
Chick Body
Round 1:
- Using light yellow yarn, create a Magic Circle.
- Work 8 sc into the magic ring. (8 stitches)
- Pull the tail tightly to close the circle.
Round 2:
- Work 1 inc (2 sc in the same stitch) in each stitch around. (16 stitches)
Round 3:
- Work [3 sc, 1 inc], repeat the pattern 4 times. (20 stitches)
Rounds 4-7:
- Work 1 sc in each stitch around for all 4 rounds. (20 stitches per round)
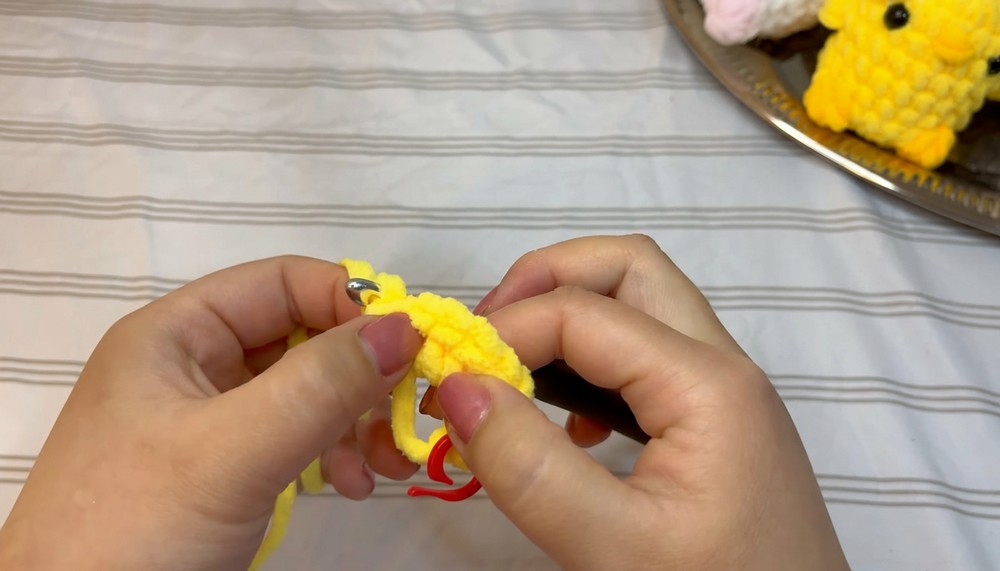
Round 8 (Feet and Bobble Stitches):
- Work 11 sc. Make 1 Bobble Stitch.
- Work 4 sc, then make 1 Bobble Stitch.
- Finish with 3 sc. (20 stitches total)
Instructions for Bobble Stitch:
- Yarn over (YO), insert hook into stitch, pull up a loop (3 loops on the hook).
- Yarn over, pull through the first two loops.
- Repeat this process 3 times in the same stitch until 4 loops remain on the hook.
- Yarn over and pull through all loops on the hook to complete the bobble.
Switch back to light yellow yarn, tie off the dark yellow yarn, and secure the ends.
Insert Safety Eyes:
- Place safety eyes between round 4 and round 5, spaced 5 stitches apart. Ensure they are aligned directly above the bobble feet for proper positioning.
Add Stuffing: Ensure the body is stuffed evenly before further rounds.
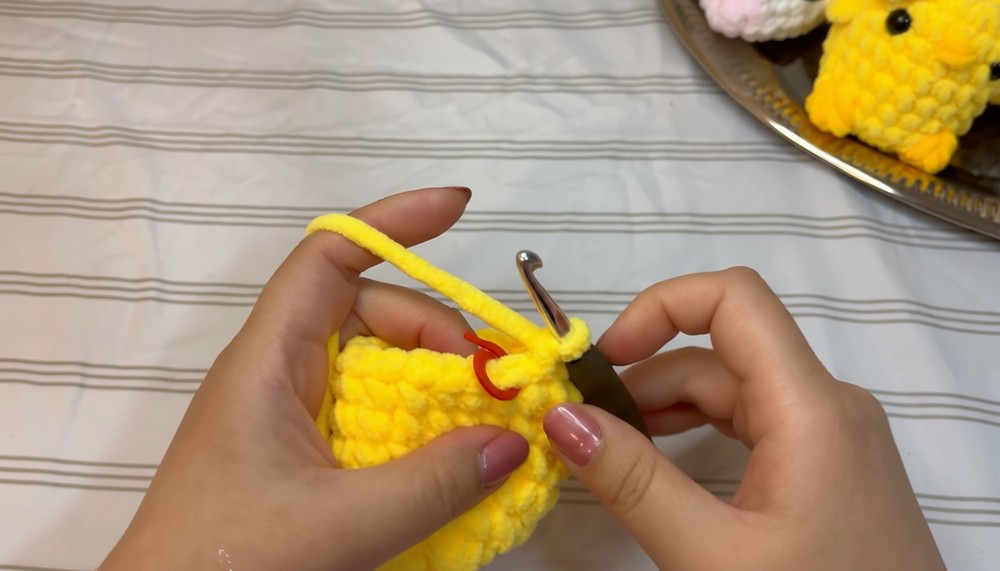
Round 9:
- Work [3 sc, 1 dec], repeat the sequence 4 times. (16 stitches)
Round 10:
- Work 8 decreases evenly around. (8 stitches)
Closing the Hole:
- Cut the yarn, leaving a 5-inch tail.
- Thread the tail onto a yarn needle.
- Insert the needle through the outside loops of each remaining stitch around the opening.
- Pull the yarn tightly to close the hole. Stitch a few extra passes if the hole isn't fully closed.
- Weave the yarn tail into the body and trim.
Wings
- Locate positioning for wings: Place them one row below the safety eyes and 3 stitches outward on each side.
Right Wing:
- Attach light yellow yarn.
- Ch 1.
- Work 2 hdc into the next stitch.
- Slip stitch into the following stitch. Cut yarn and secure the end with a knot.
Left Wing:
- Repeat the same process for the other side. Position the first stitch one stitch apart from the eyes.
Tuck and weave all ends carefully into the chick to hide them.
Mouth
- Using dark yellow yarn, embroider a small “V” shape below the safety eyes for the mouth.
- Weave the ends into the body to finish.
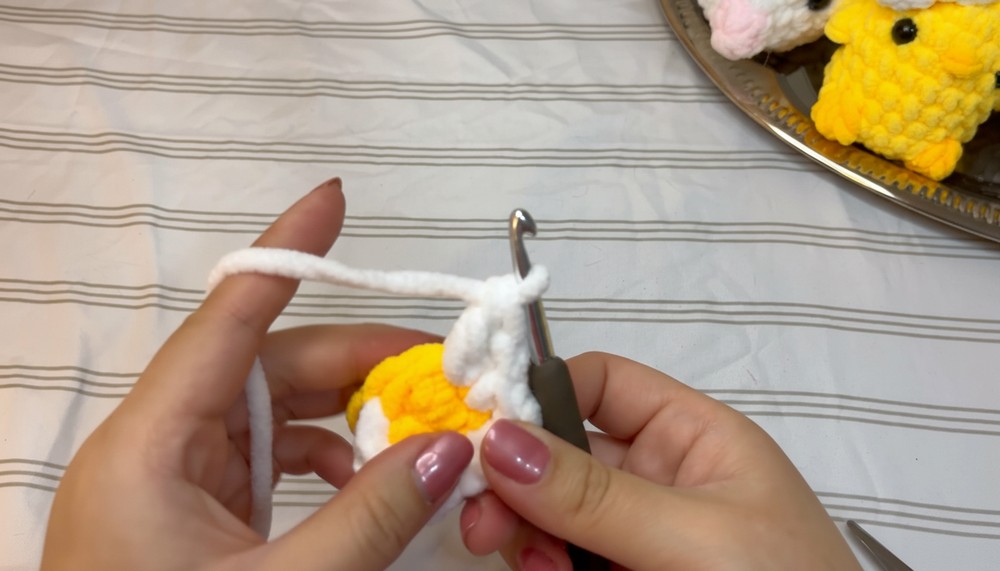
Sunny Side Up Egg Hat
Yolk (Dark Yellow Yarn):
Round 1:
- Create a Magic Circle.
- Work 8 sc into the circle. (8 stitches)
- Pull tightly to close the ring.
Switch to White Yarn:
- Insert your hook into the first stitch of the round, pull the white yarn through to switch colors.
- Cut the dark yellow yarn and tie a knot to secure the switch.
Egg White Outline (White Yarn):
- Round 1: Work 1 sc, then 2 dc in the same stitch. Repeat this sequence 4 times around.
Assembly:
- Pull all loose yarn tails towards the back of the yolk to make it “pop” up. Knot them to hold the puffed shape in place.
Attaching the Hat:
- Position the egg on top of the chick’s head.
- Option 1: Hot glue the egg securely in place.
- Option 2: Sew the egg onto the chick’s head using the yarn tails and a yarn needle.
Conclusion
Your adorable crochet chick with its sunny-side-up egg hat is now complete! This charming design combines minimal sewing techniques with adorable details, making it a delightful project for yourself or as a gift.
Pattern Correction
Double-check to ensure safety eyes are positioned symmetrically for balance. Additionally, when making the yolk, ensure all stitches are pulled tightly to avoid gaps in the fabric. If the chick’s base feels too loose, add a final stitch or additional stuffing for firmness before closing.
Tips
- Use a stitch marker to keep track of rounds if working in continuous rounds becomes confusing.
- For the bobble stitch, tighten the yarn firmly to make the bobble more prominent.
- When sewing or gluing the egg, ensure proper alignment so it sits flat on the chick’s head.


Leave a Reply