

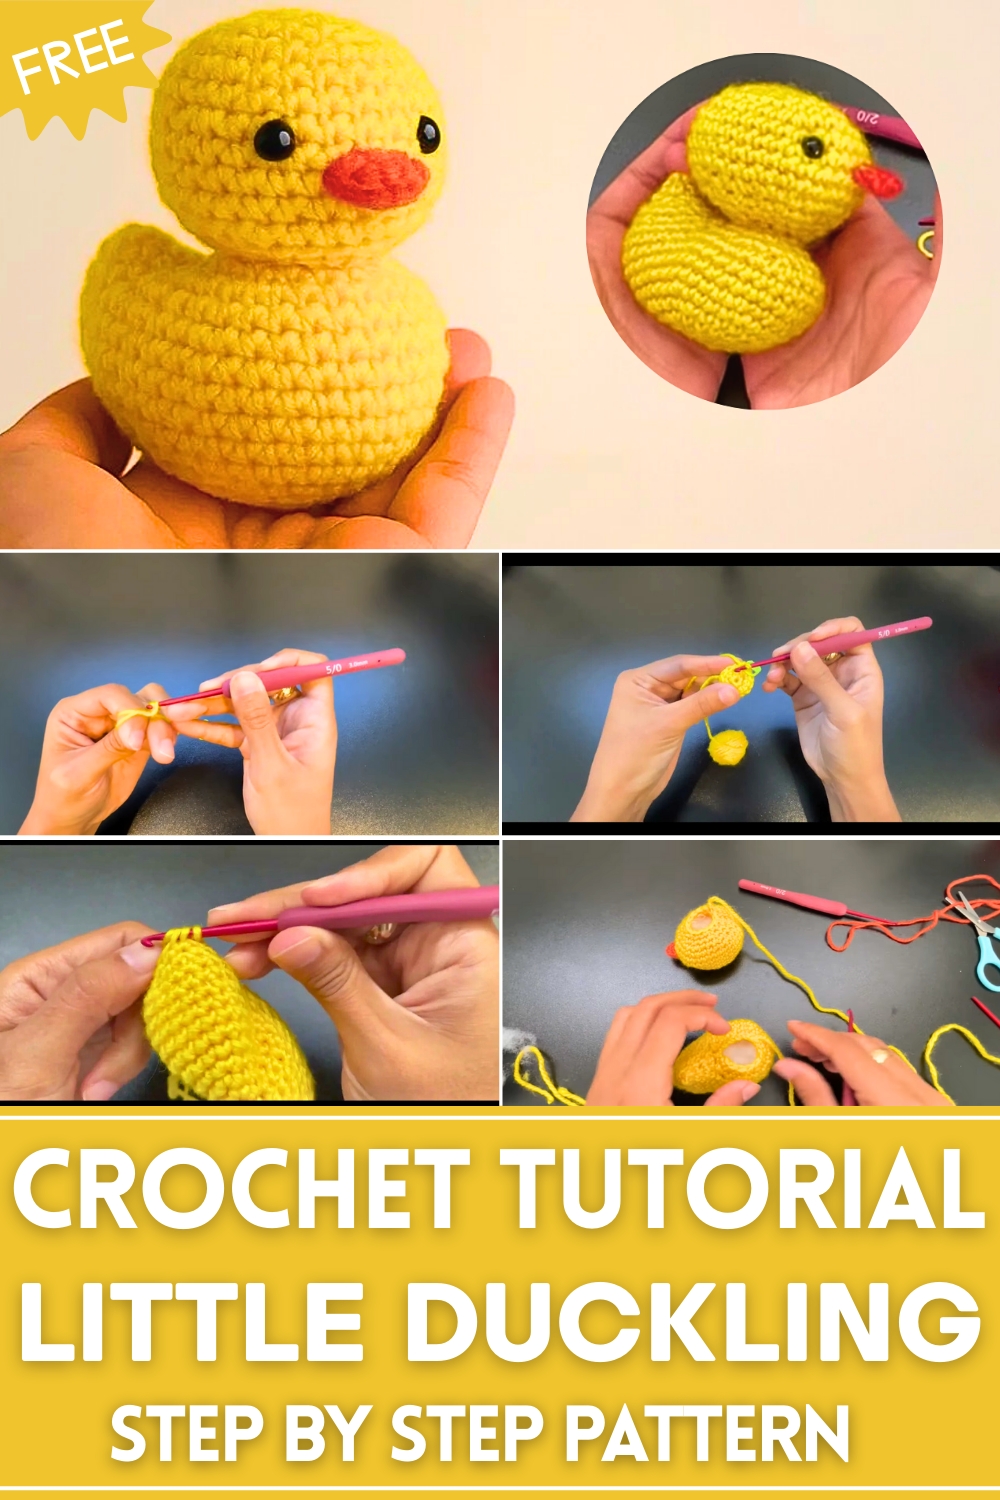
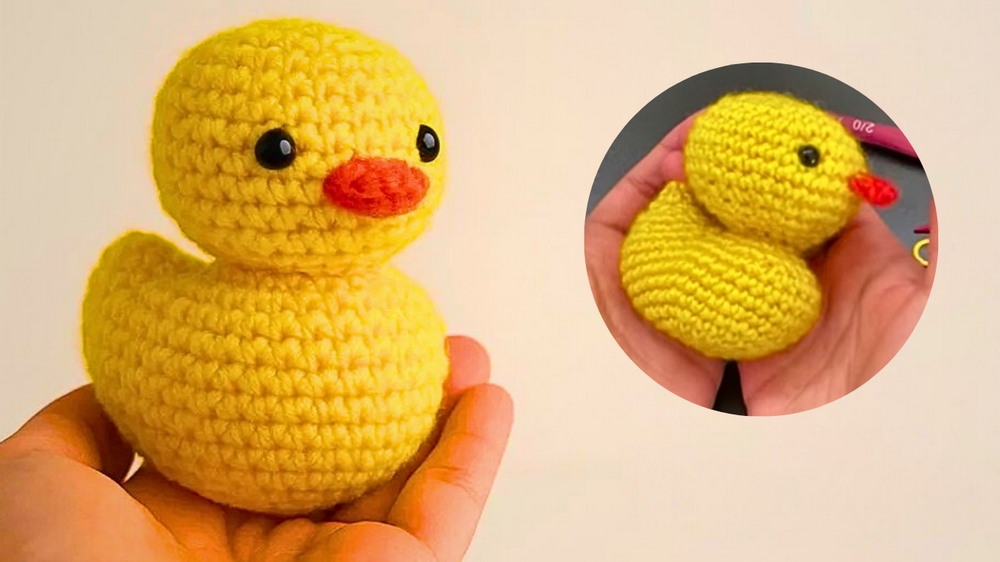
Splash into fun with the Free Crochet Duckling Pattern, creating cute, handmade ducklings perfect for playful décor, gifts, and cheerful accents.
In early spring, the gentle quacking of ducklings by the pond captures the attention of nature lovers and children alike, symbolizing new beginnings, innocence, and playful curiosity. With this Free Crochet Duckling Pattern, yarn is transformed into a soft, cheerful companion that brings delight to any space. Its cuddly form and sweet features make it perfect for nursery décor, desk accents, or whimsical gifts that charm both children and adults. These little ducklings can also be attached to keychains, bags, or seasonal displays, offering versatile ways to enjoy their playful presence.
Adorable Crochet Duckling Pattern Perfect for Playful Décor
The instructions are easy to follow, guiding crafters to achieve a plump, well-shaped duckling with expressive eyes and a rounded body that captures its lively personality. Beyond their visual appeal, these crocheted ducklings help improve focus, dexterity, and patience, turning the process into a rewarding and mindful activity.
They are ideal for children’s play, photo props, or thoughtful handmade gifts that convey warmth and care. The Free Crochet Duckling Pattern combines playful beauty, practical use, and skill-building benefits, creating a charming project that uplifts any space, brings smiles, and showcases the joy of handmade craftsmanship.
Special Features
- The duck is made using two yarn colors: orange and yellow.
- It incorporates safety eyes or snap-on eyes for added character.
- The project uses both larger (3 mm) and smaller (2 mm) crochet hooks to achieve distinct features for the body and peak.
- The process involves learning crochet techniques such as:
- Magic circles
- Increases and decreases
- Constructing separate pieces and assembling them
- You can stuff the body and head of the duck to give it more shape and firmness.
Level of Difficulty
The difficulty of this project is Intermediate Beginner. While some basic stitches like single crochet and increases/decreases are used, techniques such as working in the round (magic circles) and assembling the final product might pose challenges for absolute beginners.
Tutor's Suggestions
- Use stitch markers to keep track of rounds and stitches—this is particularly important when increasing or decreasing.
- When making a magic circle, avoid tightening it too soon, as it can make the stitches hard to work with.
- Always count your stitches carefully to ensure the increases and decreases are spread evenly.
- For slip stitches, make sure they are tight to avoid loose areas.
- Stuff the body and head with care to avoid lumps or uneven shapes.
- Make the peak (nose) very carefully with the smaller hook to give it finer detail.
Materials Needed
- Yellow yarn (for the body and head)
- Orange yarn (for the nose/peak)
- Safety eyes (2 mm or snap-on type)
- Stuffing
- Stitch markers
- A tapestry needle
- Scissors
- Crochet hooks:
- 3 mm hook for the body and head
- 2 mm hook for the peak (nose)
Step-by-Step Process
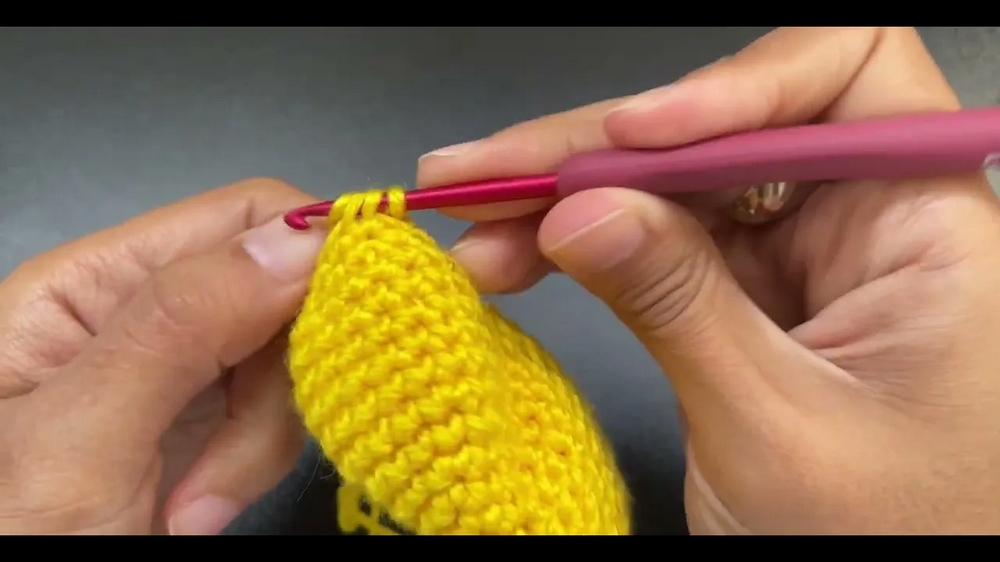
1. Making the Body
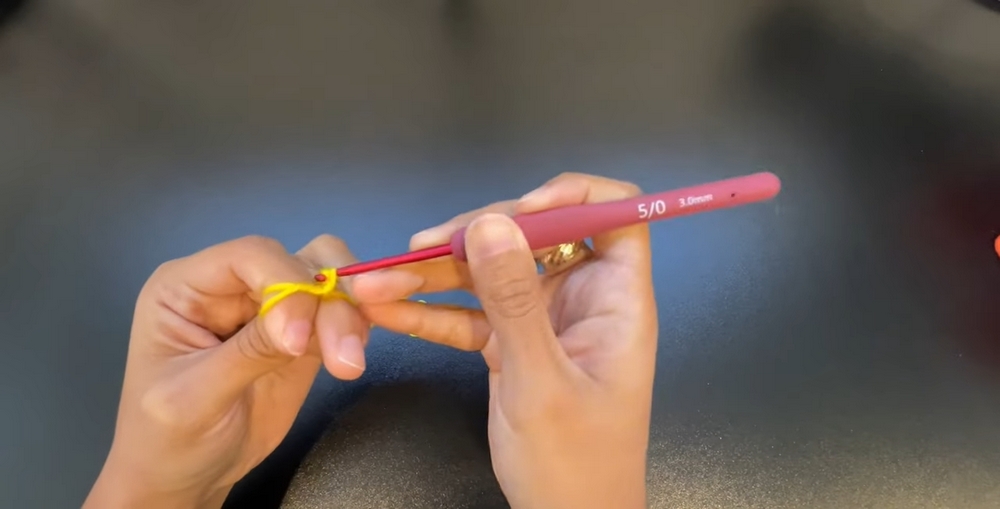
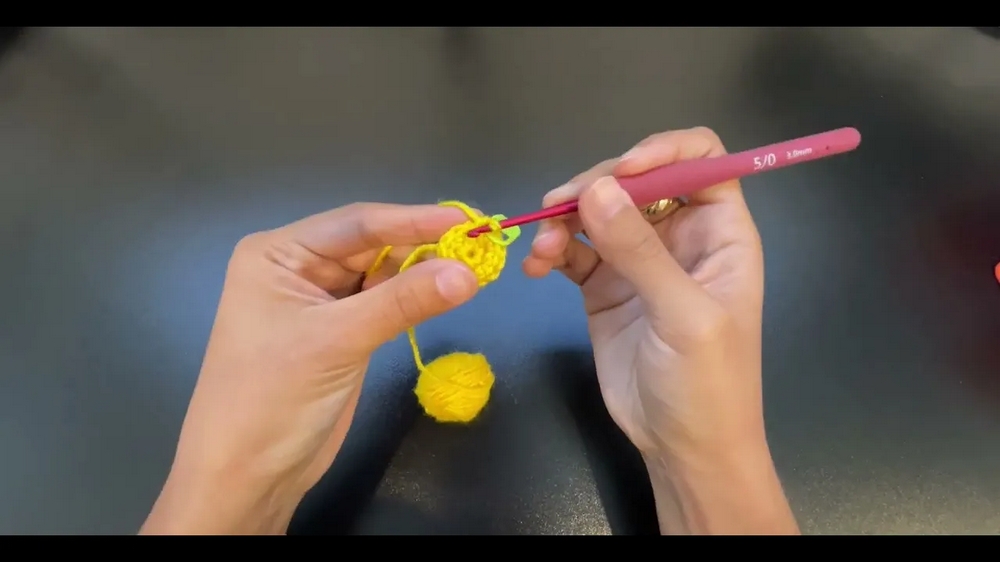
- Use yellow yarn and a 3 mm hook.
- Create a magic circle and work six single crochets into the ring.
- Gradually increase the circle as follows:
- Round 2: Increase every stitch (12 stitches in total).
- Round 3: Single crochet and increase alternately (18 stitches).
- Round 4: Two single crochets, then an increase (24 stitches).
- Round 5: Three single crochets, then an increase (30 stitches).
- Round 6: Four single crochets, then an increase (36 stitches).
- Work four uninterrupted rounds of 36 stitches to form the cylindrical body.
- Add a chain of three, separating the stitches into two parts (16 stitches on one side, 20 on the other).
- Work single crochets to shape the back and tail while adding strategic decreases to close the body securely.
2. Making the Head
- Repeat a similar process for the head as with the body:
- Start with a magic circle and single crochet six stitches.
- Increase gradually up to 36 stitches.
- Keep the 36 stitches consistent for four consecutive rounds.
- Add decreases to shape the head, working from 36 stitches down to 6.
3. Adding the Peak (Nose)
- Switch to orange yarn and the smaller (2 mm) crochet hook.
- Work a chain of 5 stitches.
- Skip the first chain, then work a row of single crochets.
- Work decreases in the next rows to taper the peak.
- Attach the nose to the head.
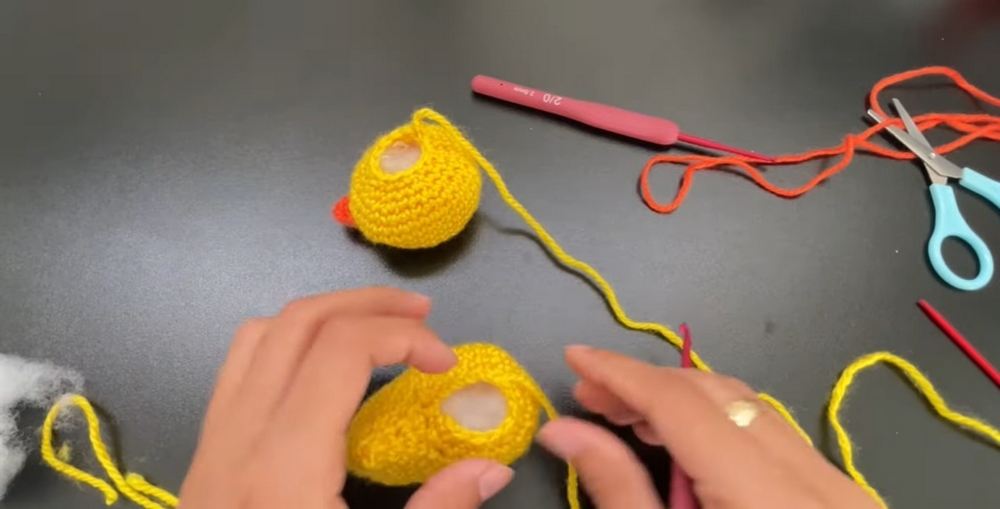
4. Final Details
- Stuff the head and body, ensuring an even filling.
- Attach the safety eyes and nose to the head securely.
- Use a tapestry needle and yellow yarn to assemble the body and head.
- Add any final stitches needed for adjusting the shape.
Uses
This crocheted duck can serve as:
- A cute, decorative piece for your home.
- A handmade toy for children.
- A personalized gift for friends and family.
- A starting point for learning more advanced crochet amigurumi projects.
Tip for Success
When attaching the body parts, use a stitch marker on the head and body to ensure that they align straight. This helps you avoid twisting the pieces while assembling.
Conclusion
This pattern walks you through creating a charming little duck with simple crochet techniques. By following the detailed steps and using the recommended tools and materials, you can create your own adorable masterpiece. Practice with the techniques used in this project will prepare you for more complex amigurumi designs.


Leave a Reply