

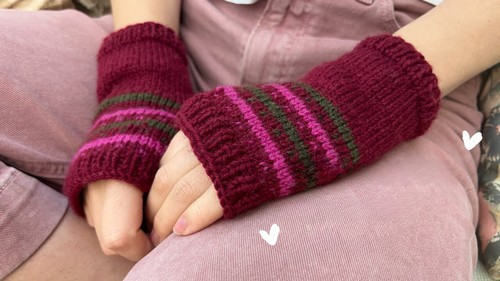
Knit your own fingerless gloves with this fun and easy pattern! Perfect for beginners or anyone looking for a quick project, this guide will show you how to make cozy, stylish gloves that keep your hands warm while leaving your fingers free.
Knit Fingerless Gloves Pattern
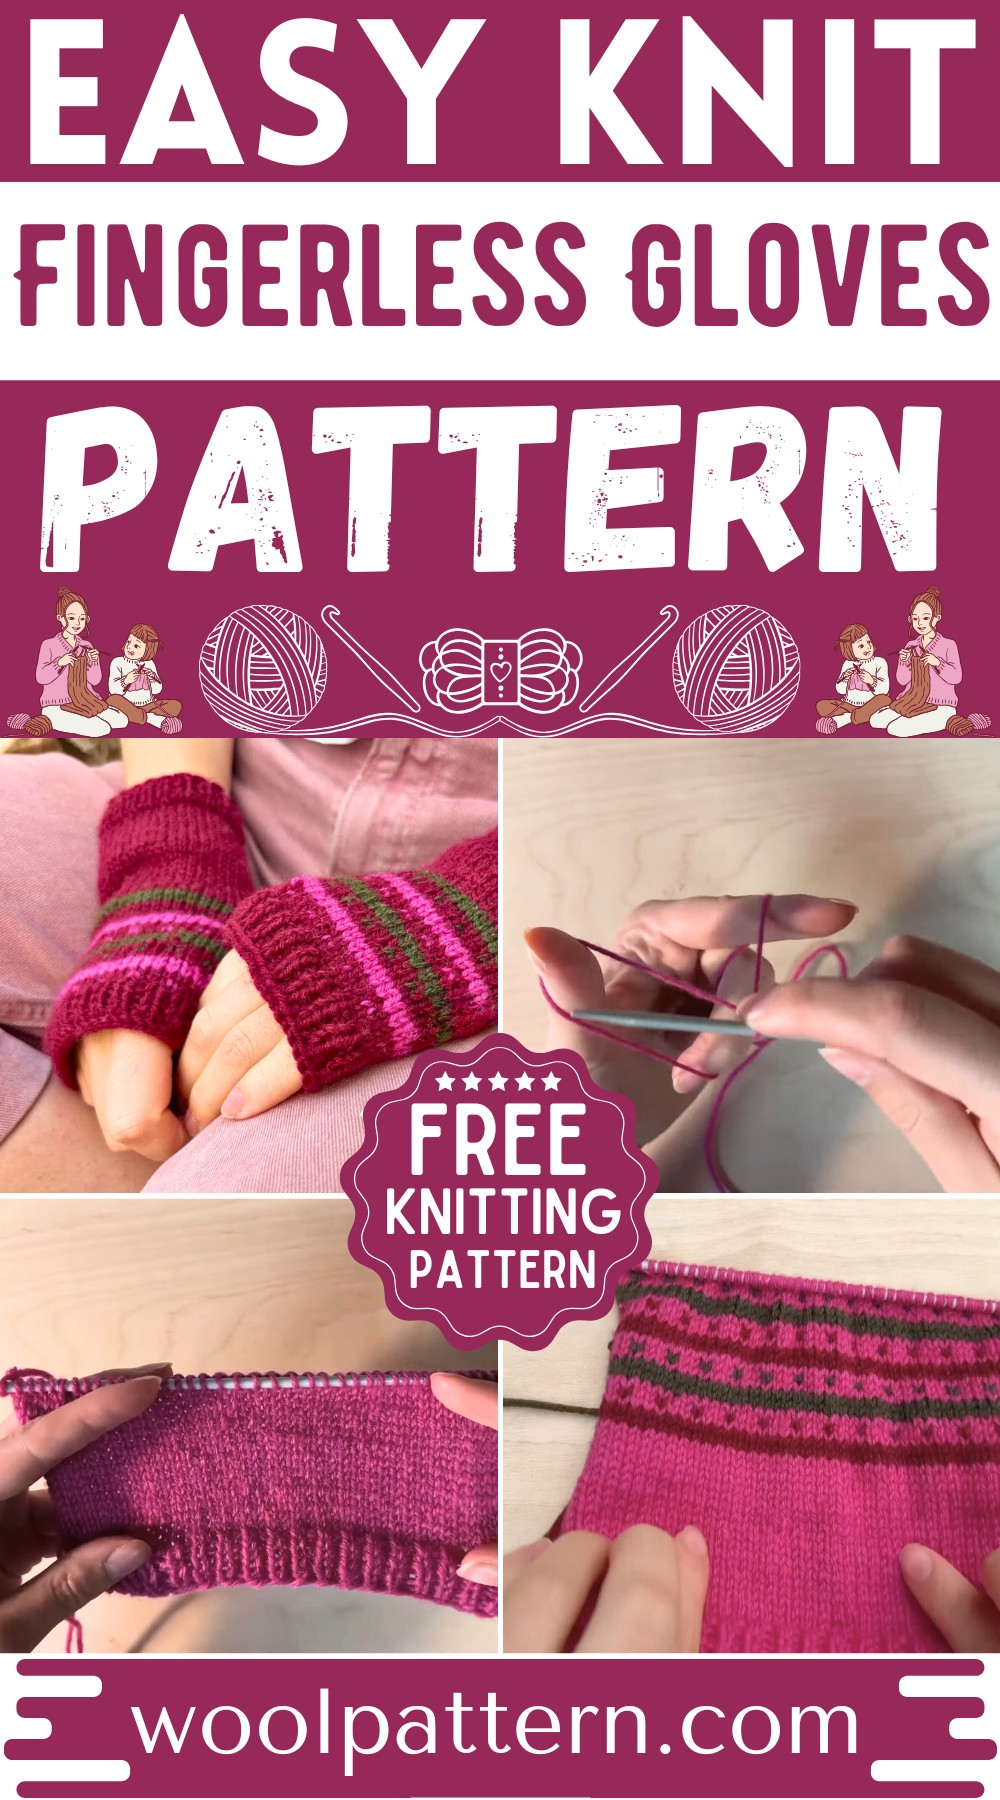
Whether you're making them for yourself or as a gift, you'll find this pattern a joy to follow. With clear steps and simple techniques, you'll have a pair of lovely gloves in no time. Let's get knitting and add a homemade touch to your wardrobe!
Materials Needed:
- Three colors of yarn
- 3.5 mm knitting needles (though a smaller size is recommended)
Steps:

Long-Tail Cast On: Begin by casting on 46 stitches for a small to medium-sized glove. Adjust the number of stitches for larger or smaller sizes. (A tutorial link for the long-tail cast on can usually be found in a video description).
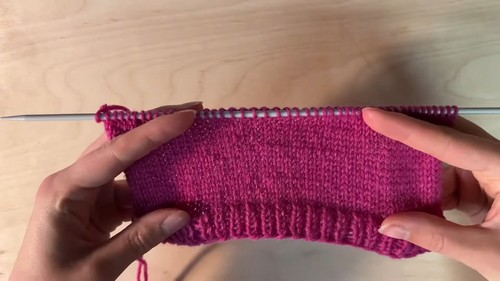
Rib Section (Bottom of the Glove):
- Work 6 rows of ribbing by alternating knit 1, purl 1 across each row.
Main Section (Stockinette Stitch):
- Work 19 rows in a stockinette stitch, which is knitting one row and then purling the next, and repeat. Adjust the number of rows for a longer or shorter glove.
Fair Isle Section (Color Change):
- Start a new color on a purl row, weaving in the new yarn color. Work 2 rows with this new color.
- After the two rows of the new color, switch back to the original (lighter pink) color for one row.
- Next, work a "dotted" pattern by doing two stitches in the original (lighter) color, then one stitch in the darker color, and repeat across the row.
Repeat the Fair Isle Pattern:
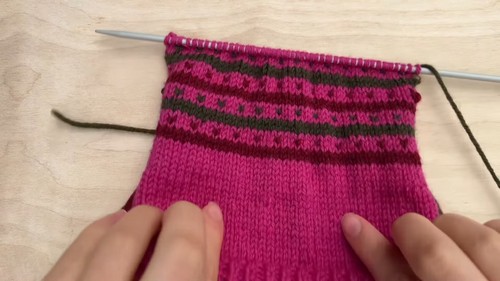
Repeat the section mentioned above (step 4) three more times with another color in between sections. This can be adjusted based on desired glove length.
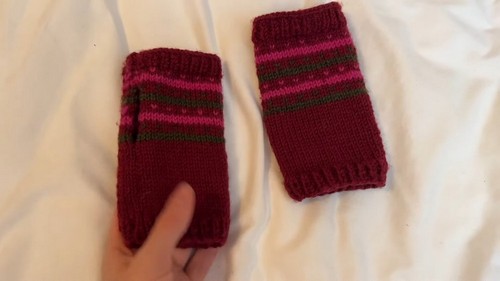
Rib Section (Top of the Glove):
- Like the bottom, work 6 rows of ribbing (knit 1, purl 1).
Casting Off:
- Cast off stitches carefully, ensuring the tension is not too tight to maintain stretchiness. Follow a tutorial for casting off if needed.
Tie Off Loose Ends:
- Secure and tie off all loose yarn ends by knotting and weaving them into the inside of the glove with a darning needle.
Sew Side Seams and Thumb Hole:
- Fold the glove to align side edges and use mattress stitch to sew the seam.
- Leave about 8 cm from the bottom unstitched for the thumb hole. Measure and mark about 5 cm for the thumb hole width.
- Continue sewing above the thumb hole until the side is fully seamed.
Weave in Ends:
- Secure any last bit of yarn from the seam sewing, weaving in the ends for a neat finish.
Final Step:
- Repeat the above steps to create the second glove.


Leave a Reply