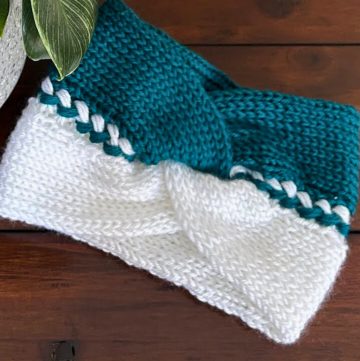
Snuggle up with the cozy comfort of a knit bonnet! This charming headwear wraps your noggin in warmth, perfect for those chilly days or when you want to add a touch of homemade love to your outfit. With its soft yarn lovingly looped into every stitch, the knit bonnet is a hug for your head that combines snugness and style. It's the ultimate accessory for keeping ears toasty and turning heads with its delightful design.
Knit Bonnet Tutorial
Materials Needed:
- 12 mm knitting needles
- Bulky yarn (example used is from Lion Brand)
- Crochet hook (5 mm for finishing touches)
Pattern Instructions:
Start Your Project:
- Create a loop and place it on your knitting needle.
- Cast on a total of 60 stitches (adjust the number of stitches based on the desired length of the bonnet ties).
Knit the Border:
- First row: Knit 1, purl 1 repeat from * to * across all stitches.
- Continue with this pattern (knit 1, purl 1) for the border, turning your work after each row. You can decide the height of the border as per your preference.
Create the Bonnet Body:
- Find the middle point of your stitches; for 60 stitches, your middle will be at the 30th stitch.
- Segment and seclude 22 stitches in the middle for the bonnet body.
- Cast off 19 stitches on each side of the central 22 stitches. This leaves the central 22 stitches on your needle for the bonnet body.
Knit the Body:
- Knit only these 22 stitches to create the body of the bonnet.
- Alternate between knit and purl rows to add height to your bonnet, continuing until it reaches from the middle of your neck to the top of your forehead.
Closing the Top:
- Cast on 10 additional stitches at the beginning of a new row to prepare for closing the top.
- Continue in the round with knit stitches only.
- Start decreasing by knitting two stitches, then knitting two together. Repeat this pattern (knit 2, knit 2 together) across the round to gradually close the top.
- Continue with these decreases until you have a small circle, then cast off.
Close off Completely:
- Use a crochet hook to weave through the last stitches and pull tight to close the top. Secure and weave in the end.
The Border Finish:
- Cast on stitches around the initial border to enhance the appearance.
- Repeat the initial knit 1, purl 1 pattern for this new border.
- Cast off and weave in all loose ends.
Finishing Touches:
- Weave in all loose yarn ends.
- (Optional) Add embellishments such as pompoms or tassels.
Tips:
- Keep the tension consistent to prevent the bonnet from being too tight or too loose.
- Use a measuring tape to ensure the bonnet fits well from one side of the head to the other, covering the ears and reaching just to the outside of the eye area.
Enjoy your handmade knit bonnet, perfect for staying warm and stylish!


Leave a Reply