

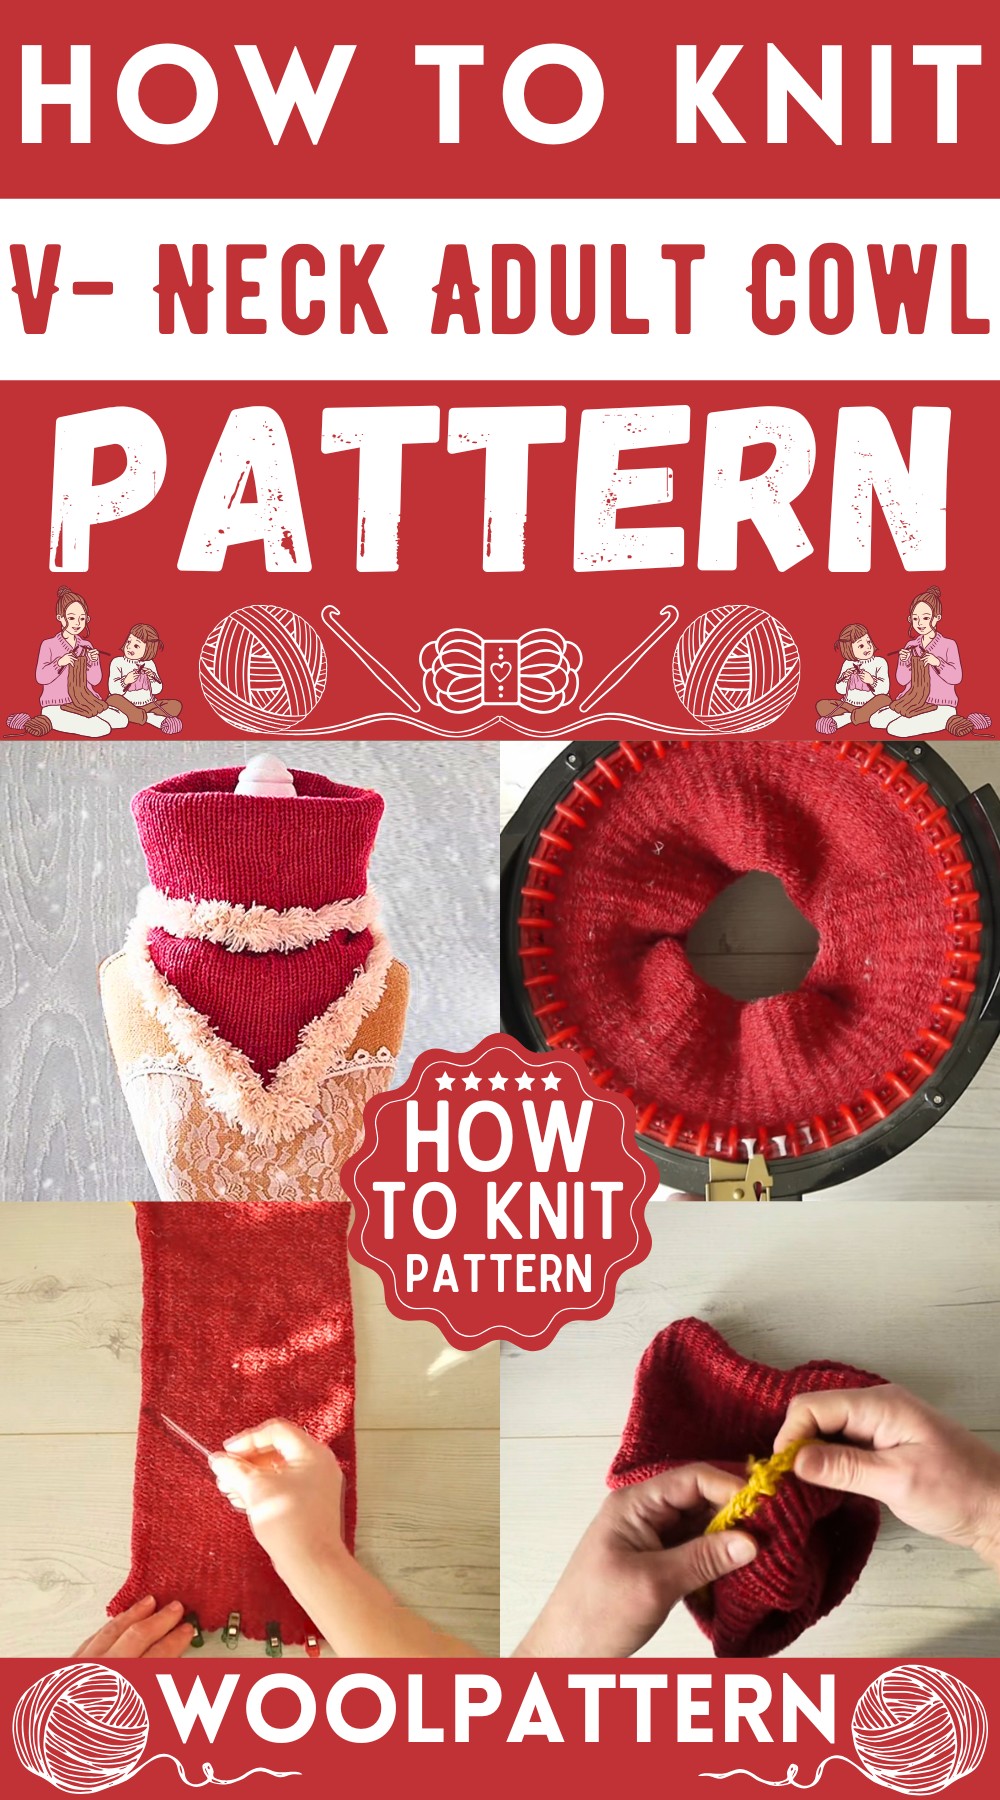
Wrap yourself in the cozy warmth of a knit V-neck adult-size cowl. Perfect for chilly days, this stylish accessory adds comfort and charm to any outfit. Whether you're dressing up for a night out or just keeping warm on a casual walk, this cowl is a simple yet elegant choice that goes with almost anything.
Knit V- Neck Adult Size Cowl
Materials Needed:
- Aran yarn (wool blend, cherry red color)
- Crochet hook suitable for Aran yarn
- Chunky crochet hook for the border
- Feather touch yarn for the fuzzy border
- Fabric clips (or pins/clothes pegs)
- Scissors
- Tapestry needle
- Stitch markers
- Waste yarn (bright yellow color)

Steps to Make the Cowl:
Setting Up Your Materials
- Gather your materials, ensuring your yarns, hooks, and other accessories are at hand.
Crochet the Main Part
- Start by casting on using the regular method, over and under loops until the entire boundary of the beding machine is covered.
- Knit 120 rows.
- Change to the waste yarn and knit another 6-8 rows for easy removal later.
Constructing the Cowl
- Remove the piece from the machine.
- Repeat the process to make a second identical piece.
Preparing for Assembly
- Stretch out both knitted pieces and clip them flat at the edges, ensuring no curls at the bottom edges to maintain evenness.

Sewing Edges
- Mark 7 inches from each side edge on the knitted pieces.
- Use a ruler and fabric marker to trace lines for cutting.
- Sew along the marked line using either a hand stitch or a sewing machine. You can add a zigzag stitch near the seam for reinforcement if using a machine.
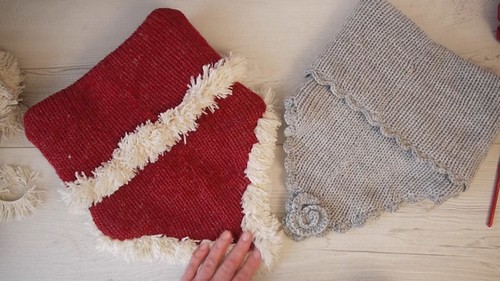
Adding the Fuzzy Border
- Cut along the outer edge of the zigzag stitch to create a neat and sealed edge.
- With the chunky hook and the feather touch yarn, crochet a fuzzy border around the edges of each piece.
Final Assembly
- Align and clip the two pieces together ensuring proper form.
- Use a mattress stitch to sew both pieces together to form the cowl.
- Remove waste yarns.
- Optionally, secure the seams with additional hand-sewn stitches or add crochet decorations like small flowers or scalloped edges as desired.

Finishing Touches
- Turn the cowl to the right side, making sure the seams are neat and the corners sharp.
- You might want to go over certain areas to reinforce or tidy up as necessary.
Additional Tips:
- Always ensure the crochet stitches are tight enough to keep the form but loose enough not to bunch the fabric.
- Occasional checks for evenness in the stitching can help avoid skewed patterns.


Leave a Reply