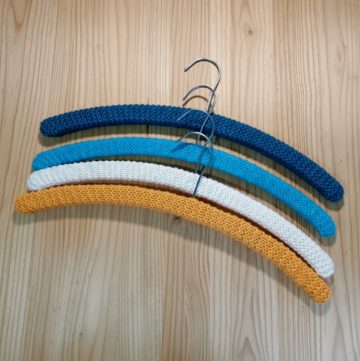
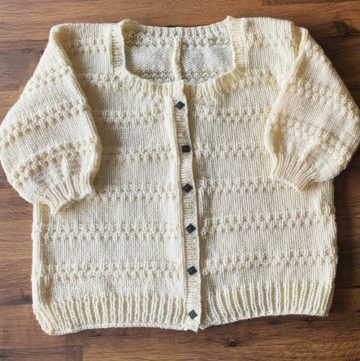
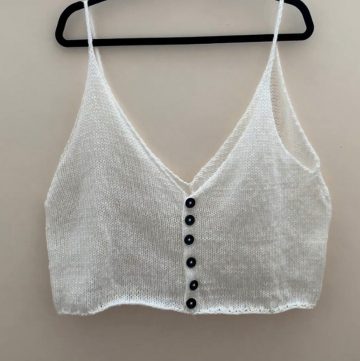
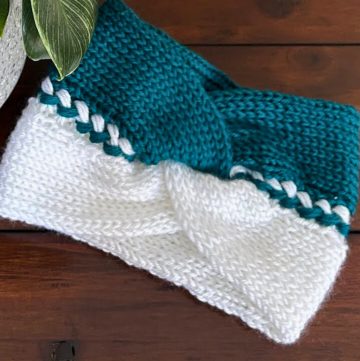
Check out our cozy knit cardigan that's best for making a superb addition to your wardrobe! Perfect for chilly days, they offer both warmth and style. Available in various colors and designs, these cardigans are a must-have for anyone looking to add a touch of comfort to their wardrobe. They're versatile too, great for layering over your favorite outfits. Grab one today and cozy up in style!
Knit Cardigan Tutorial
Supplies:
- Circular or regular knitting needles (size based on cardigan)
- Crochet hook
- Yarn (Lin's brand yarn, 1020 yards mentioned, not sponsored)
Steps:
Determine the number of stitches for your cardigan size (the example given is 38 stitches for a perfect fit, rounded up to 40, then divided by two to determine the number of stitches for one panel of the cardigan).
Make a slip knot and place it on the knitting needle, counting this as the first stitch.
Cast on 47 more stitches (for a total of 48) using your preferred method (not detailed in the extracted information).
Check the yarn is not twisted and that it's all facing the same way.
Start the border by knitting a ribbing pattern of knit one, purl one (K1, P1) for the entire row.
Continue the K1, P1 border pattern for eight rows to create the border.
After the border, knit 68 rows (or the length required for your cardigan to reach just above the hip area).
When knitting the rows after the border, knit all stitches on the right side rows and purl all stitches on the wrong side rows, creating a stockinette stitch pattern.
Continue
Once the full panel is knitted, cast off stitches as follows: Knit two stitches, then pass the first stitch over the second, and repeat until all stitches are bound off.
For the sleeves, cast on stitches at the underarm and work in the round in stockinette stitch (knitting every row) up to the cuff.
For the sleeve cuff, switch to the ribbing pattern (K1, P1) for eight rows before binding off.
Assemble the cardigan by weaving your crochet hook through the stitches on the edges of the front and back panels to join them at the shoulders and sides, making sure to leave space for the armhole.
For decorative or functional front borders where you might want to add buttons, cast on additional stitches and work the ribbing pattern (K1, P1) as you did for the original borders. Attach buttons, if desired.
Seam the shoulders and sides together using a crochet hook.
Important Notes:
- The creator mentions that their own cardigan (featured in the video) is oversized; adjust the number of rows and stitches according to the desired fit.
- The video includes various cardigan parts being made, such as front panels, back panel, and sleeves. Though the description does not detail the entire process for each component.


Leave a Reply