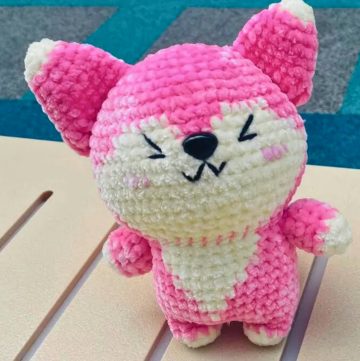
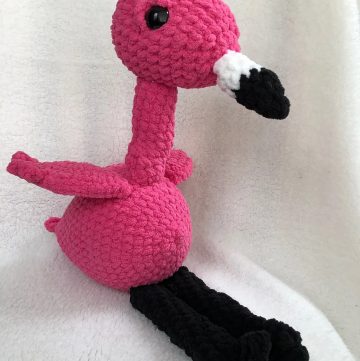
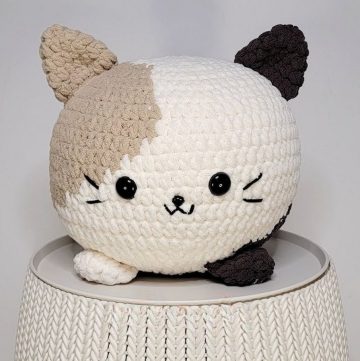
Let's get started on making a fun, soft lemur toy with some yarn and a crochet hook. This guide is for anyone who likes crafting, whether you're just starting or you've made things before. You'll get to make a cute lemur with stripes and a tail that stands out. It's a cozy project that could become a favorite toy or a sweet gift. Ready to create something adorable? So make a crochet lemur together and surely you're going to love it.
How To Crochet Lemur Amigurumi Pattern
Materials Needed:
- 8 Ply 100% Acrylic Yarn in black, white, and gray (Use dark gray for better camera visibility)
- 9mm Safety Eyes with a yellow iris
- 3.5mm Crochet Hook
- Scissors
- Pins and Needles
- Stuffing
Pattern Overview:
This lemur is composed of several pieces that are made separately and then assembled. The pattern includes color changes for stripes. Pieces include:
- Eye Patches
- Ears
- Face Disc
- Head and Body
- Tail
- Arms
- Legs
Creating the Eye Patches:
- Start with black yarn.
- Create a magic ring, then:
- 4 single crochet (SC) in the magic ring
- Slip stitch in the ring to form a little point
- Finish off leaving a long tail for sewing
- Repeat for the second eye patch.
- Insert safety eyes through the magic rings of the eye patches.
Ears:
- Begin with white yarn for the main part of the ear.
- Magic ring 6 SC.
- Follow the pattern with increases and color changes to black for the tips.
- Each ear uses a sequence of single crochet, a color change to black, and further shaping to create the ear's form.
Face Disc:
- Start with black yarn for the nose in a magic ring.
- Switch to white yarn as you expand outward, forming the face.
- This piece includes detailed shaping for facial features.
Head and Body:
- Using gray yarn, start with the top of the head, creating a shape that transitions from the head to the body with strategic increases for shaping.
Tail:
- Begin with black yarn, creating a magic ring.
- Increase stitch count in rounds, then switch to white yarn after several rows.
- Use slip stitches and half double crochets to curve the tail correctly.
Arms and Legs:
- Arms:
- Start with black yarn for the hands, creating fingers with bobble stitches.
- Switch to gray yarn for the arms, stuffing lightly as you go.
- Legs:
- Begin with gray yarn, forming the thigh and down to the foot.
- Create the foot with black yarn for the sole and toes.
Assembly:
- Sew the eye patches and ears to the face disc.
- Attach the face disc to the head.
- The body and head piece are then joined.
- Sew the arms and legs to the body at the indicated points for balance.
- Attach the tail to the back of the body, ensuring it supports the lemur sitting up.
- Add additional facial details (nose, mouth, etc.) with black yarn.
Finishing Touches:
- Make any necessary adjustments to ensure the lemur sits balanced.
- Use pins to temporarily place parts before sewing to check alignment.
This pattern is quite complex, with many pieces and detailed assembly. Make sure to check each section for size and positioning before final assembly to ensure your lemur has the desired look and posture.


Leave a Reply