

Nothing brings a smile quite like a charming, handmade bunny! This delightful crochet bunny pattern is perfect for any time of year, but especially shines during spring celebrations and Easter. The joy of making these bunnies isn’t just in their adorable appearance; it’s in their versatility. They can be used as delightful home décor, thoughtful handmade gifts for kids and loved ones, or even as cherishable keepsakes to pass down through generations. Working through this pattern provides an excellent opportunity to sharpen your crochet skills, including stitch techniques and assembly methods.
Unique Crochet Bunny Pattern to Charm Your Décor for All Seasons
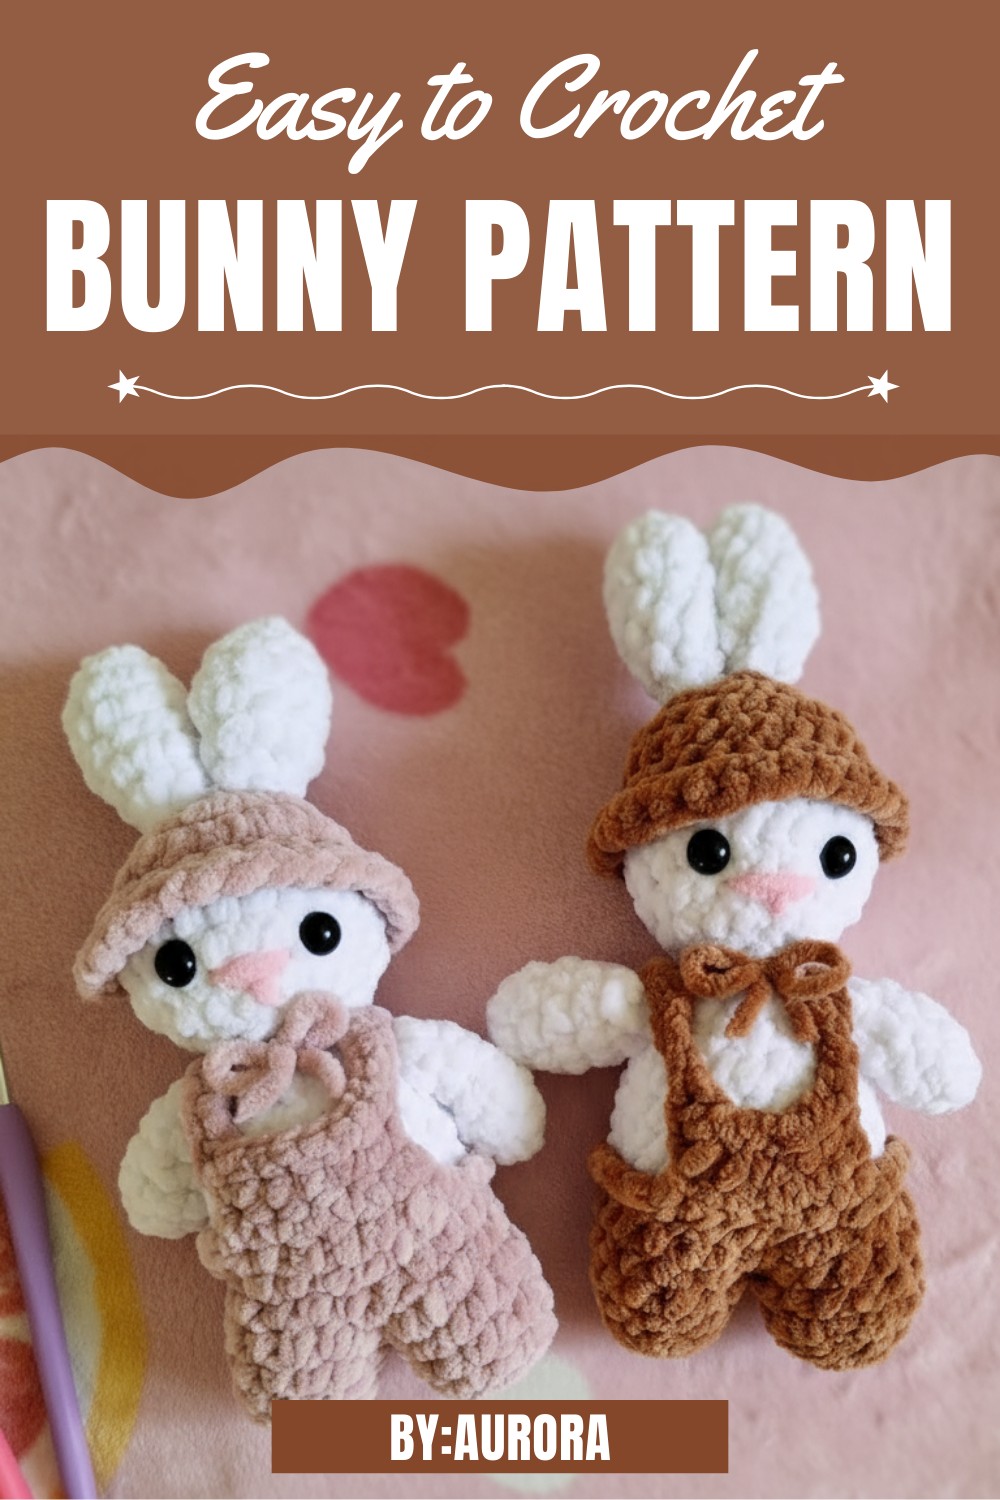
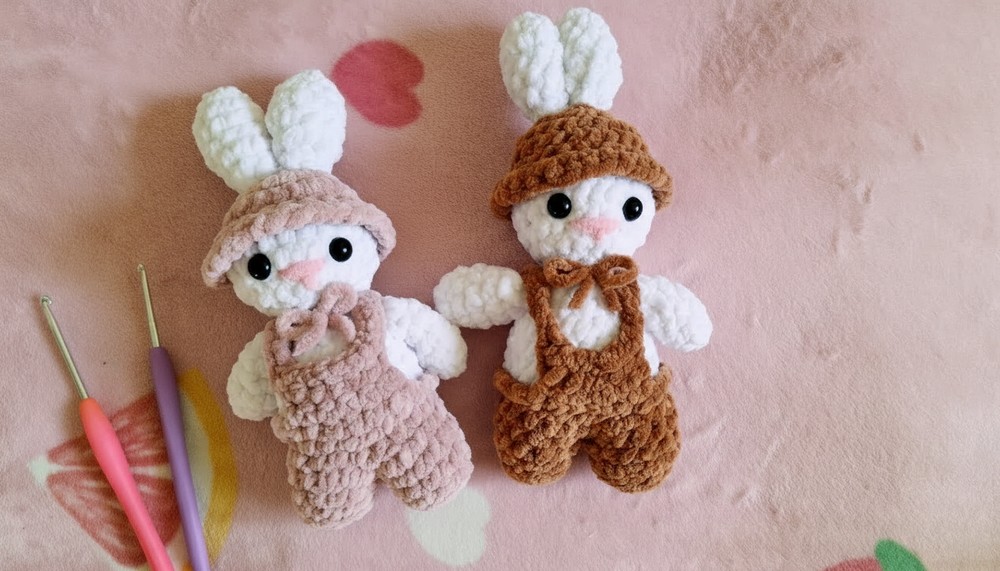
With low-cost materials like yarn, safety eyes, and toy stuffing, the end product is both beautiful and affordable. The bunny's customizable features mean you can switch up colors, add accessories like bows, and personalize each bunny to your liking. This pattern ensures you'll end up with a high-quality, sturdy toy that will not only withstand love and play but also bring joy and a touch of warmth to any room.
Ideal for beginners and experienced crocheters alike, it combines the thrill of handmade gift-giving with the simplicity of easy-to-follow steps, making it a perfect project for anyone looking to add a bit of handmade magic to their lives.
Materials Needed
- Yarn (for the bunny, outfit, and details such as bow)
- Crochet hook (appropriate size for your yarn)
- Scissors
- Safety eyes or glue-on eyes
- Tapestry needle
- Toy stuffing (lightly for body and head)
- Stitch markers or bobby pins
Special Features
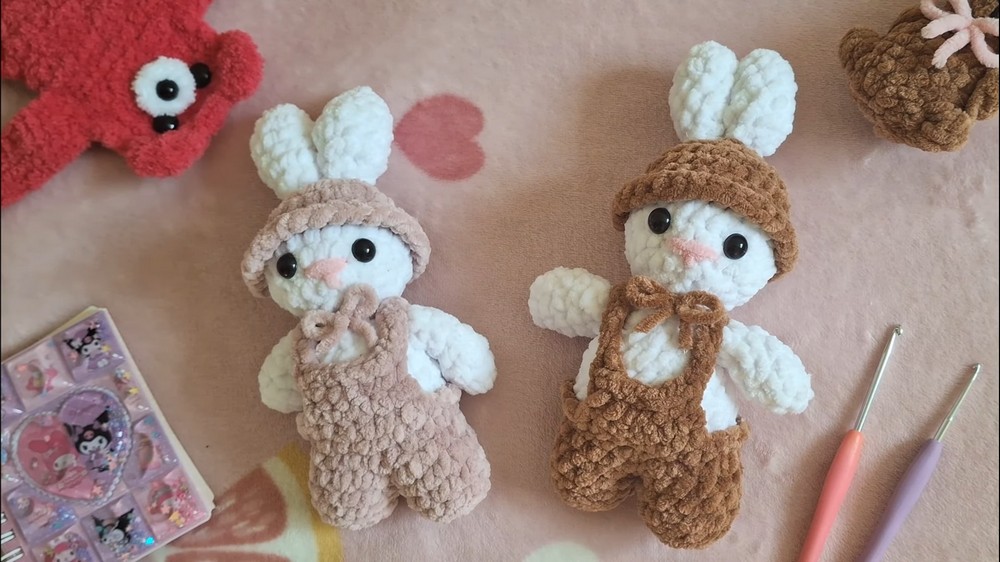
- Customizable Design: Choose colors for the bunny, outfit, and details to match your personal style or theme.
- Detailed Features: The combination of a well-shaped body, adorable ears, and the option to add accessories like a bow makes the bunny charming and realistic.
- Clean Color Changes: The tutorial emphasizes neat transitions between yarn colors, ensuring a polished final product.
- Versatile Use: Use these bunnies for home decor, gifts, kids' toys, or seasonal settings like Easter displays.
Step-by-Step Instructions
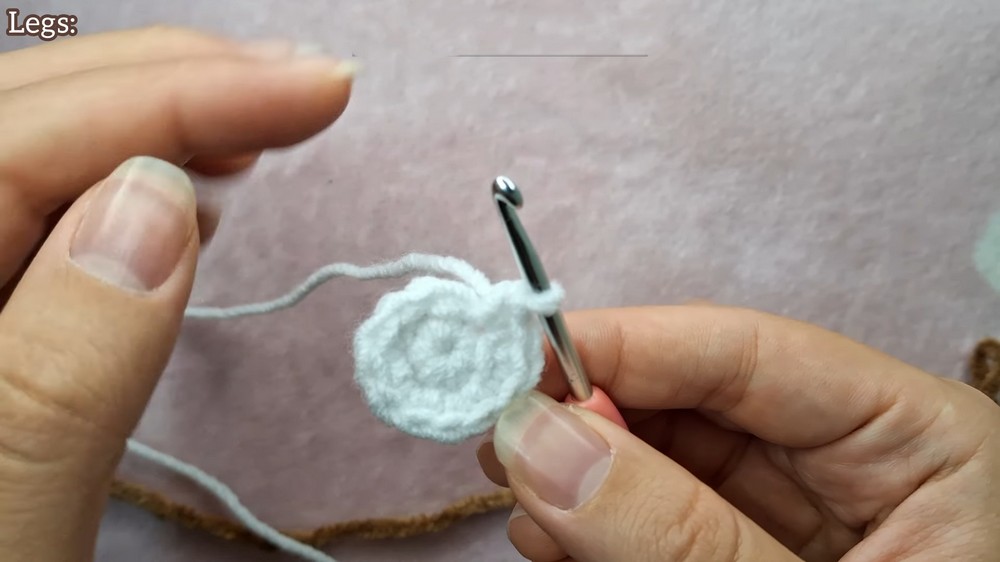
1. Starting with the Bunny’s Legs
- Begin with a magic ring or the two-chain method for convenience.
- Work 6 single crochets into the ring. Close the ring by pulling the tail tight.
- For the next round, make two single crochets in each stitch (increase) to reach 12 total stitches. Mark the first stitch to keep track.
- Round 3: Work single crochets into the back loops only for shaping. This creates a distinct, rounded shape for the legs.
- Continue with three more rounds of 12 single crochets for consistent shaping. Cut the yarn and fasten off after finishing the first leg. Repeat to make the second leg, but do not cut the yarn on the second one.
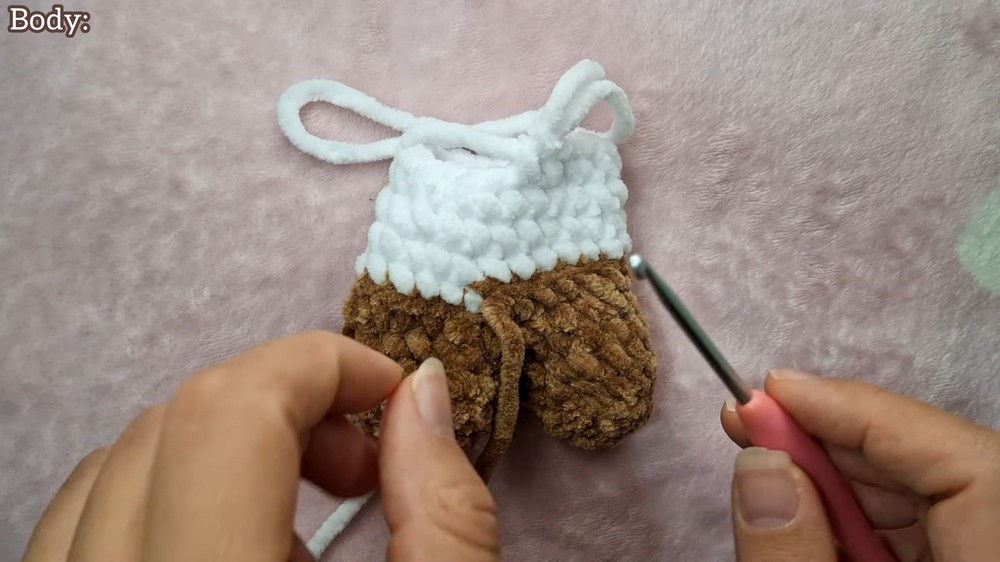
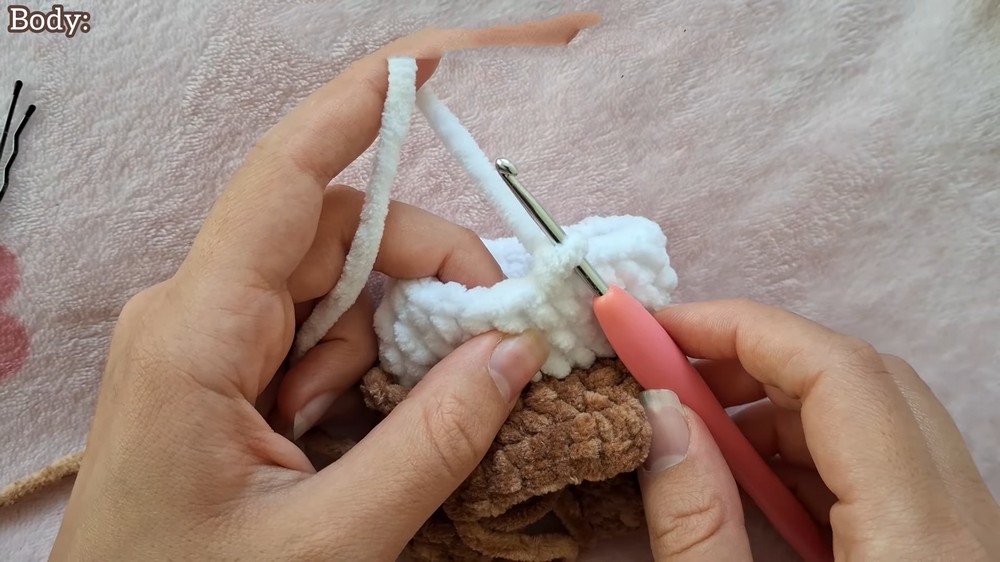
2. Joining the Legs to Form the Body
- Join the legs by crocheting 24 single crochets all around—12 from each leg.
- Work additional rounds of 24 single crochets using the bunny’s body color and ensuring a smooth shape. Alternate between front and back loops for details, as required.
- Gradually start decreasing stitches in the final rounds of the body, from two single crochets and a decrease to one single crochet and a decrease. Stuff the body lightly before closing.
3. Creating the Outfit
- Using the outfit color, start crocheting straps for the bunny’s clothes. Work with chains and slip stitches to create even straps that reach across the bunny’s body properly.
- Mark your stitches and switch between back loops and whole stitches to layer the colors. This helps add depth and ensures a clean and even look.
- The outfit uses neat rows of single crochets for smooth layering. Add straps by chaining from one side of the body to the other and securing with slip stitches.

4. Making the Head
- The bunny's head begins with a magic ring and 8 single crochets. Continue increasing: one single crochet and an increase per stitch for a total of 24 stitches by Round 3.
- Add 3 more rounds of 24 single crochets to form a spherical head.
- Change to a new yarn color (the same used for the body), ensuring the color changes are clean by altering the last stitch into your new yarn color.
- Add safety eyes to the head at this stage, keeping them evenly spaced, and lightly stuff the head before closing with decreases.
5. Bunny’s Ears and Arms
- For the ears: Use 4 single crochets into a magic ring, then increase to 8 single crochets by working one increase in each stitch. Continue crocheting single crochets in each stitch for a total of 4 more rounds. Decrease down to 4 single crochets for shaping. Leave a long tail for sewing.
- The arms are created similarly using 4 single crochets, increased to 8 stitches before continuing with additional rounds of single crochets for length. Finish with decreases for shaping, and leave a tail for attaching to the body.
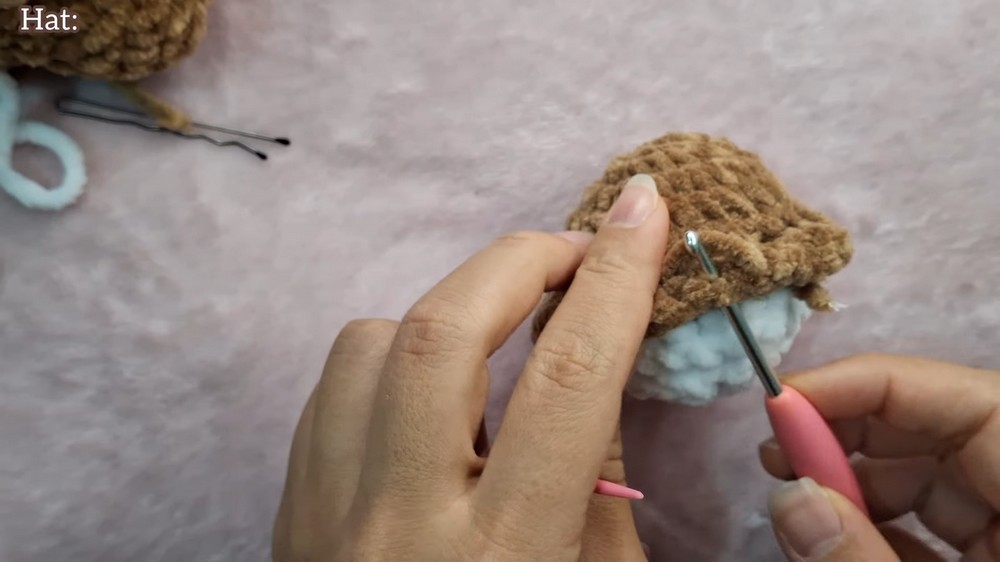
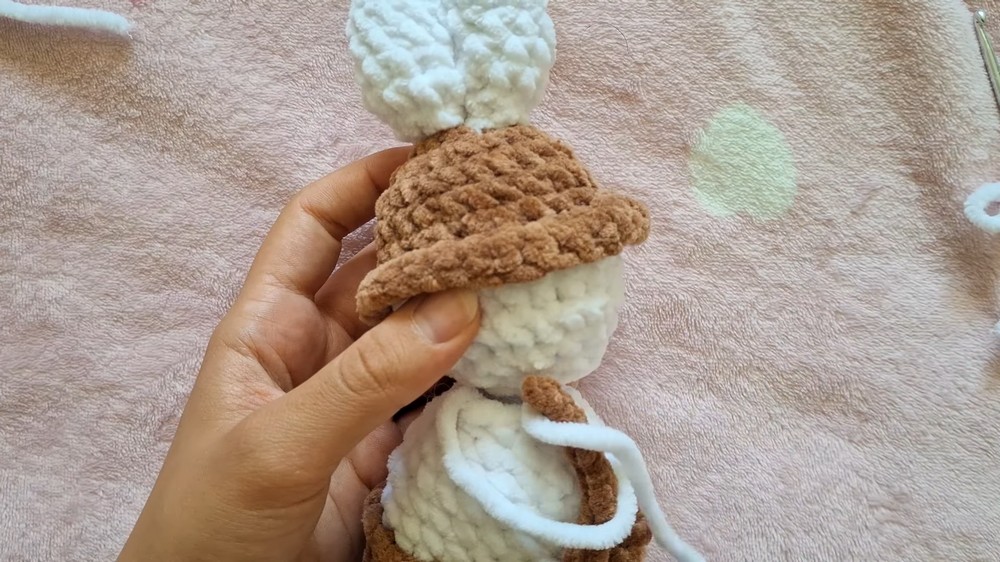
6. Assembly
- Sew the ears onto the top of the head securely, using the first few rounds of the head as placement. Use a plastic needle to weave back and forth between stitches for durability.
- Attach the arms to the sides of the body using the same technique. Secure tightly to ensure they don’t detach.
- Lastly, use the remaining yarn tail from the head to stitch it to the body. Weave between stitches to secure the head firmly to the body.
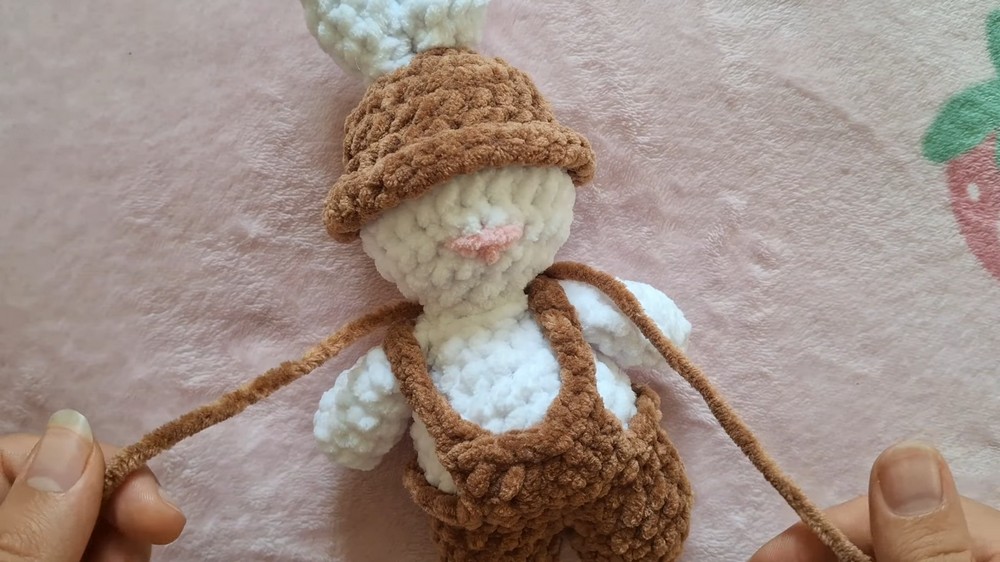
7. Final Details
- Add facial details like a mouth using a tapestry needle. Work in small, neat stitches for precision. Align it symmetrically beneath the safety eyes.
- Create a small bow using yarn. Loop it around the neck and adjust for a snug, cute-looking bow. Trim the yarn and secure with a double knot if necessary.
- Lastly, glue or attach any other details, like the eyes (if not done already).
Tutor’s Suggestions and Tips
- Patience with Assembly: Carefully align all bunny parts (head, body, arms, ears) before stitching them together. Use pins or clip them in place to ensure they’re symmetrical.
- Neat Color Changes: Use the clean color-change method shown in the tutorial to avoid messy transitions between the yarn colors for the body and outfit.
- Stitch Markers Are Key: Keep track of rounds using stitch markers or bobby pins to avoid confusion.
Level of Difficulty
This project is rated as easy to intermediate. While basic crochet techniques are used, such as simple single crochets, increases, and decreases, the assembly and neat finishing may require patience and attention to detail.
Uses of the Bunny Pattern
- Seasonal Décor: Perfect for Easter displays or children’s room decorations.
- Handmade Gifts: A delightful handmade gift for kids, friends, or family members.
- Toys for Kids: A soft, safe toy alternative for children.
Conclusion
This step-by-step bunny tutorial is an excellent way to embrace your creativity while making something adorable and functional. From its neat design to providing customization options, this pattern ensures you’ll have fun while enhancing your crochet skills.
Final Tip
When attaching the head and limbs, keep the stuffing light but firm. Overstuffing could deform the body, while under-stuffing may make the bunny lose its shape. Take your time for the best results!


Leave a Reply