

Slip into summer style with Free Crochet Ring Bikini Top Pattern that guides you through simple steps for fresh look perfect for poolside fun.
Summer days feel more exciting when you slip into a vibrant handmade bikini top that shows off your creativity and style. Made with soft yarn and a pretty ring detail in the center, this top looks stunning whether you’re lounging at the beach or relaxing by the pool. Its special design lets your skin breathe and makes you feel both cool and comfortable in the hottest weather.
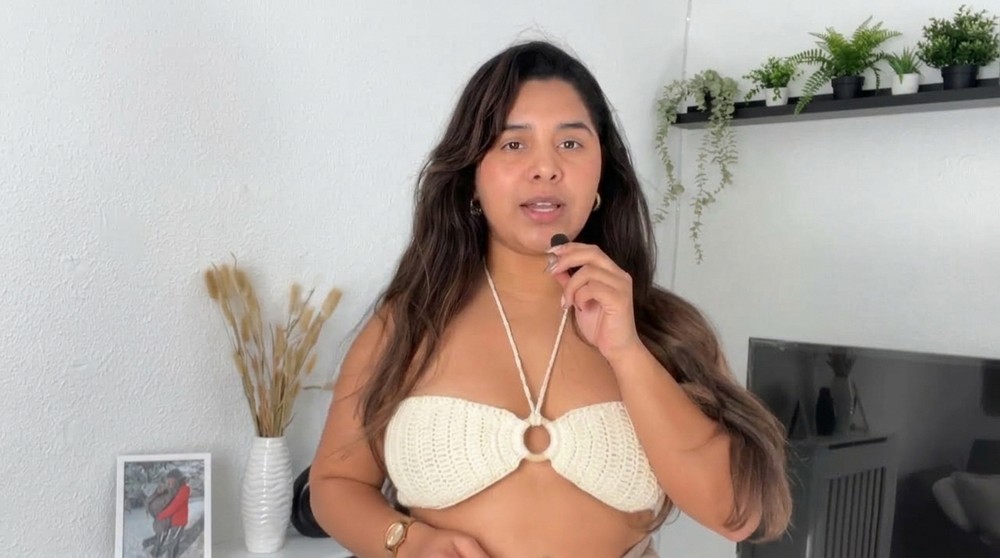
Vibrant Free Crochet Ring Bikini Top Pattern perfect for sunny days

A crochet ring bikini top pattern helps you create something unique with your favorite colors and shapes so your top matches your mood. You’ll love how easy it is to make and how lovely it looks when finished. This pattern is beginner-friendly with simple steps that guide you from start to finish. Wear your new top with shorts or a flowing skirt for a fun and trendy look. Enjoy making and wearing something special that everyone will notice and admire.
Crochet Ring Bikini Top Pattern
Materials List
- Yarn:
- Cotton yarn, natural texture recommended (DK/light worsted or as desired for summer tops)
- Adjust thickness for preferred fit; thinner yarn will require more stitches/rows for size
- Hook:
- 3.5 mm crochet hook (adjust for yarn thickness)
- Notions:
- Bamboo or wooden ring (for central accent)
- Scissors
- Yarn needle (for weaving in ends)
- Measuring tape
Key Abbreviations (US Terminology)
- ch: chain
- sc: single crochet
- dc: double crochet
- sl st: slip stitch
- st(s): stitch(es)
- Row: row (for working in rows)
- inc: increase (2 sts in one)
- rep: repeat
Special Notes
- This pattern is beginner-friendly and centers the design around a ring.
- Sizing is customizable—measure around bust for width, and adjust initial stitches/rows as required.
- The first round is worked into the ring; subsequent rows are worked in double crochet.
- Top is finished with chain ties for neck and back; openwork stitches are used at the sides for added style.
Pattern
1. Foundation: Single Crochet in Ring
- Attach yarn to ring.
- Work 14 sc into the ring.
(Typical is 12 for thicker yarn; use more for thinner yarn or larger size. The number of sc sets the top’s width; aim for 29–30 cm for adult M. Adjust as needed.)
2. Body: Double Crochet Rows with Increases
- Row 1:
- Ch 2, turn (counts as first dc).
- Dc in each sc across.
(14 dc total at start; adjust if you worked more sc.)
- Row 2 (Increase Row):
- Ch 2, turn.
- Inc: 2 dc in first st.
- Dc in each st across until last st.
- Inc: 2 dc in last st.
- (Now 16 dc.)
- Rows 3–9:
- Repeat Row 2:
- Ch 2, turn, inc in first st, dc across, inc in last st.
- Each row increases by 2 dc.
- Continue until your work measures ~14–15 cm wide or as desired.
- (Sample: 9 rows total for size M with thinner yarn. 8 rows for S or thicker yarn.)
- Repeat Row 2:

3. Rows Without Increases (Height)
- Next Rows:
- Ch 2, turn.
- Dc in each st across, without increasing at either edge.
- Work until your top is 16 cm long (or desired coverage).
- Count stitches on final increase row; maintain same stitch count through all straight rows (usually 28–30 dc).

4. Side Openwork (Optional for Style)
(If you wish to add openwork sides as in video)
- Side Rows:
- Ch 2, turn.
- Dc in first st.
- Ch 1, skip next st, dc in next st.
- Rep: ch 1, skip next st, dc in next st.
- Continue to last st; end with dc.
- Work 4–5 rows in openwork pattern for desired effect.
- On final row, optionally return to plain dc to create finished edge.
5. Edging (Optional)
- Work a row of dc evenly around top’s perimeter to finish edge cleanly.

6. Making Ties (Neck and Back)
- Neck Tie:
- Ch a long chain (folded in half, threaded through ring and tied at neck; ~90–120 ch depending on desired tie length).
- Use single or double strand as preferred for firmness.
- Fasten off and weave in ends.
- Back Tie:
- Ch a long chain (sufficient to weave through side openwork or just ties at the back; ~120 ch).
- Use single, double, or triple strand for firmness—recommended if using thin yarn.
- Weave through openwork edge or attach directly to corners.
- Fasten off and weave in ends.

7. Final Measurements & Assembly
- Finished top width (from ring to end): ~29 cm
- Finished length at widest part: ~16 cm
- Try on and adjust ties for fit.
Pattern Correction
- If your top is too narrow or wide: Adjust number of sc into ring at start.
- If your yarn is thicker/thinner: Adjust number of pattern rows, stitches, and ties for the best fit and appearance.
- Count stitches on each straight row to keep edges straight.
Tips
- Sizing:
- Custom-fit by measuring over bust; adjust number of foundation stitches and rows accordingly.
- Tie firmness:
- For thin yarn, use multiple strands for chains, or reinforce with slip stitch over chains.
- Openwork:
- The side openwork is optional but gives a nice visual and easy lacing for adjustable fit.
- Ring Choice:
- Bamboo looks chic; choose smooth, sturdy rings for comfort.
Conclusion
This crochet ring top is a beautiful, modern design suitable for beginners. It is highly customizable regarding size and color, and fits S–M with instructions as written (add stitches/rows for larger sizes). The easy construction makes it ideal for experimenting with yarn types, edge patterns, or accessory pairings.


Leave a Reply