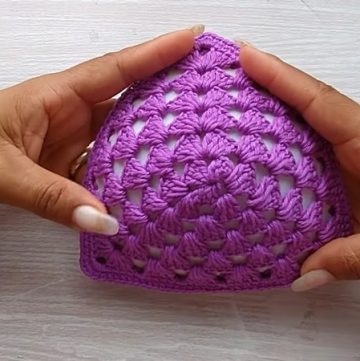
Step up your style game with the Crochet Lace Stitch Tie-Up Crop Top, perfect for those who love a personalized touch in their wardrobe. This pattern walks you through crafting a chic top adorned with delicate lace stitches, offering a fun and flirty design that pairs beautifully with any outfit.
Crochet Lace Stitch Tie-up Crop
Materials:
- 200 g of 8 ply cotton yarn
- 4 mm crochet hook
- Stitch markers
- Darning needle
- Scissors
- Small button (optional)
Size Guide:
- The pattern is presented for a size small but includes instructions for adjustments.
- Each size difference is achieved by adding an extra double crochet stitch to widen the garment instead of adding more columns.
Pattern Instructions:
Starting the Back Panel:
Begin with a Slip Knot:
- Make a slip knot on your hook, then chain 31 (or the required number of chains for your size plus one, then divide by the number of columns you want).
First Row:
- Skip the first three chains (they count as your first double crochet), then double crochet in the fourth chain from the hook. Continue with double crochets to the end. You'll have 29 stitches if you started with 31 chains.
Chain Up 3:
- This counts as your first double crochet for the next row.
Main Pattern (V Chain Stitch):
For Row 1 (Setup Row):
- After the initial double crochet row, chain up 3 (counts as first double crochet), then follow by double crocheting into the next stitch and across for the entire row. The number of double crochets will match the initial chain count minus one because the first 3 chains count as a double crochet.
Row 2:
- Chain up 3 (first double crochet), do 4 more double crochets for a total of 5 (including chain-3 at the beginning), chain 5, skip 3 stitches from the previous row, then double crochet in the next stitch. Repeat - across the row.
Row 3:
- Chain up 3, double crochet in the next, then chain 3, single crochet around the chain-5 loop from the row below (ensuring to go in front of the loop), chain 3, and double crochet in the next double crochets. Repeat - across.
- Repeat Row 2 and Row 3 for the pattern set until your back panel reaches the desired length before the armhole, following the size guide for the number of rows.
Armhole Adjustments:
- Skip a column on each side for the armhole by not stitching into the outermost columns and continue the pattern until you reach the desired length.
Front Panel Instructions:
- Similar to the back panels, start by chaining the required length based on your size.
- Follow the same pattern as the back panels, ensuring you adjust for the front size requirements.
- After reaching the required rows, add decreases for the armhole similar to how you adjusted the back panel but on both ends of the front panel.
Final Assembly:
- Stitch the shoulder seams and side seams together with the panels' right sides facing each other.
- Sew in any loose ends.
- Optional: Add button loops or ties according to preference.


Leave a Reply