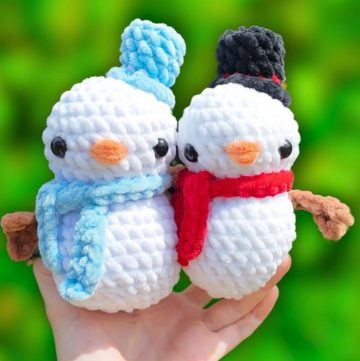
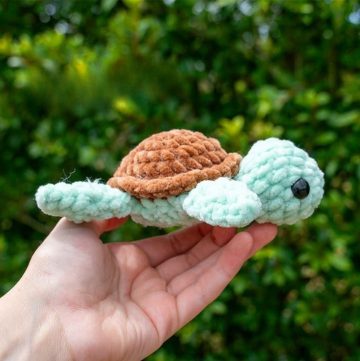
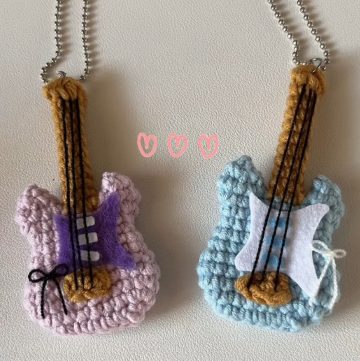
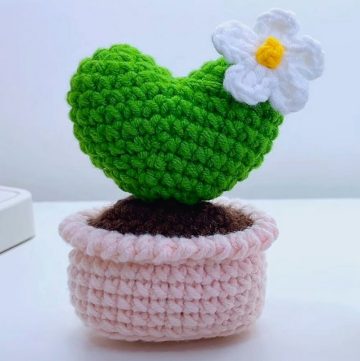
These charming hand-made toys add a fun and whimsical touch to any setting or playtime. Whether you're a beginner or an experienced crochet artist, these patterns offer a rewarding crafting experience. This collection is packed with vivid designs, varying from the classic sugar cookies to the playful sandwich treats and heart-shaped delights. Moreover, you can put your spin on each cookie by experimenting with colors and decorations, allowing creativity to lead the way. Ideal for gifts, playtime, or home decoration, this enchanting collection of crochet cookie amigurumi guarantees joy to both the maker and the recipient.

Crochet Cookie Amigurumi Idea

As you explore these patterns, you'll find the joy in choosing vibrant colors, adding playful decorations, and seeing the magic unfold in your hands. Whether it's for a special gift, a market stall addition, or simply to bring a smile to someone's face, these crochet cookies promise endless possibilities for creativity and fun.


Heart Sugar Cookie

Let's create an adorable Crochet Heart Sugar Cookie, the perfect handcrafted item for adding a touch of love and whimsy to Valentine's Day or accentuating your home with a playful, festive charm. This project is well-suited for beginner crocheters and those with more experience, promising an enjoyable crafting session with a delightful outcome that makes for a thoughtful gift or fun pretend play addition.
Materials Needed:
- Medium-weight yarn (size 4) in various colors
- Size H, 5.00 mm crochet hook
- Tapestry needle
Abbreviations:
- ch: chain
- st(s): stitch(es)
- hk: hook
- sc: single crochet
- sc2tog: single crochet two together
- sl st: slip stitch
Making Process:
Frosting Pattern:
- Start by chaining 2.
- For Row 1, do 2 single crochets in the 2nd chain from the hook, then turn your work.
- Continue building the rows, increasing at each row's beginning and end until Row 5.
- Work Row 6 for one side of the heart's top, turning after 4 single crochets.
- Decrease the heart’s top shape with sc2tog in the following rows.
- Do not fasten off after the last row. Instead, a single crochet is evenly placed around the heart, with 2 crochets at the bottom point, then a slip stitch is used to join.
Cookie Pattern:
- Like the frosting pattern, start with a chain of 2, but add extra rows to create a slightly larger base.
- Construct the cookie's shape by following similar increasing and decreasing steps until you reach the heart's top, which requires creating two flaps.
- Fasten off after each flap, then single crochet around the entire heart shape.
Sprinkles:
- Cut long strands of colorful yarn.
- Weave these strands in and out of the frosting pattern to mimic sprinkles.
Assembly:
- Place the frosting on top of the cookie shape.
- Whip stitch around the edges with a long strand of yarn to join both pieces.
- Fasten off neatly and tuck away the ends.
Sandwich Oreo Cookie Amigurumi

Follow this simple yet adorable crochet Sandwich Oreo Cookie project, a charming craft that offers crocheters a chance to whip up a sweet treat that lasts forever. Perfect for beginners eager to expand their skills or seasoned crocheters looking for a quick and delightful project, this pattern introduces the fun of creating a two-sided cookie with a creamy center, all brought together in a cute, huggable toy. The pattern is straightforward, requiring only basic stitches and some assembly. Here’s everything you need to get started on crocheting your inedible snack.
Materials Needed:
- Yarn (4/Medium Weight) in any color for the cookie and white for the cream
- 4mm Crochet Hook
- Tapestry needle
- Scissors
- Stuffing
- 8mm safety eyes
- Black Embroidery Thread
Making Process:
Cookie (Make 2 in any color):
- Start with a magic ring and 6 single crochets (sc) into it.
- Increase (inc) in each stitch around for 12 stitches.
- For the face, mark where to place the eyes on one cookie piece - insert a different colored stitch marker into the 3rd and 9th stitch in round 2, then continue increasing in a pattern (Inc, Sc in the next st) all around to 18 stitches, and add the safety eyes.
- Increase in a pattern (Inc, Sc in the next 2 st) around 24 stitches.
- Add a unique texture with the crab stitch for the cookie's edge, working in reverse by making a single crochet into the next stitch to your right without turning your work.
Cookie Cream (In white):
- Begin with a magic ring and complete similar increase rounds as the cookie, but stop after reaching 24 stitches in round 4.
- In round 5, do an increase in the first stitch, single crochet in the next 11 stitches, increase again, and single crochet in the last 11 stitches.
- Finish off and weave in the ends.
Assembly:
- Place the cookie parts together, aligning them properly.
- Using your crochet hook and working yarn from one of the cookie pieces, join the pieces by inserting your hook through all three layers (cookie parts and the cream center) and completing slip stitches around the edge.
- Finish off and weave in all ends.
Smile (Using black embroidery thread):
- Embroider a smile by inserting the needle in the middle of the cookie’s face, exiting near one eye, reentering in the middle, and exiting near the other. Secure the thread inside the amigurumi for a neat finish.
Crochet Sugar Cookie

Making your very own Crochet Sugar Cookie Amigurumi is a simple and fun craft activity that results in a delightful pretend treat. This pattern is ideal for a quick project or as a comfortable stepping stone for beginners exploring the world of crochet. It's also versatile—once you've mastered this pattern, the decorated tops can easily be modified to suit various themes or occasions.
Materials Needed:
- DK weight yarn in main color and beige
- 2.5mm crochet hook
- 4 ply yarn in white
- Stitch marker, yarn needle, scissors
Abbreviations:
- ch: chain
- sc: single crochet
- inc: increase
- sl st: slip stitch
- st/s: stitch/es
- [ ]: repeat the instructions in brackets
- ( ): indicates stitch count at the end of the round
Making Process:
Cookie Top (main color):
- From Row 1 to Row 6, increase the number of single crochets in a continuous spiral, starting with a magic ring.
- Fasten off invisibly and weave in ends.
- Using white 4 ply yarn, embroider a snowflake on the top.
Cookie Bottom (beige):
- The procedure closely follows the top part, increasing from Row 1 to Row 6.
- Fasten off invisibly and weave in ends.
Finishing:
- Place the cookie top and bottom together with the wrong sides facing each other.
- Join beige yarn in any stitch through the inner loops only.
- Slip stitch together through the inner loops only.
- Fasten off invisibly and weave in ends.
Your Crochet Sugar Cookie Amigurumi is ready. This pattern can create a delightful array of pretend cookies, perfect for play food collections or as charming ornaments and gift embellishments.


Leave a Reply