

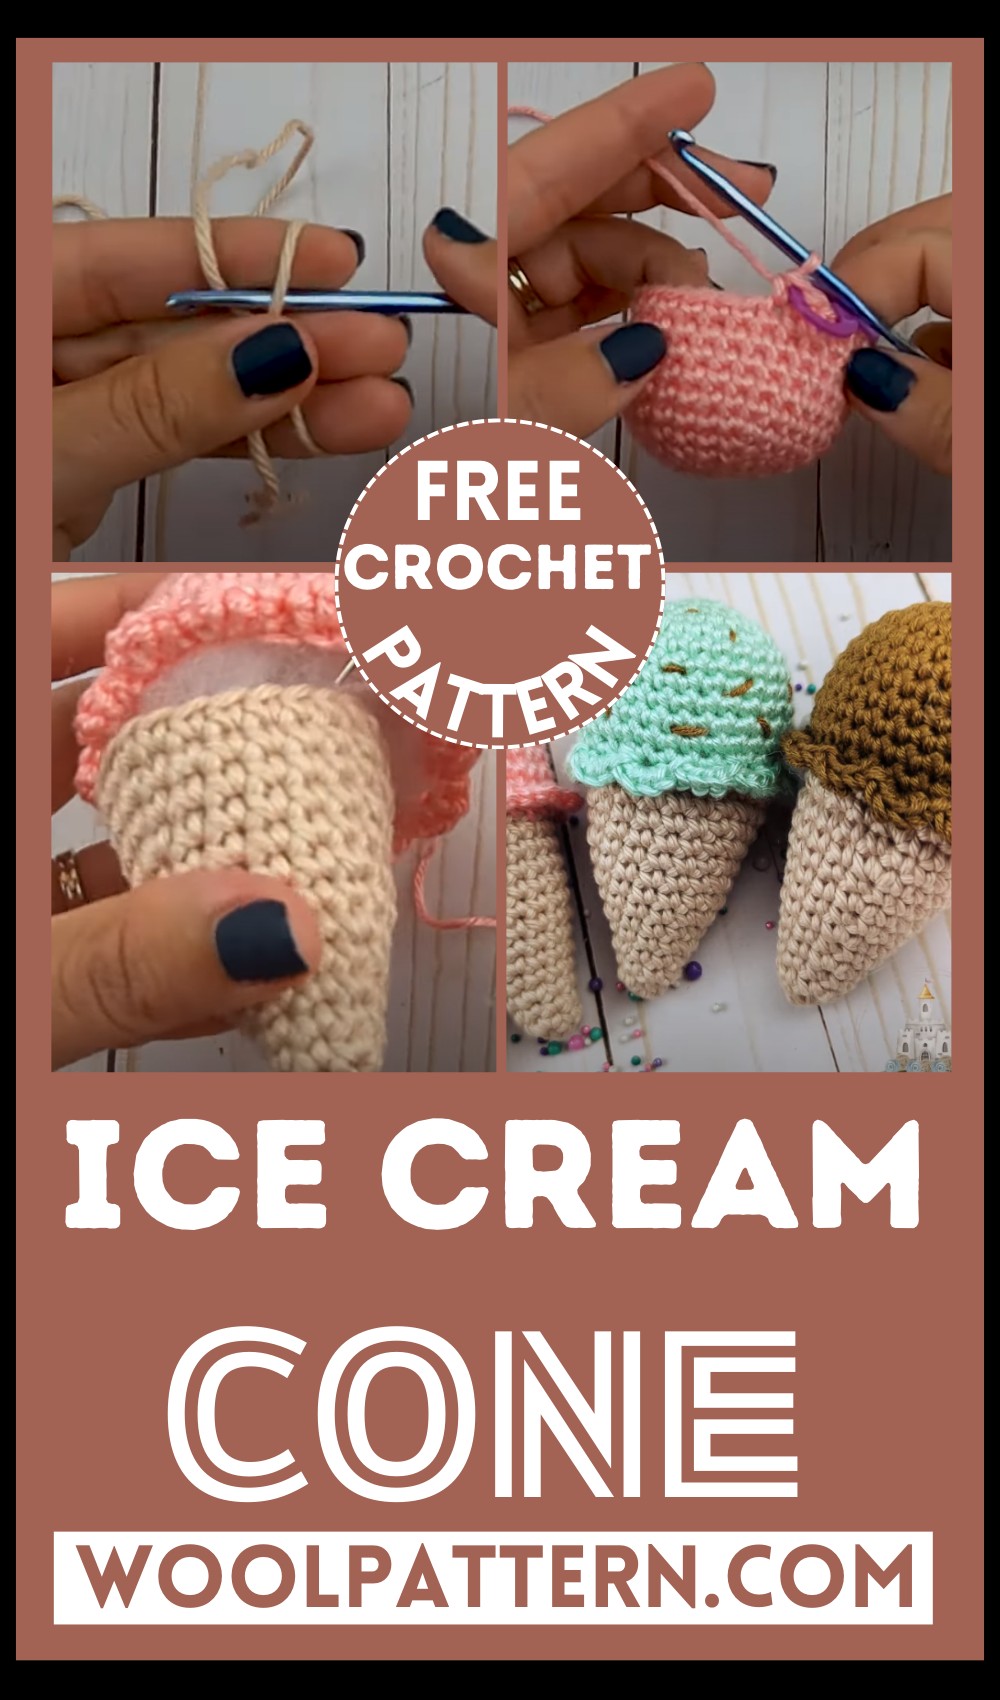
This crochet ice cream is absolutely adorable! The detailed stitches and bright colors make it an exciting project for crochet enthusiasts. It's a delightful creation that anyone would love. Whether it serves as a charming gift, playful decor, or part of a child's playset, it's bound to bring a smile to someone's face. The pattern seems well designed, making it easy to follow along and produce a cute, crafted ice cream cone. It's truly a lovely little piece of handiwork!
Crochet Ice Cream Cone Amigurumi Pattern
Materials Needed:
- Yarn in colors of your choice for the ice cream and the cone
- Size F (3.75mm) crochet hook
- Stitch marker
- Yarn needle
- Scissors
- Fiberfill for stuffing
Cone Pattern:
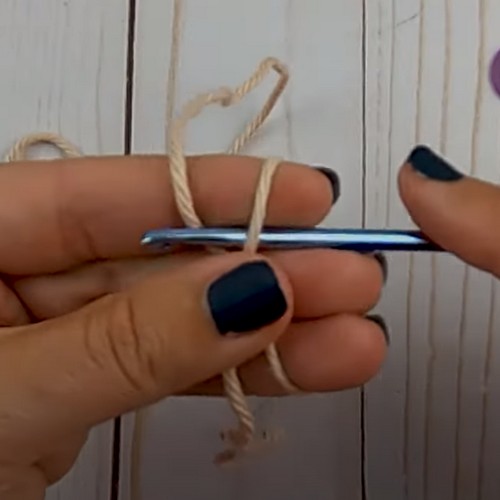
Start with your cone color yarn.
Round 1: Create a magic ring and make 6 single crochets (sc) into the ring. Close the ring and place a stitch marker to mark the end of the round. You will have 6 sc.
Round 2: 1 sc in the next stitch, 2 sc in the next stitch (increase). Repeat - three times. (9 sc)
For Round 3: 1 sc in each stitch around. (9 sc)
Round 4: 2 sc, then increase in the next stitch. Repeat - three times. (12 sc)

Round 5: 1 sc in each stitch around. (12 sc)
For Round 6: 3 sc, then increase in the next stitch. Repeat - three times. (15 sc)
Round 7: 1 sc in each stitch around. (15 sc)
Round 8: 4 sc, then increase in the next stitch. Repeat - three times. (18 sc)
Continue this pattern, alternating a round of single crochets with a round that increases by one single crochet between each increase until you complete 13 rounds in total. Your last round should have 24 single crochets.
After the completion of your cone, slip stitch into the next stitch and cut a tail short enough just to weave in. Weave in the end.
Ice Cream Pattern:
Switch to your ice cream color yarn.

Round 1: Make a magic ring, create 6 sc inside, and pull the ring tightly closed. Place your stitch marker.
Round 2: Increase in every stitch around (2 sc in each stitch). (12 sc)
For Round 3: 1 sc in the next stitch, increase in the following stitch. Repeat - six times. (18 sc)
Round 4: 2 sc, then increase in the next stitch. Repeat - six times. (24 sc)

Round 5: 3 sc, then increase in the fourth stitch. Repeat - six times. (30 sc)
For Round 6-11: 1 sc in each stitch around for six total rounds to build the sides of the ice cream portion.
Round 12: 3 sc, then a decrease (insert hook into next stitch and pull up a loop, insert hook into the following stitch and pull up a loop, yarn over and pull through all three loops on hook). Repeat - six times. (24 sc)
Round 13 (Working in front loops only): 4 sc into one stitch, slip stitch into the next. Repeat - around to create a scalloped edge.
Finish the round, cut a long tail for sewing, and weave off your end.
Assembly:
Stuff both the ice cream and cone with fiberfill. Sew the ice cream to the cone, matching the back loops you left on the ice cream with the front loops of the cone. Weave in any remaining ends securely.
Congratulations on completing your crochet ice cream cone!
Choose your favorite color combinations to make a variety of ice cream flavors, and enjoy your sweet new creation!


Leave a Reply