

Learn how to crochet an adorable chicken keychain that’s perfect for accessorizing bags, keys, or gifting, quick, fun, and easy to personalize.
Every accessory tells a story, and creating handmade pieces adds a unique and personal touch to your everyday essentials. A crochet chicken keychain pattern offers a fun and creative way to infuse character into your keyring, backpacks, or even zipper pulls. Imagine carrying a charming little chicken as a playful addition to your accessories—it’s decorative, functional, and undeniably adorable. This keychain is perfect for expressing your love for farmhouse or animal-themed designs while showcasing your crochet skills.
Beautiful Crochet Chicken Keychain – Made with Skill & Care

The purpose behind making it goes beyond practicality; it also makes fantastic gifts for friends, crochet fairs, or special occasions. With lightweight yarn and small hooks, you can craft these quickly and efficiently, using vibrant colors to personalize each design. Whether you keep it for yourself or share it with others, it’s a delightful way to combine creativity with everyday style.

Crochet Chicken Keychain (Amigurumi)
Finished Size
- Approx. 3 inches tall when using a 3mm crochet hook and 5-ply yarn.
Gauge
Gauge is not important for this project but ensure your stitches are tight enough without any gaps between them to prevent the stuffing from escaping.
Skill Level
Beginner-friendly! This amigurumi involves magic rings, simple increases, decreases, and a bobble stitch.
Materials
- Yarn:
- Yellow yarn (5-ply) for the body.
- Orange yarn (5-ply) for the beak and legs.
- Pink or Blush yarn (5-ply) for cheeks.
- Hook:
- 3mm crochet hook.
- Accessories:
- Safety Eyes: Two 6mm safety eyes.
- Stuffing: Polyester fiberfill for shaping.
- Keychain: Metal chain with attachment ring.
- Tools:
- Darning needle.
- Stitch marker.
- Scissors.
- Pliers (if adding a keychain).
Key Abbreviations (US Terminology)
- MR: Magic Ring
- ch: Chain
- sc: Single Crochet
- inc: Increase (2 sc in one stitch)
- dec: Decrease (combine two stitches into one)
- st(s): Stitch(es)
- yo: Yarn Over
- Bst: Bobble Stitch (a raised, 3D crochet stitch)
Special Techniques
- Magic Ring: Used to start crocheting in the round.
- Decreases: Worked by inserting into the front loops of two stitches to make one.
- Bobble Stitch: Creates the chicken’s "bubbly" hands. Worked by partially completing three half-double crochets (hdc) in the same stitch, then pulling them together.
Pattern Instructions
Body (Start in Yellow Yarn)
Round 1 (MR)
- Create a magic ring.
- Work 6 sc into the MR. [6 sts]
- Pull the tail tightly to close the ring.

Round 2
- Inc in every stitch around (2 sc in each stitch). [12 sts]
Round 3
- (1 sc, inc) repeat 6 times around. [18 sts]
Round 4
- (2 sc, inc) repeat 6 times around. [24 sts]
- Tip: Start with an increase rather than 2 sc to avoid noticeable edges between rounds.
Round 5–9
- 1 sc in each stitch. [24 sts]
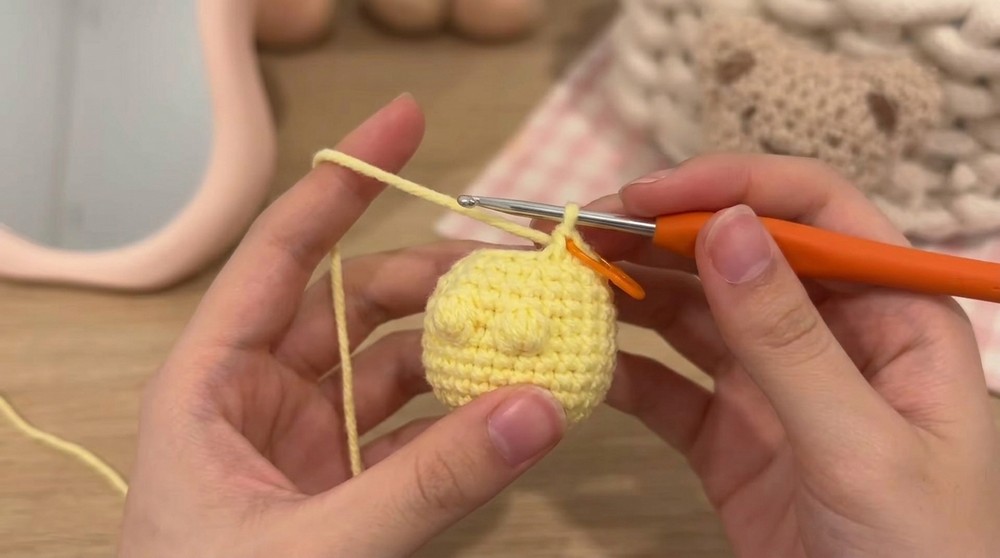
- Stop after Round 9. The body should resemble a small bucket.

Adding Features
Round 10 (Adding the Chicken Hands)
- Pattern: Work the following sequence around:
- 5 sc
- 1 bobble stitch
- 11 sc
- 1 bobble stitch
- 6 sc
How to Make a Bobble Stitch (Bst):
- yo and insert the hook into the next stitch.
- yo and pull up a loop (3 loops on hook).
- yo and pull through just the first 2 loops (leave the last loop on the hook).
- Repeat steps 1–3 two more times in the same stitch (you should now have 4 loops on your hook).
- yo and pull through all 4 loops at once to complete the stitch.
Repeat for both bobble stitches, ensuring they are aligned along opposite sides.
Rounds 11–12
- Work 1 sc in each stitch around. [24 sts]
Shaping and Closing the Chicken
Round 13 (Decreasing to Shape)
- (2 sc, dec) repeat 6 times around. [18 sts]
Round 14 (Final Round)
- (1 sc, dec) repeat 6 times around. [12 sts]

Finishing the Base
- Stuff the chicken firmly with polyester stuffing. Ensure the filling is distributed evenly.
- Cut yarn, leaving a long tail.
- Using a darning needle, close the opening by threading under the front loops of the remaining 12 stitches. Pull tightly to close the gap.
- Secure with a knot, hide yarn inside.
- Shape your chicken by lightly squishing or adjusting the stuffing.
Face and Features
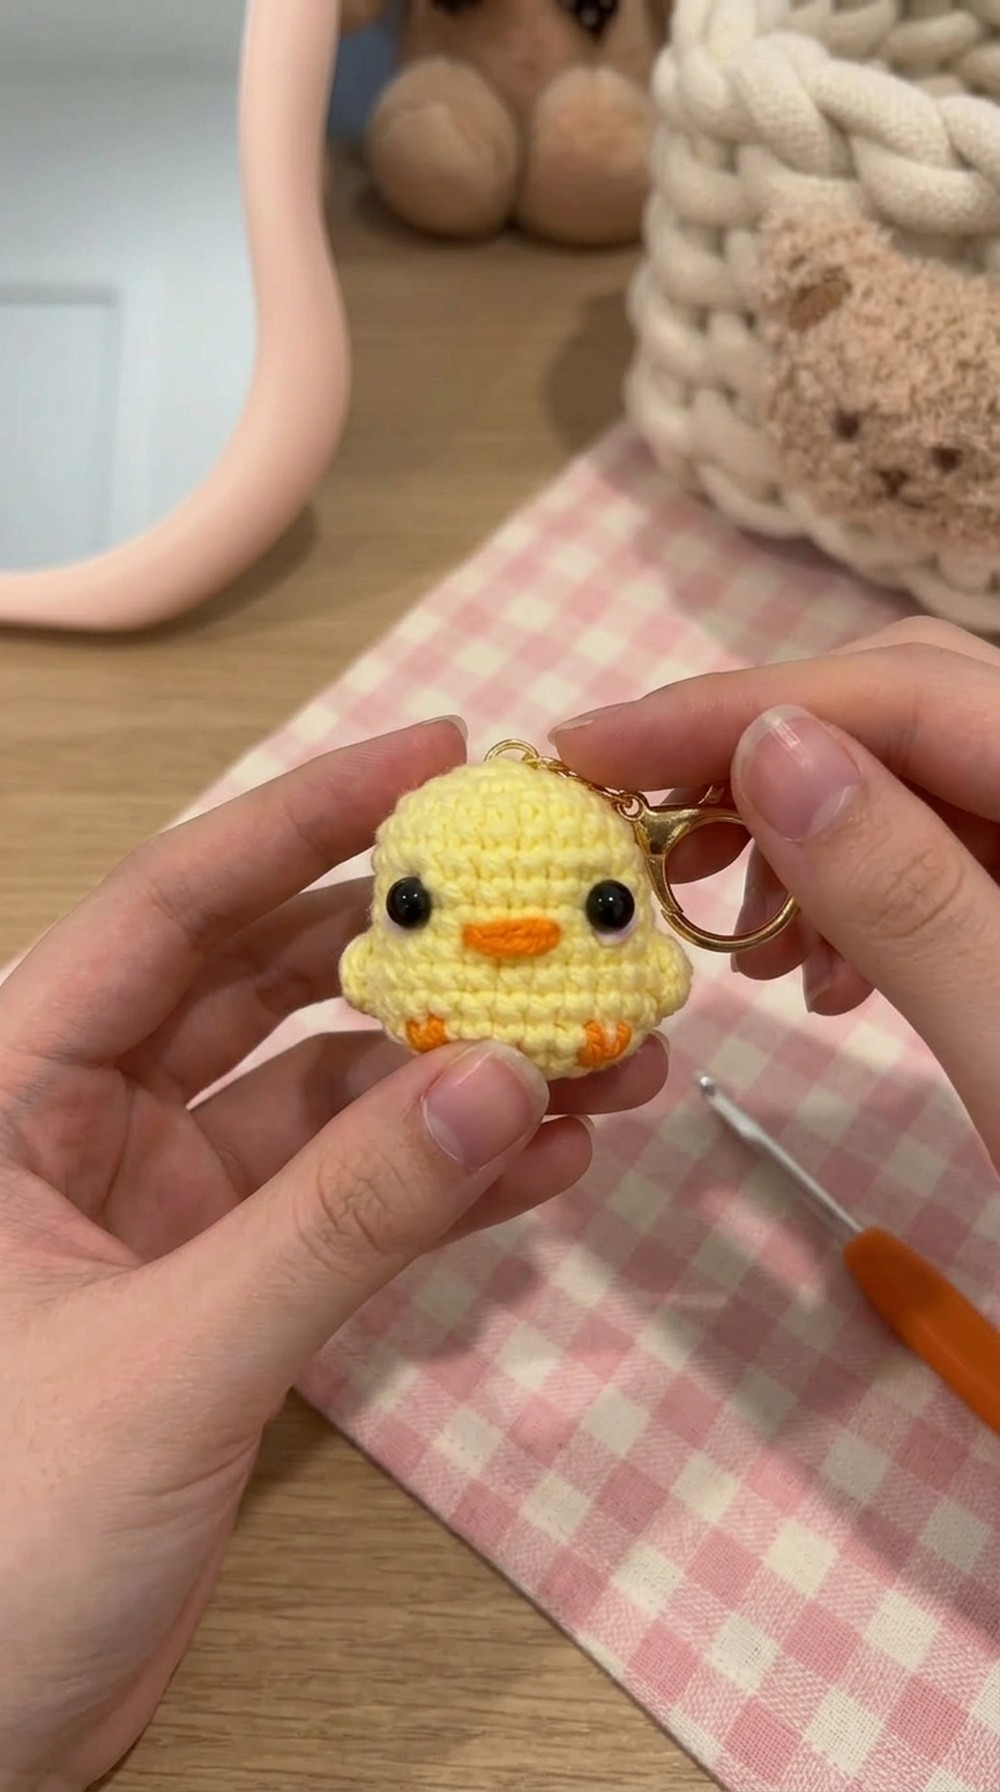
Safety Eyes
- Position the safety eyes between Round 7 and Round 8, approx. 5 stitches apart.
- Use the darning needle to create holes in the stitches if your crochet is tight.
- Fasten the safety eyes securely.
Beak (Orange Yarn)
- Cut a short length of orange yarn.
- Insert a darning needle from the back to the front where the beak will sit (between Round 8 and Round 9).
- Stitch a small "V" shape for the beak. Create two diagonal stitches to form the beak tip.
Chicken Legs (Orange Yarn)
- Cut 2 lengths of orange yarn for two legs.
- Insert the needle from the back to the bottom of the chicken’s body (approx. Round 12).
- Make a small "V" shape or two straight lines (adjust per preference).
- Secure the yarn and carefully hide knots inside the body.
Blush (Pink Yarn)
- Use pink yarn to embroider blush on either side of the safety eyes.
- Create small stitches right under each eye, leaving space.
Optional: Add Keychain Attachment
- Using pliers, open a keychain ring and attach it through Round 1 at the top center of the chicken.
- Close the ring securely.
Finalizing the Chicken Keychain
- Inspect the finished piece to confirm there are no loose yarn tails, gaps, or asymmetries.
- Adjust the stuffing to ensure the chicken has a round, firm shape.
Final Words
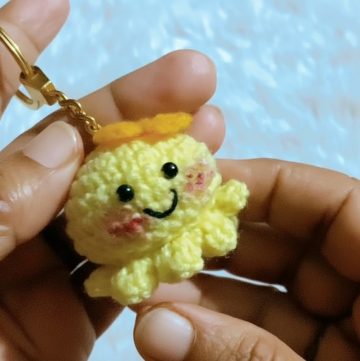
Congratulations! 🎉 You’ve crocheted an adorable chicken keychain. This handmade amigurumi is perfect as a gift, charm, or addition to your crochet portfolio. It makes for an excellent beginner project that also improves amigurumi skills.
Tips for Optimal Results
- Practice Makes Perfect: Don’t worry if your first chicken isn’t perfect! With repetition, your stitching will improve.
- Customize: Experiment with colors or add embellishments (like mini hats or scarves) to personalize your chicken.
- Use Stitch Markers: Always mark the start of your rounds — this avoids miscounting stitches.
- Tight Stitches: Keep stitches tight for a neat and polished look.


Leave a Reply