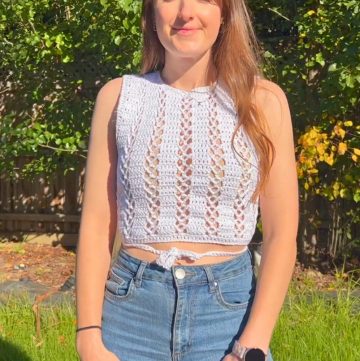
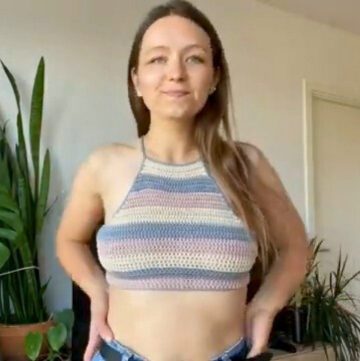
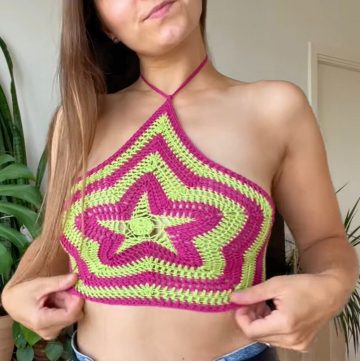
Wrap yourself up in the cozy charm of a crochet wavy button-up, where style meets comfort in a delightful dance of waves. Each stitch carries the warmth of handmade attention, resulting in a unique piece that's truly your own. Perfect for breezy days or layering up when the chill sets in, this button-up isn't just clothing; it's a snuggly statement that says you value the personal touch in what you wear.
Crochet Wavy Button-up

Materials:
- 150 g of 8 P cotton yarn in three different colors (more of the white for trim)
- 3 mm crochet hook
- Scissors
- Measuring tape
- Stitch markers
- Darning needle
- Buttons
Pattern Overview:
- This crochet pattern is for a wavy button-up top.
- The top is worked in one piece with color changes to create a wavy pattern.
- It includes an initial foundation chain, followed by alternating sections of double and single crochets to form waves.
- After reaching the desired length, trims and straps are added.
- Here's how to make it:
Foundation Chain:
- Make a slip knot and chain 147 stitches for size small (adjust the number of chains for your size, using groups of three if possible).
Starting Row:
- Chain 2 more (these are turning chains and do not count as a stitch).
- Double crochet into the third chain from the hook.
- Complete a total of three double crochets.
- Next, do three single crochets in the following chains.
- Continue down the chain, alternating between three double crochets and three single crochets.
Subsequent Rows:
- Start each new row with chain 2 (for double crochets) or chain 1 (for single crochets), depending on if the next stitches will be double or single crochets.
- For each row, place the same type of stitch directly above its corresponding stitch from the previous row (double crochets above double crochets, single crochets above single crochets) to maintain the wave pattern.
- Change colors as desired. When changing colors, swap at the last yarn-over of the last stitch of a color section.
Decreasing for the Front:
- When you’ve reached the desired bottom length of your top, start decreasing for the front section so it can be shorter or structured differently than the back, by working on a portion of the stitches.
Creating Button Holes (Optional):
- If you’re using larger buttons that don’t fit through the stitches, create buttonholes by chaining 1 (instead of making a stitch) and skipping a stitch in the fabric.
Finishing Trims:
- Add trims along the front edges by working double crochets along the sides. Adjust for buttonholes as needed.
Straps:
- Chain 69 (adjust based on size) and make a strip by following the wavy pattern established (starting with either double or single crochets, and changing colors as desired).
- Attach the straps to the top by sewing.
Final Assembly:
- Sew buttons opposite the buttonholes (or on the side where you’ll be able to hook them into the stitches if no buttonholes were made).
- Finish any remaining details, like sewing down any parts of the top that need to lay flat or adjusting the fit.


Leave a Reply