Whip up some warmth and style with your very own Crochet Turtleneck Hoodie! Imagine wrapping yourself in a snug, self-made creation on a breezy day. This project is a delightful adventure into the world of crochet, perfect for both beginners eager to learn and seasoned crafters looking for a comforting challenge.
Crochet Turtleneck Hoodie

Materials:
- 8 ply acrylic yarn (1 full ball and a bit more)
- 4 mm crochet hook
Turtleneck:
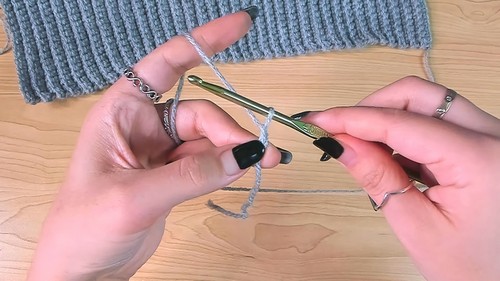
- Start with a slip knot.
- Chain a length that measures approximately 9 inches (23 cm); for the yarn used in the video, 36 chains resulted in 9 inches.
- Work single crochets (sc) along the chain, going in the opposite direction.
- Begin each row with a chain 1, which does not count as a stitch.
- Insert hook into the back bump of the second chain from the hook and complete a single crochet.
- Continue to work single crochets in the back bumps of each chain across the row, making sure to maintain the same number of stitches as the chain count (in this case, 36 stitches).
- For Row 2 and onwards, chain 1 and turn at the start of each row.
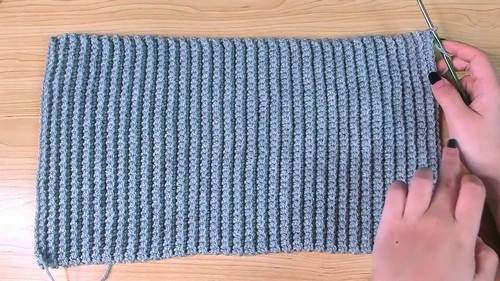
- Continue working single crochets into the back loop only of each stitch from the previous row.
- Repeat the process (from step 5) for the turtleneck until the work can wrap around your neck comfortably, stopping at row 70 or a desired row count that provides a snug but stretchy fit.
Transition to the Hood:
- Begin to work along the edge of the turtleneck, working one single crochet for each row of single crochet on the edge.
- For the first row of the hood, continue working single crochets along the edge. You should have the same number of single crochets as the number of rows in the turtleneck part (70 sc for 70 rows).
Hood:
- Start using double crochets for the rows of the hood.
- At the beginning of the first double crochet row, turn your work, and make the first double crochet special as shown in the video (a non-chaining start).
- Increase in each first and last stitch of the row by working two double crochets into the back loop only of those stitches.
- For the rest of the stitches in the row, continue with one double crochet in the back loop only of each stitch from the previous row.
- Continue this increase by repeating the previous step until you have a number of rows that enable the hood to meet at the top of your head when folded over your face.
- it was suggested to stop at about 25 inches from the start of the hood.
- When the desired hood length is reached, stop increasing and continue with one double crochet in the back loop of each stitch in every row until you reach your desired hood size.
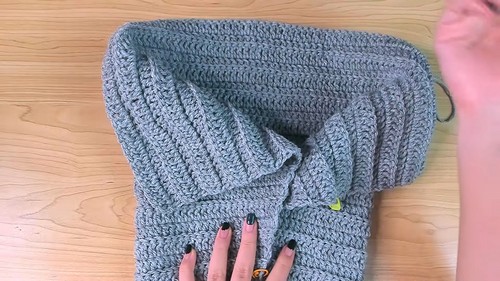
- Finish the hood by sewing the last row of the hood to the first row, forming a seam up the back of the hood.
Final Steps:
- Sew the turtleneck part in a tube by slip stitching the first and last rows together.
- Weave in any yarn tails with a yarn needle to hide them.



Leave a Reply