

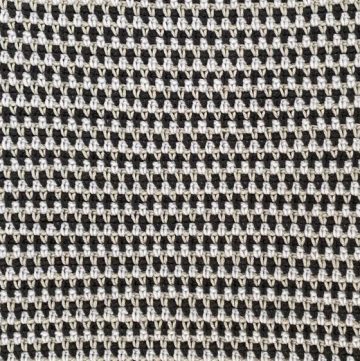
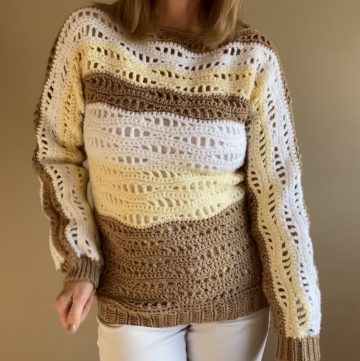
The Crochet Sieve Stitch is a beautifully textured pattern that's surprisingly simple to master. It combines the basic stitches in a sequence that creates a fabric with lovely gaps, reminiscent of a sieve's mesh. This method involves alternating between creating spaces and filling them in the next row, resulting in an eye-catching openwork effect. Ideal for a variety of projects, from scarves to blankets, the Sieve Stitch adds a touch of elegance and breathability to crochet creations. Its repetitive nature makes it a relaxing stitch to work on, perfect for both beginners wanting to elevate their skills and seasoned crocheters seeking a meditative project.
Crochet Sieve Stitch Tutorial
Materials and Set-Up
Use any yarn and corresponding hook size (specifics will be in the video's description).
This stitch pattern is beginner-friendly, utilizing just single crochet and chain stitches.
Base Chain

Begin with a foundational chain in an even number of stitches for the desired width of your project.
Row 1: Establishing Single Crochets
Start: Single crochet into the second chain from the hook (do not count the loop on the hook).

Pattern: Work one single crochet into each chain stitch across the entire foundation chain.
End: Once you reach the end of the row, you should have a row of single crochets.
Row 2: Creating the Sieve Effect
- Start: Chain one (does not count as a stitch) and turn your work.

- Pattern:
- Single crochet into the very first stitch.
- Chain one, skip one stitch, and single crochet into the next stitch. Repeat this sequence across the row.
- End: The final stitch should be a single crochet, completing the second row.
For Row 3: Filling the Spaces
- Start: Chain one (still does not count as a stitch) and turn your work.

- Pattern:
- Skip the very first stitch.
- Work two single crochets into each chain-one space from the previous row.
- End: Place a single crochet in the last stitch of the row (skip the turning chain one from the previous row).
Row 4: Continuing Sieve Pattern

- Setup: This row is similar to Row 2 and begins the pattern repeat.
- Start: Chain one and turn your work, then place a single crochet into the first stitch.
- Pattern:
- Chain one, skip one stitch, single crochet in the next stitch. Repeat this across the row.
- End: When two stitches remain, skip the next stitch, single crochet in the last stitch, and ignore the turning chain from the previous row.
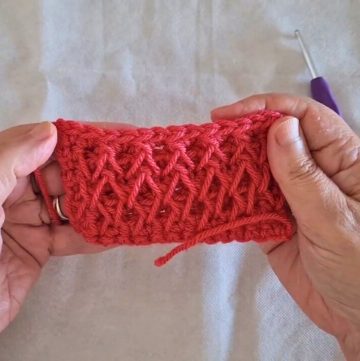
Repeating the Pattern

- Continue by repeating Rows 3 and 4 for the pattern.
- For Row 5 and onward, keep alternating between these two rows to build up the Sieve Stitch pattern.

- The stitch pattern will become more defined as you work more rows.
Final Notes
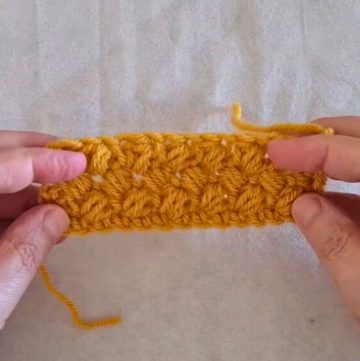
- The video suggests that the stitch pattern will look more uniform and take shape after a few repeats.
- This Sieve Stitch creates a fabric that has a beautiful and easy design that is apt for beginners and enjoyable for experienced crocheters.
Leave a Reply