

Crocheting laptop and tablet sleeves is a fun and practical project! You pick your favorite yarn colors and use simple crochet stitches to make a cozy, custom case. It’s all about turning yarn into a protective cover that shows off your personal style. Whether for yourself or as a gift, these handmade sleeves add a personal touch that’s both useful and unique.

How To Crochet Laptop & Tablet Sleeves
Materials:
- Recycled cotton yarn (Aran weight suggested)
- 5 mm crochet hook
- Scissors

Pattern Overview:
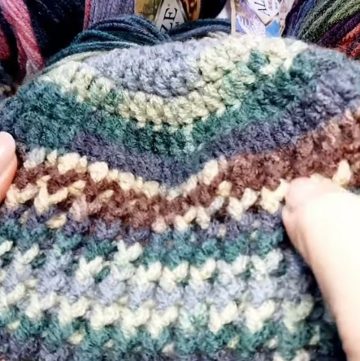
- This case is constructed using a rectangular granny square pattern. The video is split into two main parts: creating the rectangular granny square and adjusting the dimensions of the case to fit various electronic devices.
Starting the Granny Square:
Initial Chain:
- Start by making a slip knot with your chosen yarn color. Chain a multiple of 3 + 2 (for the example, chain 11).

First Row of Single Crochets:
- Skip the chain closest to the hook, and work a single crochet into each chain across. You should have 10 single crochets for this initial chain of 11.
Adding Double Crochet Clusters:
- Chain 2 (counts as a double crochet), and then into the last single crochet, work 2 more double crochets to form your first cluster. Chain 2 to create a corner, and in the same space, work another cluster of 3 double crochets.

Working the Long Side:
- Skip two single crochets from the previous row and work a cluster (3 double crochets) into the next space, repeating this until the end of the side. Chain 2 for the corner, and work another cluster in the same space.
Working the Short Side:
- Continue the pattern by adding another cluster for the short side, chain 2 for the corner, then work another cluster into the same space.
Second Long Side:
- Mirror the steps from the first long side. Finish by chaining 2 and joining with a slip stitch into the starting chain.

Growing the Granny Rectangle:
Subsequent Rows:
- Repeat the pattern of clusters along the sides, with clusters and chain 2 at the corners. Start each new row at a different point to evenly distribute where the ends will be weaved in.
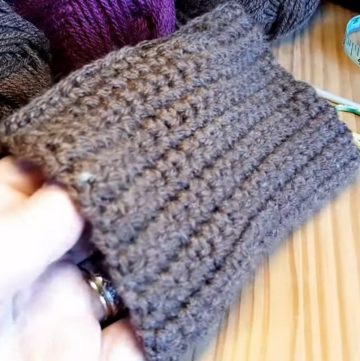
Border:
- Once your granny rectangle is the desired size, create a border by working single crochets around the entire piece, putting 3 single crochets in each corner chain space for a smooth edge.
Customizing Size:
- To customize the size for different electronic devices, increase the initial chain number while keeping in multiples of 3 + 2, then adjust the number of rows accordingly.
- Aim for a final size slightly smaller or similar to the device for a snug fit.
Finishing:
- Sew in all ends securely. For added functionality or aesthetics, consider adding a button flap or decorative edge to the opening.


Leave a Reply