

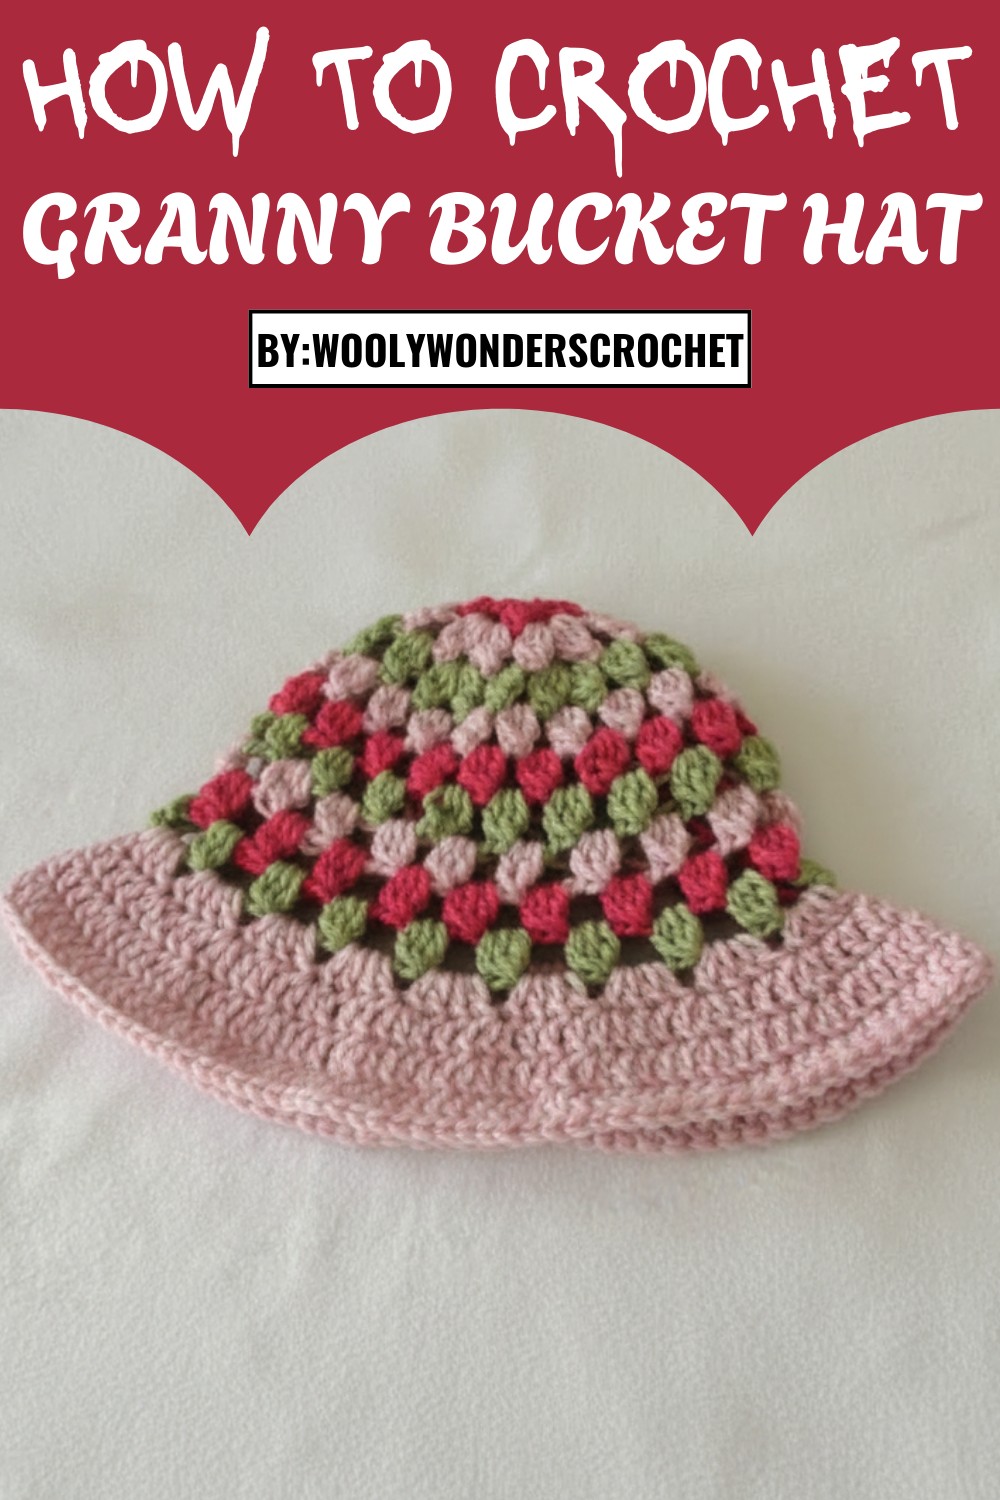
Step out with this crochet granny bucket hat pattern for a playful look that adds color to your day and keeps you comfortable under the sun.
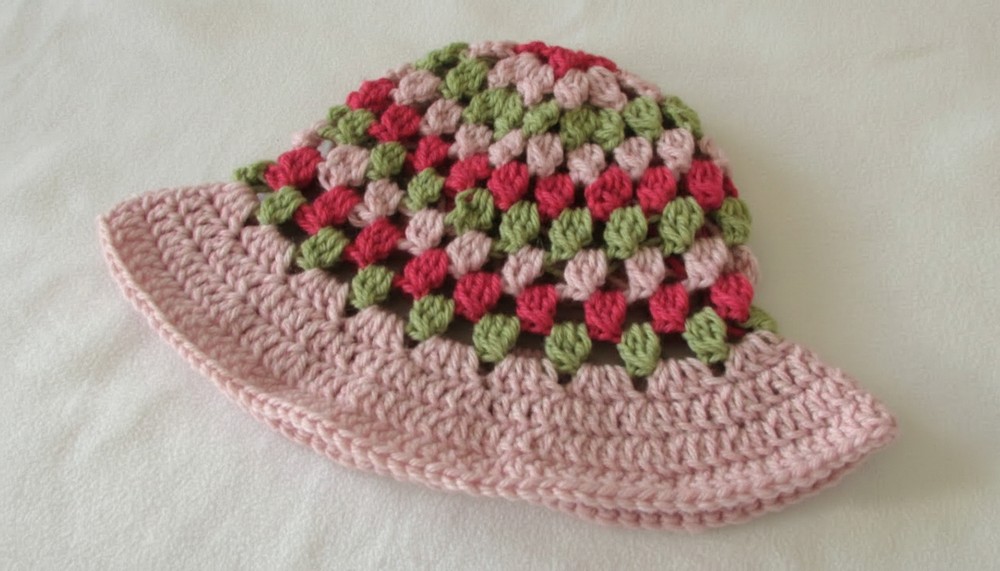
Colorful circles come together to make something special for your head. Soft yarn pieces join to form a bright hat that adds fun to any day. This hat shows off a pretty pattern with each granny square and stands out from other hats. Wear it at the park under the sun or while walking with a friend. It keeps your head cool and brings smiles everywhere you go. Many people use a crochet granny bucket hat pattern to mix favorite colors.
Easy Crochet Granny Bucket Hat Pattern to Brighten Any Day
Every hat feels different because you can add your own touch. It works well for all ages and suits picnics play time or a quick trip to the store. The pattern is easy to follow making this hat simple for anyone to learn and easy to share. Feel proud wearing something made with care because this hat brings style and joy wherever you are.
Materials
- Yarn: Lightweight (DK/Baby) yarn or cotton blend, any color (approx. 75–100g for child size)
- Hook: 4 mm (G/6) crochet hook or size needed for gauge
- Yarn Needle
- Scissors
- Stitch Markers (optional)
Key Abbreviations
| Abbreviation | Meaning |
|---|---|
| ch | chain |
| dc | double crochet |
| sl st | slip stitch |
| st(s) | stitch(es) |
| sp | space (chain space) |
| rep | repeat |
| FO | fasten off |
All instructions are written in US crochet terminology.
Special Notes
- Sizing: For other sizes, increase or decrease the number of repeats or rounds. See referenced size charts for exact measurements.
- Color changes: Pattern can be worked in a solid color or with color changes, as demonstrated.
- Turning chains: Ch 1 at the start of rounds does NOT count as a stitch.
- Always join rounds with a slip stitch unless otherwise specified.
Step-by-Step Pattern
Crown
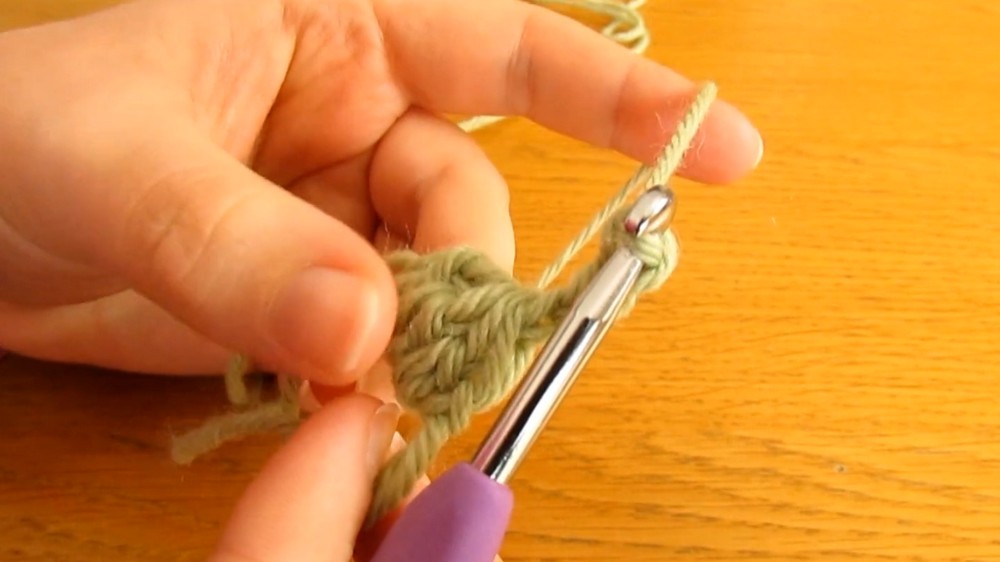
Round 1: Magic Circle & Cluster Foundation
- Make a magic circle.
- Ch 1 (does NOT count as st).
- *Work a cluster as follows:
- [Yarn over, insert in magic circle, pull up loop, yarn over, pull through 2 loops] (leave incomplete)*
- Repeat the above for a total of 3 incomplete dc (you should have 4 loops on hook).
- Yarn over, pull through all 4 loops (cluster made).
- Ch 3.*
- Repeat the cluster + ch 3 sequence five more times—in total work 6 clusters separated by ch 3.
- Pull the magic circle tight.
- Join with a sl st in the top of the first cluster.
- FO. Cut yarn and weave/end or leave tail to work over later.
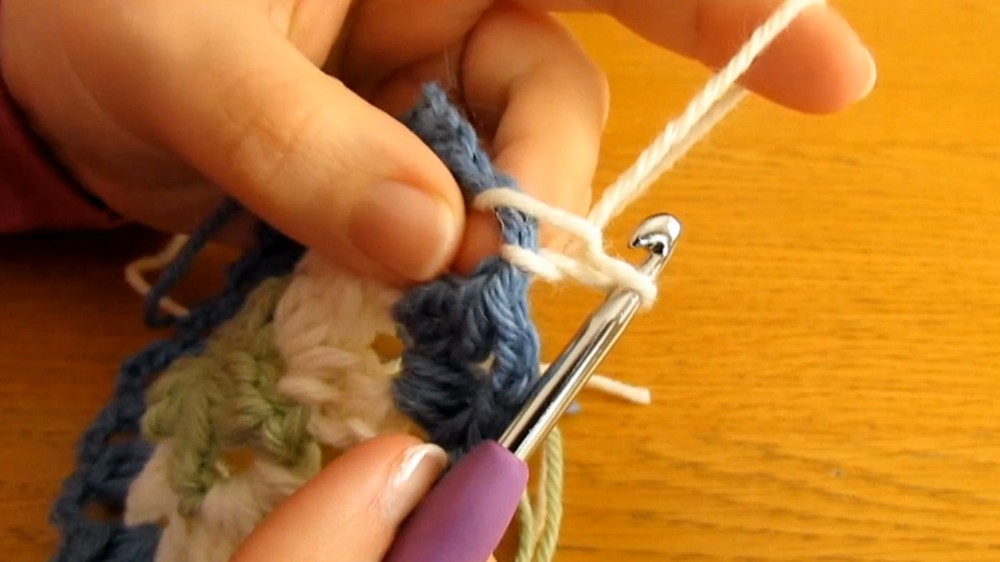
Round 2: Cluster Expansion
- Attach new yarn (any color) into any ch-3 space.
- In the same ch-3 space:
- (Cluster: 3 dc together), ch 3, (Cluster: 3 dc together), ch 3 (all in same space).
- Repeat step 2 for each ch-3 space around (6 repeats total).
- Join with a sl st in the top of the first cluster.
- FO.

Round 3: Alternating Cluster Expansion
- Attach new yarn into any ch-3 space between V shapes.
- In this ch-3 space:
- (Cluster: 3 dc together), ch 3, (Cluster: 3 dc together), ch 3 (all in same space).
- In the next ch-3 space:
- Cluster: 3 dc together, ch 3 (just once).
- Alternate repeating:
- Next ch-3 space: 2 clusters separated by ch 3, then ch 3.
Next ch-3 space: 1 cluster, ch 3, until end of round.
- Next ch-3 space: 2 clusters separated by ch 3, then ch 3.
- Join with a sl st in the top of the first cluster.
- FO.
Round 4: Cluster Rounds
- Attach yarn into any ch-3 space.
- In each ch-3 space around, work:
- Cluster: 3 dc together, ch 3 (just once per space).
- Join with a sl st in top of first cluster.
- FO.
Rounds 5–9: Crown Depth
- For each round, attach yarn into any ch-3 space.
- In every ch-3 space:
- Cluster: 3 dc together, ch 3.
- Join with a sl st in top of first cluster at end of round.
- FO.
- Repeat for a total of five rounds (Rounds 5–9).
Note: Add or remove rounds here for desired crown height, before starting brim.
Brim Section
Round 10: Brim Foundation
- Attach yarn into any ch-3 space around.
- Into each ch-3 space, work 4 dc (complete dc this round, not clusters).
- Join with a sl st in top of first dc. Do not FO.
Round 11: Brim Increase
- Ch 1 (does NOT count as a st).
- In first st:
- 2 dc in same st.
- Dc in next 3 sts.
- Repeat: 2 dc in next st, dc in next 3 sts all the way around (“2 1 1 1 2 1 1 1…”).
- Join with sl st. Do not FO.
Round 12: Brim Increase
- Ch 1 (does NOT count as a st).
- In first st:
- 2 dc in same st.
- Dc in next 4 sts.
- Repeat: 2 dc in next st, dc in next 4 sts all the way around.
- Join with sl st.
Round 13: Brim Even
- Ch 1 (does NOT count as a st).
- Dc in every st around.
- Join with sl st.
- FO. Weave in all ends.
Finishing
- Use yarn needle to weave in all yarn tails on wrong side.
- Shape hat and optionally block if desired.
Conclusion
This children’s lacy sun hat is airy, elegant, and lightweight—ideal for summer outings! Add more crown rounds to increase depth, or adjust brim rounds for sizing. Experiment with color changes for playful or classic styles.
Pattern Corrections & Tips
- Correction: Ensure cluster construction follows three incomplete double crochets with a finishing yarn over through all loops.
- Tip: Use stitch markers if joining colors or rounds to help identify start/end points.
- Tip: Adjust crown and brim length as desired—try on and check fit if possible.
- Tip: For more stiffness, use cotton yarn or lightly starch the brim.


Leave a Reply