

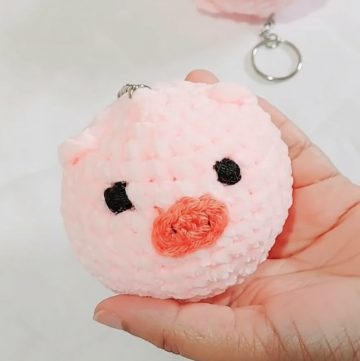
This crochet dog puppy amigurumi pattern is a special guide that helps you create a small, stuffed crochet toy that looks like an adorable puppy.
Crochet Dog Puppy Pattern

This pattern tells you step by step how to use yarn and a crochet hook to make the puppy's body, head, legs, and tail, and how to put all the parts together. You also learn how to add cute details like eyes, a nose, and a mouth. Crocheting a puppy like this is a fun project, where you make loops and stitches with yarn to bring a little puppy toy to life. It's like following a map that leads you to craft a soft, cuddly friend you can hold in your hands.
Materials Needed:
- Number 4 medium weight yarn
- 4.25 mm crochet hook
- 14 mm safety eyes
- Stitch marker
- Stuffing
Abbreviations:
- sc: single crochet
- inc: increase (2 sc in the same stitch)
- dec: invisible decrease (using front loops only)
General Notes:
- Use a stitch marker to mark the end of each round.
- The project is worked in rounds.
Pattern:
Legs and Arms (Make 4):
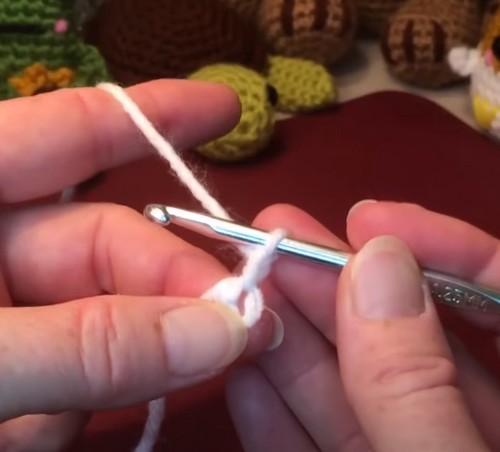
- Create a magic ring.
- R1: 8 sc into the ring. (8)
- R2: sc, inc repeat around. (12)
- R3: sc in the next 2, inc repeat around. (18)
- R4-7: sc in each stitch around. (18 each row)
- Stuff the legs.
- For two legs (stop here at R7), for arms, continue.
- R8 (For Arms Only): 3 sc for the thumb.
Head:

- Create a magic ring.
- R1: 8 sc into the ring. (8)
- R2: inc in each stitch around. (16)
- R3: sc, inc repeat around. (24)
- R4: sc in the next 2, inc repeat around. (32)
- R5-14: sc in each stitch around. (32 each row)
- Attach safety eyes between R9 and R10.
- Slowly start stuffing the head, making sure it's firm and shapes well.
- Continue crocheting until the head is fully formed, then close the head, finishing with a dec round.
Body:

- Create a magic ring.
- Follow a similar pattern to the head but adjust the size according to the video's instructions, usually starting similarly with 8 sc into a ring and increasing in rounds until you reach the desired width and length for the body.
- Join the arms to the body as directed, ensuring they're evenly spaced and secure.
- Stuff the body before completely closing.
Ears (Make 2):
- Create a magic circle.
- R1: 6 sc into the circle. (6)
- R2: inc in each stitch around. (12)
- R3: sc, inc repeat around. (18)
- Continue as per video's instructions, forming the ear shape.
- Fold the ear in half and sew the opening closed, then attach to the head at the preferred position.
Tail:
- Chain the required number of stitches (check the video for the exact number).
- Work several rows of sc back and forth, or in the round if specified, gradually decreasing to form the tail shape.
- Sew onto the body at the appropriate spot.
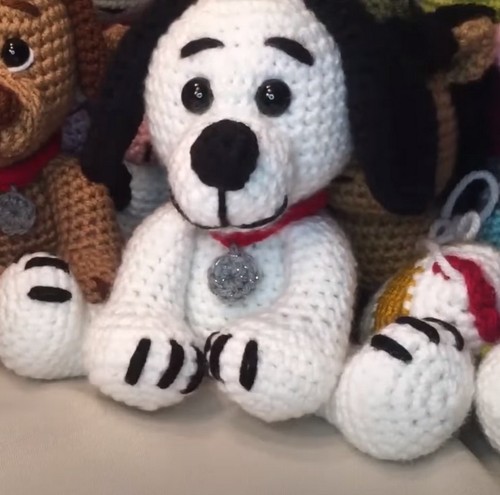
Finishing Touches:
- Embroider the nose, mouth, and any other details as shown in the video.
- For any additional accessories like a collar or a bow.

Leave a Reply