

This Crochet Dinosaur Amigurumi Tutorial is absolutely fantastic! It's so clear and easy to follow, making the whole process of creating a cute little dinosaur friend feel like a breeze. The steps are laid out perfectly, which is great for both beginners and experienced crocheters.
Crochet Dinosaur Amigurumi Tutorial
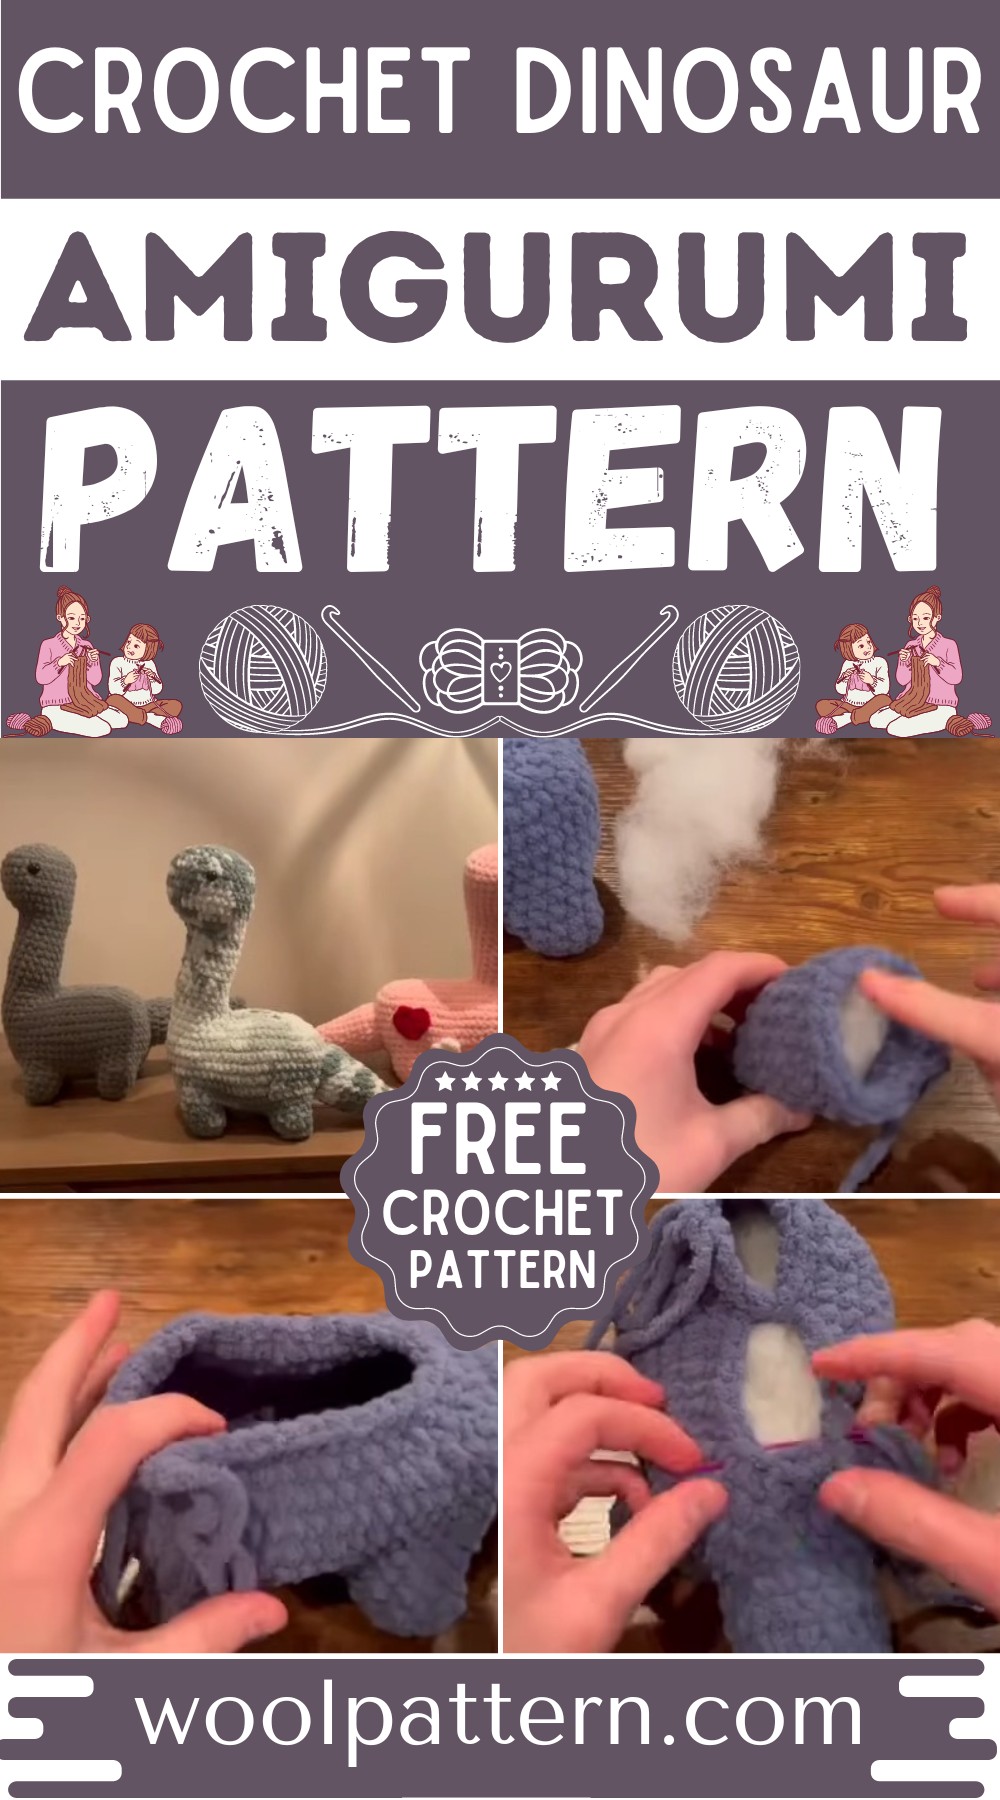
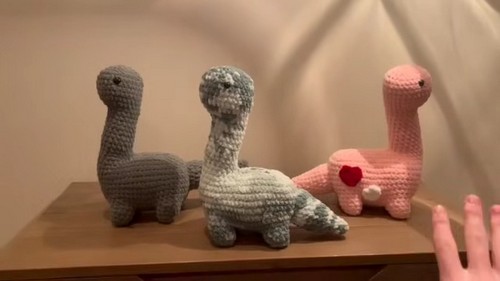
The result is a super adorable dinosaur that anyone would love. It's amazing how something so simple can bring so much joy. This tutorial is a wonderful resource for anyone looking to dive into the world of crochet amigurumi or just wanting to create a special, handmade toy.
Materials Needed:
- Size 6 Super Bulky Yarn (almost an entire ball of Bernat Blanket recommended)
- Size 6 (4mm) Crochet Hook
- Tapestry Needle
- Stitch Markers (optional, but recommended)
- Scissors
- Safety Eyes
- Stuffing
Pattern Overview:
Feet (Make 4):

Start with a Magic Circle.
- Round 1: 6 Single Crochet (SC) into the Magic Circle. Pull the circle tight.
- Round 2: SC, Increase repeat 3 times (9 stitches).
- Round 3: 2 SC, Increase repeat 3 times (12 stitches).
- Round 4: 12 SC around.
Body:
- Chain 16.
- Starting in the 2nd chain from the hook, 14 SC.
- In the last chain, 3 SC.
- SC back down the chain. This brings you to 31 stitches total.
- Increase, followed by 13 SC down one side. At the end of the row, do an increase, 1 SC, and another increase in the last stitch (5 stitches in this end), then 13 SC back down the other side. Finish with an increase in the last stitch for a total of 35 stitches.
Attaching Feet:
- After an initial increase and two SC, start attaching the feet with 3 SC per foot, interspersed with sections of 6 SC without additional increases. Repeat this process across all four feet, ensuring even spacing.
Continuing Body:
- Post attaching feet, continue with rounds of SC, incorporating increases where the pattern specifies to shape the body, and attaching the feet directly to the body as you go, resulting in a flatter base for the dinosaur to stand on. This involves a special technique of single crocheting two together over the gaps between the feet and the body to ensure a seamless join.
Tail:
- Start with a Magic Circle.
- Round 1: 4 SC into the circle.
- Round 2: 1 SC, Increase repeat twice (6 stitches).
- Continue increasing rounds by adding more SC between increases until desired tail length is achieved.
- Finish off the tail, leaving a long tail for sewing. Sew onto the back of the body.
Neck and Head:
- Start with SC directly on the body where the neck begins, work rounds of SC to desired neck length.
- Begin the head with a series of increases to form the base of the head.
- Continue shaping the head with a mixture of SC and strategic increases/decreases, forming the dinosaur's snout and face.
- Insert safety eyes before closing the head.
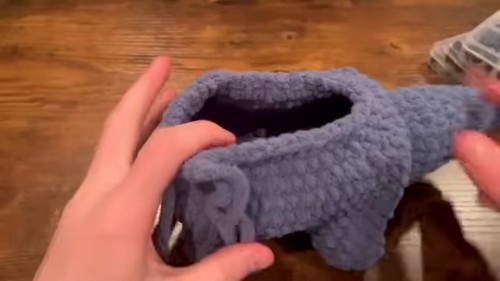
- Finish stuffing the head and close the opening, shaping the head as needed.
Final Assembly:
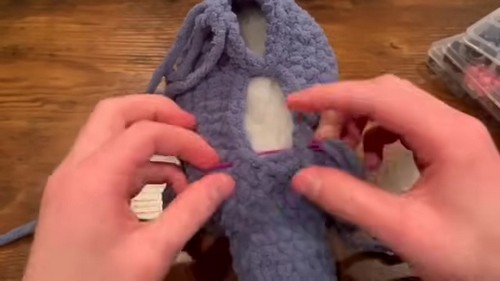
- Sew the tail onto the body, ensuring it is securely attached.
- Close off any remaining openings, adding any final stuffing adjustments.
- Your dinosaur amigurumi is now complete!
Enjoy your adorable crocheted dinosaur, and feel free to customize it with different colors or add your personal touches! Happy crocheting!


Leave a Reply