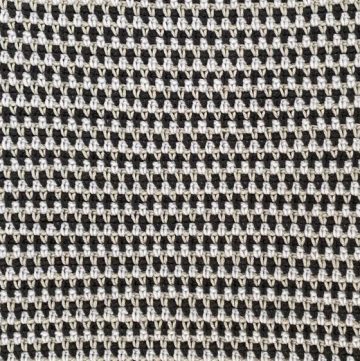
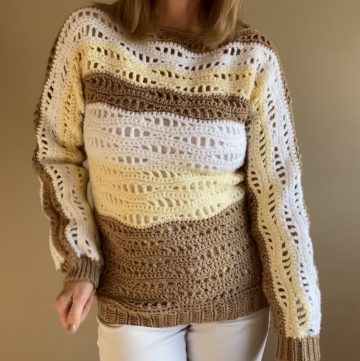
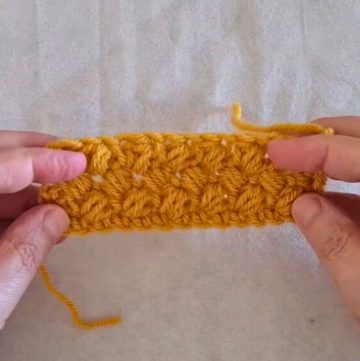
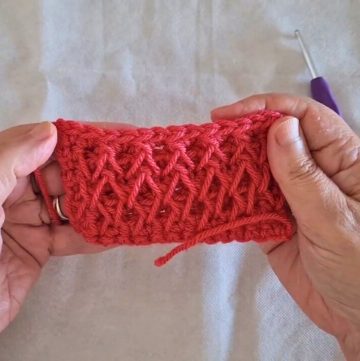
The Alpine Crochet Stitch is an intriguing, textured stitch that brings depth and detail to any crochet project. This stitch is comprised of alternating rows of single crochets, double crochets, and elongated double crochets worked into the double crochet stitches from the previous double crochet row. It's versatile and suitable for a wide array of projects from blankets and hats to scarves and gloves.
Alpine Crochet Stitch Tutorial
Not only does the Alpine Stitch add a unique visual interest to your creations, but it also provides a thick, cozy feel that is perfect for colder seasons. Additionally, the ability to incorporate color changes seamlessly into this stitch adds to its aesthetic appeal, creating an interplay of shades across the defined, bumpy texture of this stitch. The Alpine Stitch, with its pleasing aesthetic and engaging stitch pattern, is sure to be a delightful addition to any crochet enthusiast's repertoire.
Materials:
- Three mini skeins of DMC cotton yarn (You can use any yarn and corresponding hook)
- 2mm crochet hook (Adjust according to yarn)
Pattern Overview:
Foundation: Even number of chains (Example uses 20)
Row 1-3: Simple crochet rows to establish the base (1 row of single crochet, 1 row of double crochet, 1 row of single crochet)
Row 4 onwards: The Alpine Stitch pattern begins
Detailed Pattern:
Foundation Chain:
Start with a slip knot.
Chain an even number (20 for this example).
Rows 1-3: Establishing the Base
Row 1: Chain 1 (does not count as a stitch), with a single crochet in each stitch across.
Row 2: Chain 3 (counts as first double crochet), skip first stitch (under turning chain), double crochet in each stitch across.
For Row 3: Chain 1, single crochet in each stitch across.
Row 4: Beginning Alpine Stitch Pattern
Chain 2, turn your work.
Make an elongated double crochet (yarn over, insert hook from front to back between the posts of the corresponding double crochet below, yarn over, pull up a loop to the height of the current row, yarn over, pull through two loops, yarn over, pull through remaining two loops).
Skip the stitch directly behind the elongated double crochet.
Make a regular double crochet in the next stitch.
Alternate between elongated double crochet (skipping the hidden stitch behind it) and regular double crochet to the end of the row, ensuring the last stitch is a regular double crochet.
Row 5: Single Crochet Row
Chain 1, turn your work.
Single crochet in each stitch across.
Changing Color (Optional):
At the end of a single crochet row, before completing the last single crochet, add new color yarn, then proceed with pattern as normal.
Row 6 and Beyond:
Repeat the pattern from Row 4 for the Alpine Stitch look, alternating colors as desired.
To create the pattern, the elongated double crochets are worked into the double crochet stitches from the previous double crochet row, not into the spaces between elongated double crochets from the row before.
Tips:
- Ensure tension is even, especially when pulling up loops for elongated double crochets.
- The last two stitches of the Alpine pattern rows (Rows with elongated DCs) should always be regular double crochets to maintain edges.
- Alternating colors can enhance the visual appeal, especially when alternating every two rows.
Repeat rows 3 to 6 for the length of your project. This creates the beautiful textured look characteristic of the Alpine Stitch, with effective use of color changes enhancing the visual appeal. Remember, the back of the swatch looks quite interesting as well, especially with color changes.


Leave a Reply