

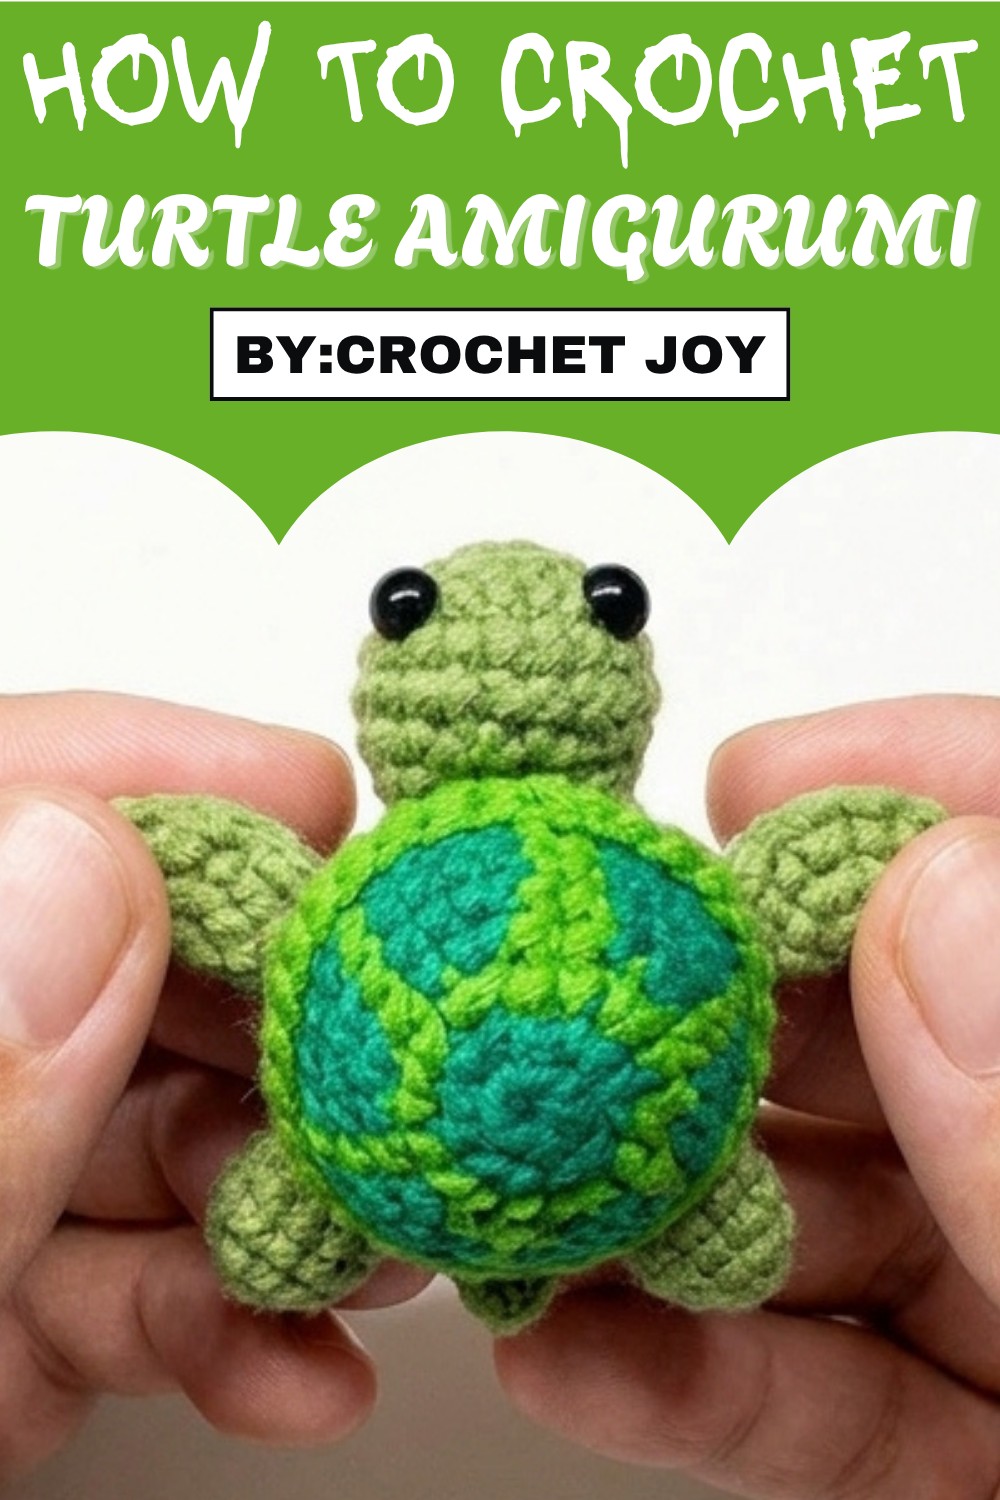
Bring joy with this Free Crochet Turtle Amigurumi Pattern, a simple and delightful project perfect for home decor & a cute companion.
Few projects capture the charm of handmade creations like a cute turtle amigurumi. This delightful crochet pattern lets you bring an adorable little turtle to life, complete with a textured shell, tiny head, and playful legs. Perfect for beginners and experienced crocheters alike, it is a wonderful way to practice or refine skills while making something meaningful. Small and portable, it’s an ideal project for relaxing evenings or on-the-go crocheting.
Easy-to-Follow Crochet Turtle Amigurumi Pattern
The finished pattern isn’t just appealing; it’s versatile too! Whether you use it as a unique decorative item, a soft toy for kids, or a thoughtful, handmade gift, this turtle amigurumi pattern is bound to bring smiles. It's also a great way to incorporate leftover yarn and experiment with a wide range of colors and textures at no additional cost.
With step-by-step guidance and simple stitches, this free pattern ensures a stress-free crocheting experience, even for those just starting out. The final turtle is lightweight, easy to customize, and has an irresistibly charming appeal.
Materials Required
- Three colors of yarn (Pearl cotton recommended for smooth curves).
- 0.5 mm flat eyes (or you can embroider the eyes).
- 1.8 mm crochet hook.
- Stitch marker, needle, and scissors.
- Fiberfill for stuffing.
Step-by-Step Pattern Instructions
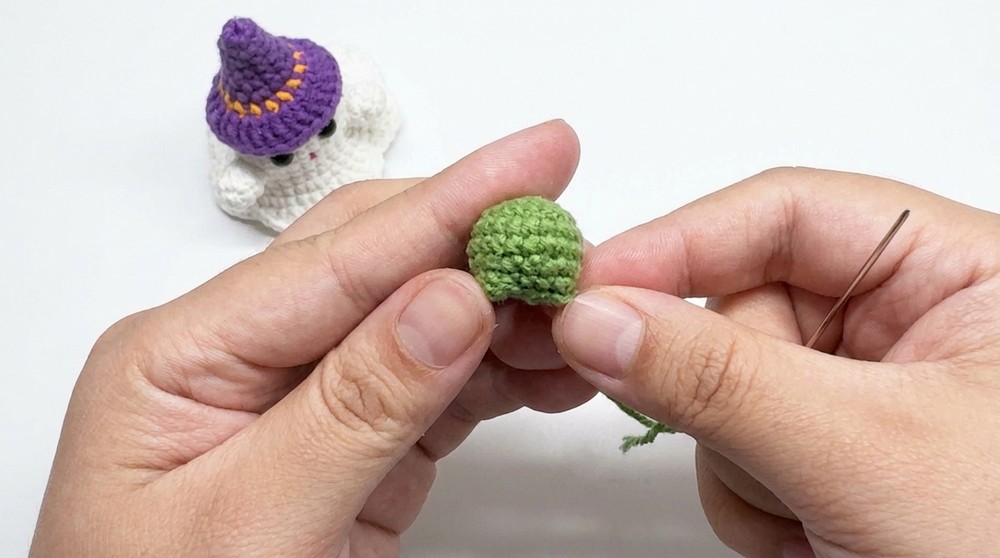
Turtle’s Shell (Back)
Steps:
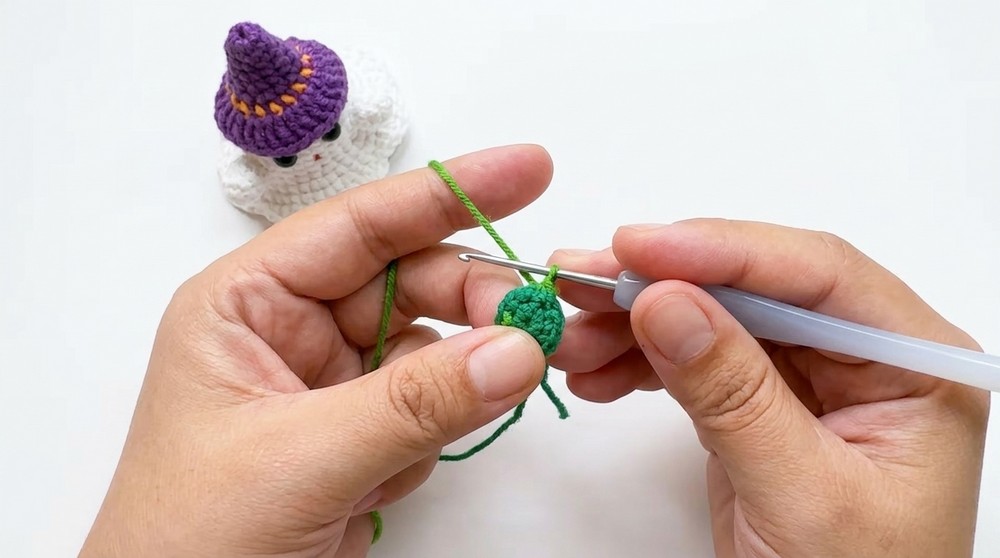
- Magic Ring:
- Form a magic ring and secure it. Work the following stitches into the ring.
- Round 1: Make 6 single crochets (SC) into the ring. Tighten the ring and slip stitch to join the round.
- Expand the Shell:
- Round 2: Work 2 SC into each stitch (total: 12 stitches).
- Round 3: SC in the next stitch, increase (2 SC in the next stitch) around (total: 18 stitches).
- Round 4: SC in the next 2 stitches, increase around (total: 24 stitches).
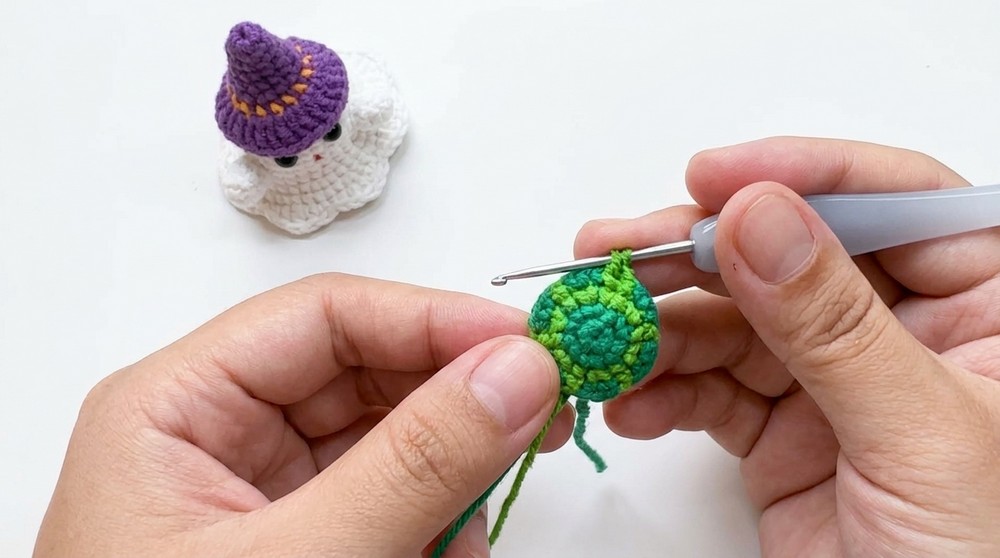
- Work Outer Half Stitch:
- To add texture, work single crochets in outer half stitches only for 3 rounds.
Special Features:
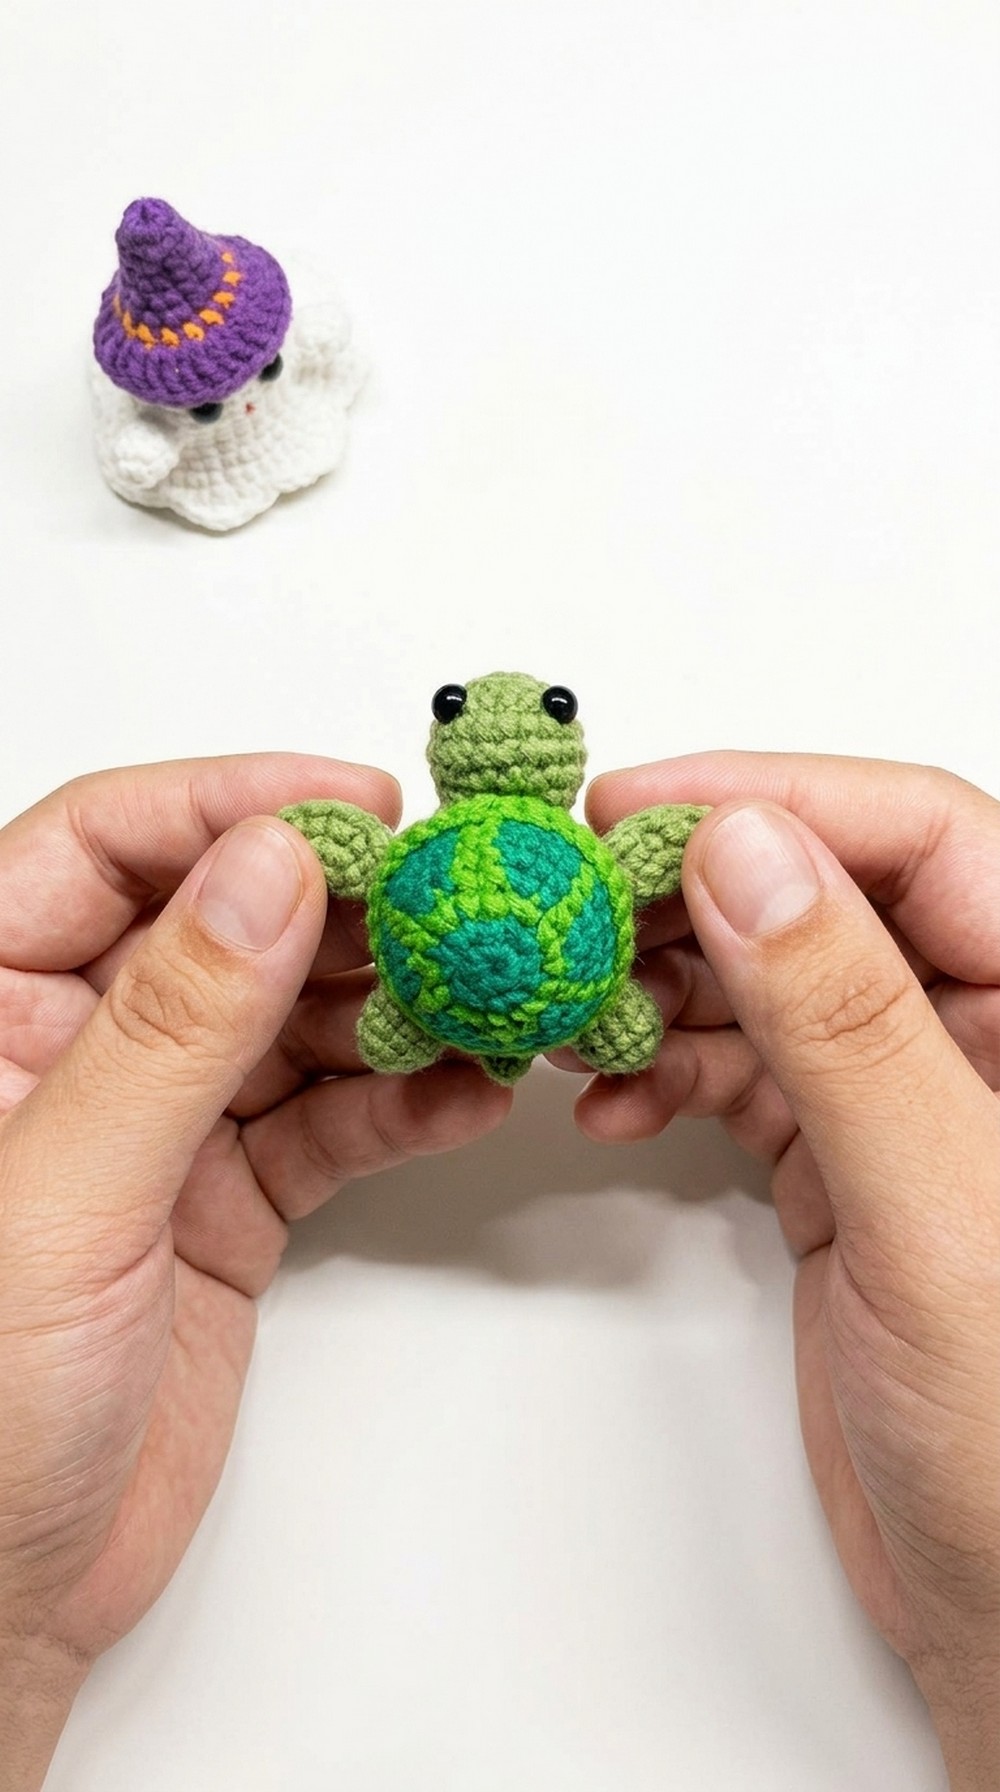
The textured shell mimics the natural curve and details of a sea turtle shell.
Turtle’s Plastron (Belly)
Steps:
- Magic Ring:
- Begin with a magic ring and work 6 SC into the ring.
- Increase for Rounds:
- Follow the same pattern as the shell (Rounds 2 to 4) to expand the belly piece, matching the shell diameter.
- Flatten the Belly:
- Work 1 round of Slip Stitches for a smooth surface.
Tutor’s Suggestions:
Keep the stitches tight and even for a seamless connection to the shell.
Turtle’s Head
Steps:
- Magic Ring:
- Start with a magic ring and make 6 SC into the ring.
- Shape the Head:
- Round 2: Work 2 SC into each stitch (total: 12 stitches).
- Rounds 3-5: SC evenly around without increases to form the rounded shape.
- Stuff the Head:
- Fill with fiberfill before closing.
- Add Features:
- Attach the flat safety eyes or embroider details for a lifelike appearance.
Turtle’s Front Legs
Steps:
- Magic Ring:
- Begin with a magic ring and work 6 SC into it.
- Form the Legs:
- Rounds 2-4: SC evenly around to create cylindrical legs.
Pro Tip:
For added realism, curve the edges slightly by decreasing every few stitches on the last round.
Turtle’s Back Legs
Steps:
- Magic Ring:
- Start with a magic ring and work 6 SC into the ring.
- Shape the Legs:
- Rounds 2-3: SC evenly to keep the back legs slightly shorter than the front ones.
Turtle’s Tail
Steps:
- Magic Ring:
- Start with a magic ring and make 6 SC into the ring.
- Form the Tail:
- Rounds 2-3: SC evenly while reducing every few stitches to taper the tail.
Spiral Crochet Method:
For a smooth tail shape, continue stitching without joining rounds, allowing for a natural spiral look.
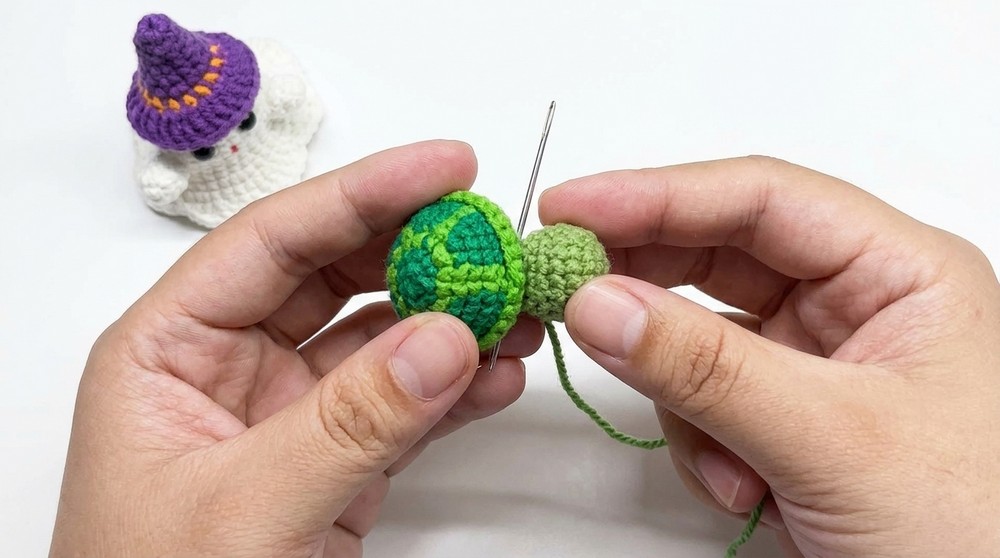
Assembly
- Attach Body Parts:
- Position the shell and plastron pieces together, stuffing with fiberfill before joining them using slip stitches or sewing.
- Attach the head to the front edge of the shell securely.
- Position the legs symmetrically and sew them to the sides of the shell.
- Add the tail to the back and ensure all edges are tightly secured.
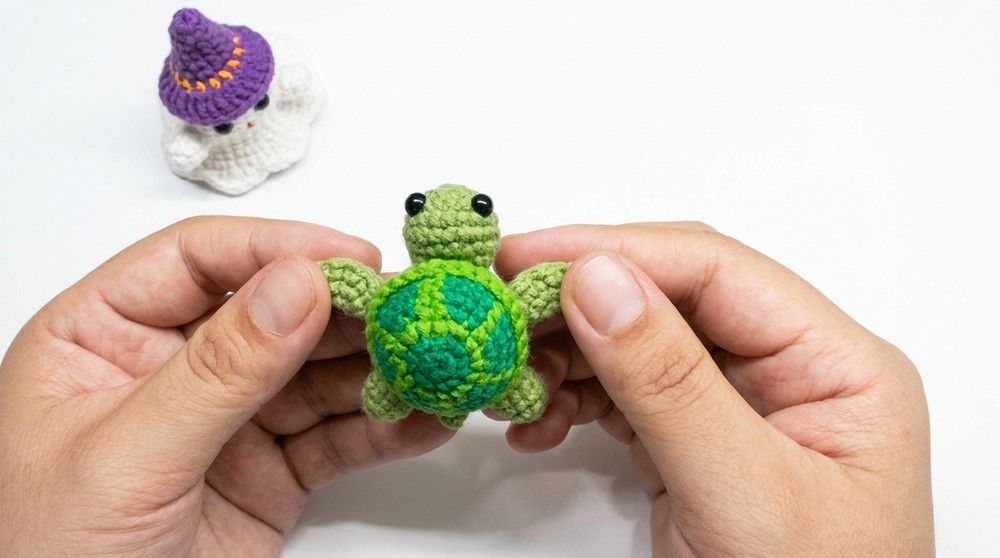
Special Features
This pattern brings a realistic sea turtle design with a playful vibe, incorporating textured stitching techniques like outer half stitch and spiral crochet for unique details.
Difficulty Level
The pattern is beginner-friendly but includes some assembly requiring intermediate skills like sewing and alignment for lifelike proportions.
Uses
- Decor: Adds a touch of ocean-themed charm to room décor.
- Toys: Perfect as a soft toy for kids.
- Gifts: Makes a heartfelt, handmade gift for marine lovers.
Tip
To ensure durability, weave in all loose ends securely after assembly. Adding weighted stuffing at the base can help the turtle sit firmly on flat surfaces.
Conclusion
Crocheting this sea turtle amigurumi is both fun and rewarding. With its lovable pattern and customization options, the finished piece is sure to bring joy and spark conversations. Whether you’re a beginner or looking to refine your skills, this pattern offers the perfect blend of simplicity and creativity.


Leave a Reply