

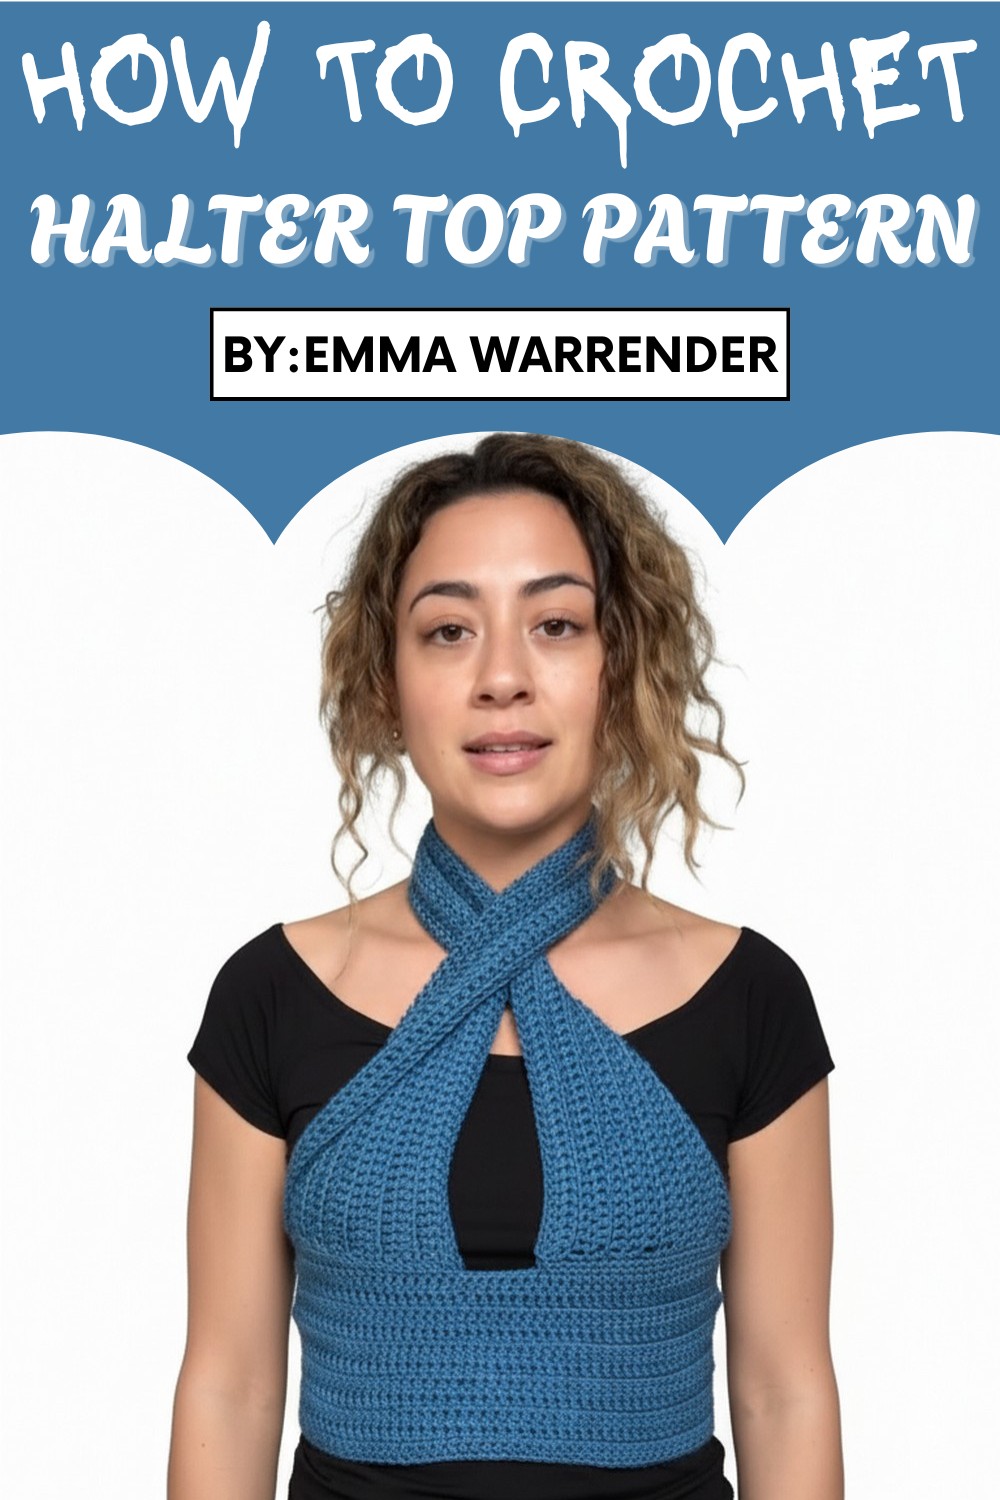
If you love summer fashion, try this free crochet halter top pattern that’s simple, trendy, and tailored to bring comfort and confidence.
Summer wardrobe staples often call for stylish yet breathable outfits, and this lightweight halter top pattern is the perfect answer. Whether you’re heading to the beach, lounging at home, or attending a casual outing, this pattern adds a cozy yet chic touch to your look. What makes it even more appealing is its versatility, allowing you to style it in multiple ways to suit your vibe, from a traditional halter to playful wrap-around options.
Free Crochet Halter Top Pattern for a Stylish Summer Look
This pattern is beginner-friendly, making it ideal for those just stepping into the crochet universe. It’s designed to fit all sizes, allowing you to customize it effortlessly to your body. The ribbed texture and simple stitches give it a professional finish, while soft yarns keep it comfortable for all-day wear. Beyond being a trendy top, it’s functional too—perfect for warm weather and ideal for gifting a handmade treasure.
With just two panels and minimal material requirements, it’s an accessible project for crocheters of all levels. Plus, the satisfaction of making your own eco-friendly wardrobe addition is unbeatable. Save money, look stylish, and enjoy the relaxation of crocheting something beautiful by following this free pattern. It truly combines creativity and practicality in the most fashionable way possible!
Level of Difficulty
Beginner to Intermediate
This pattern is suitable for those with basic crochet knowledge, including chaining, double crochet (DC), and working into back and front loops.
Special Features
- Customizable Fit: Designed to perfectly fit each unique body by measuring along the way.
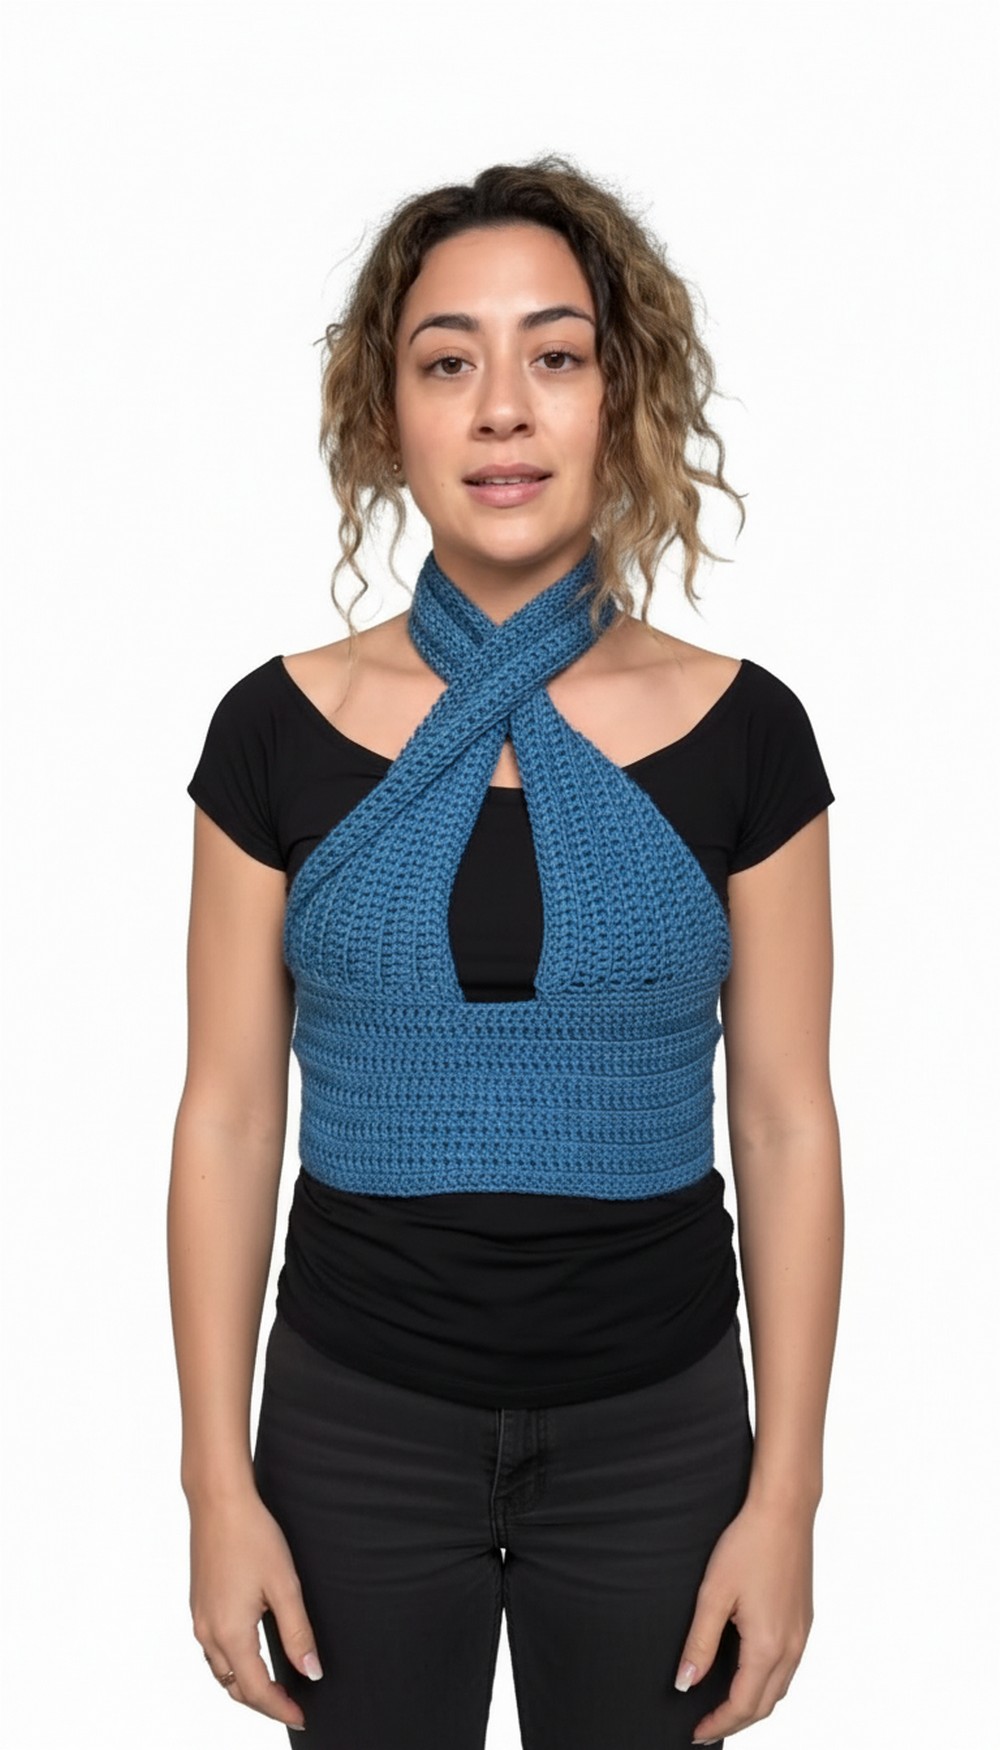
- Multi-Way Style: Can be worn as a classic halter top or in a crisscross wrap style.
- Ribbed Texture: Alternating back and front loop double crochets create a professional-looking ribbed finish.
Materials Needed
- Yarn: A soft yarn for comfort (recommendation: medium-weight, soft yarn for wearability).
- Crochet Hook: 4 mm hook.
- Scissors
- Measuring Tape
- Safety Pins or Stitch Markers
- Optional Bralette for Styling/Reference
Step-by-Step Pattern
Step 1: Create Your Chains
- Halter Chain: Make a chain long enough to go from under your bust, around your neck, and back to under your bust.
- Waist Chain: Create a second chain long enough to wrap around your rib cage and underbust, plus extra length to tie.
- For a knot, add minimal extra length.
- For a bow, add more length to your chain.
- Check measurements against your body as you work, ensuring the chains fit properly.
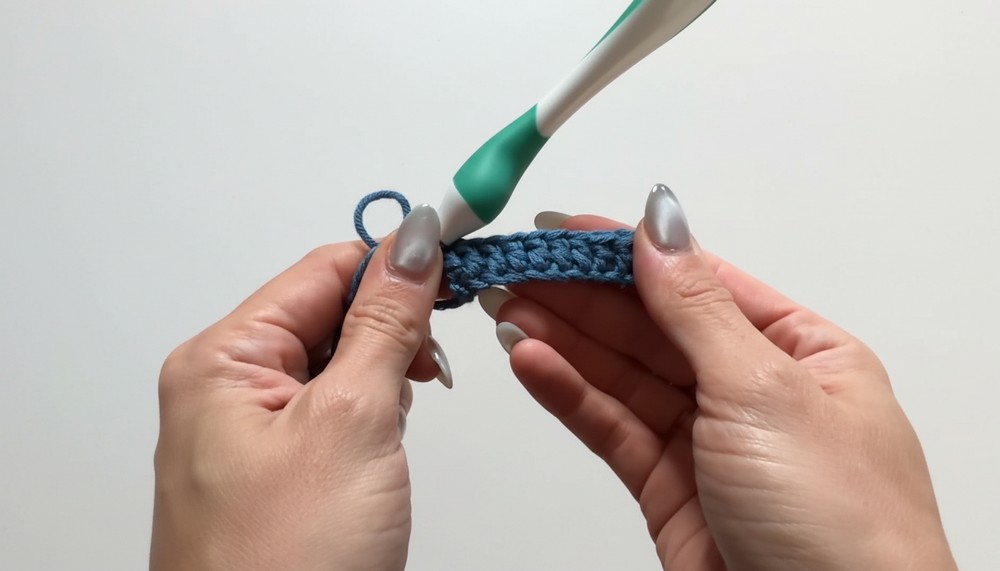
2: Double Crochet Foundation Row
- Slip Knot and Double Crochet:
- Begin with a slip knot and work double crochets (DC) across your chain.
- Yarn over, insert hook into the third stitch from your hook, yarn over, pull through two, yarn over, pull through two again.
- Continue double crochets to the end of your chain.
- After completing this row, double-check the fit by wrapping the piece around your body. Adjust length if needed.
3: Adjust Length (Optional)
- If your panel is too short, you can add extra double crochets at the end:
- Yarn over, insert hook back into the last chain, yarn over, pull through, yarn over and work into the new chain created on the edge.
- Repeat until the desired length is achieved.
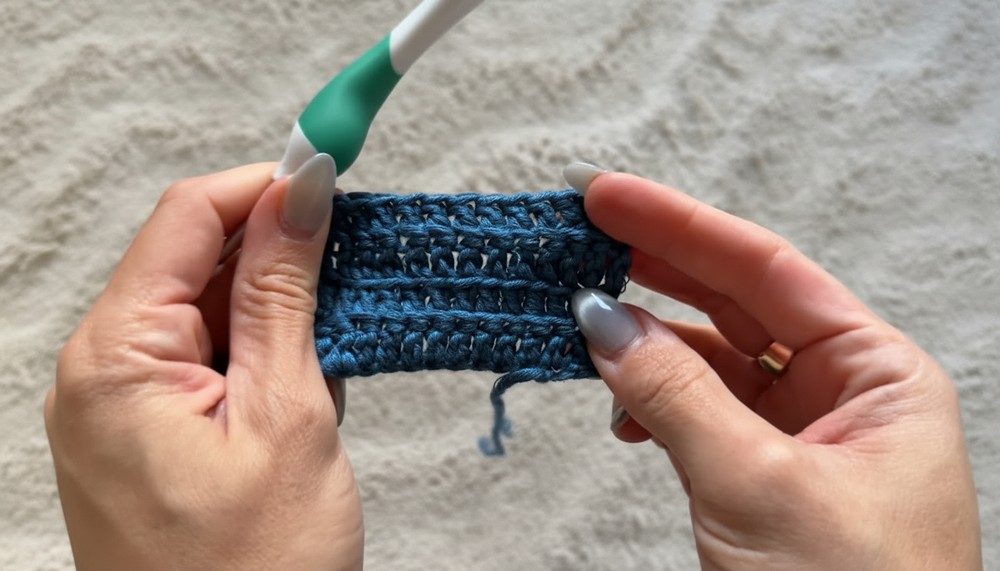
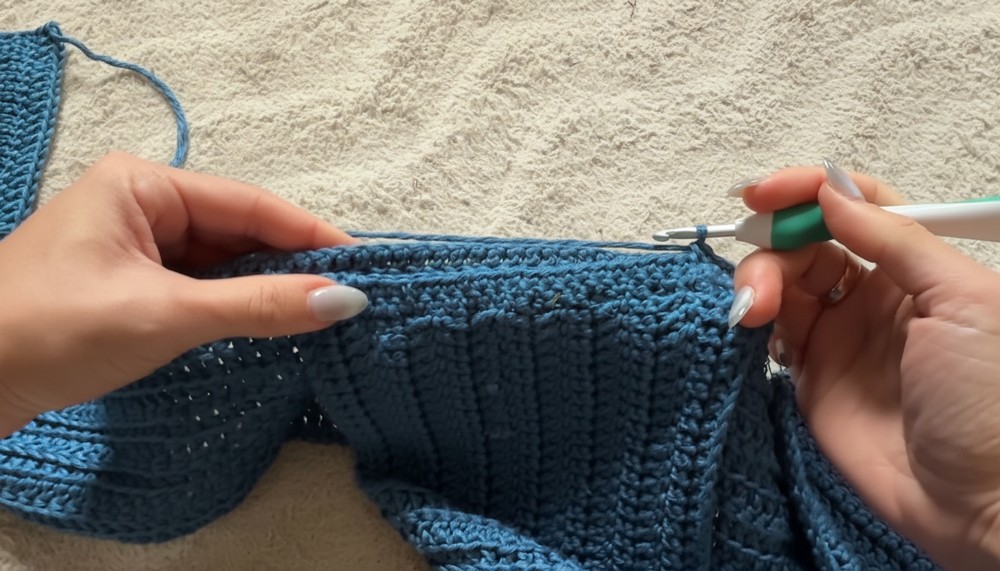
4: Create the Ribbed Pattern
Row 1: Back Loop Double Crochet (BLDC)
- Chain 2 and turn your work.
- Yarn over and insert hook into back loop only of each stitch across the row.
- Back loop: The loop furthest from you (on the "ridge" side).
- Complete BLDCs across the row.
Row 2: Front Loop Double Crochet (FLDC)
- Chain 2 and turn your work.
- Yarn over and insert hook into front loop only of each stitch across the row.
- Front loop: The loop closest to you.
- Complete FLDCs across the row.
Repeat Rows
- Alternate between BLDC and FLDC rows, creating the ribbed texture until your panel is the desired length.
5: Measure Each Panel
- Halter Panel: Work rows until the panel covers your bust area when tied under your chest.
- Waist Panel: Work rows until the panel provides the coverage you want for the band.
6: Assemble the Two Panels
Use one of the following methods to connect the halter panel to the waist panel:
Option 1: Direct Pinning
- Tie the waist panel around yourself to find its center.
- Position the halter panel where it feels comfortable; use safety pins to hold the two panels together.
- Crochet into marked areas using single crochets (SC) for extra security.
Option 2: Use a Reference Bralette
- Fold both panels and the bralette in half to find the center.
- Pin the waist panel onto the bralette’s band, leaving an open keyhole area as desired.
- Add pins to the halter panel for alignment, then crochet into these pinned areas.
7: Secure and Finish
- Once you’ve attached both panels securely, chain 1, cut your yarn, pull through, and tighten.
- Weave in ends to ensure the edges look polished.
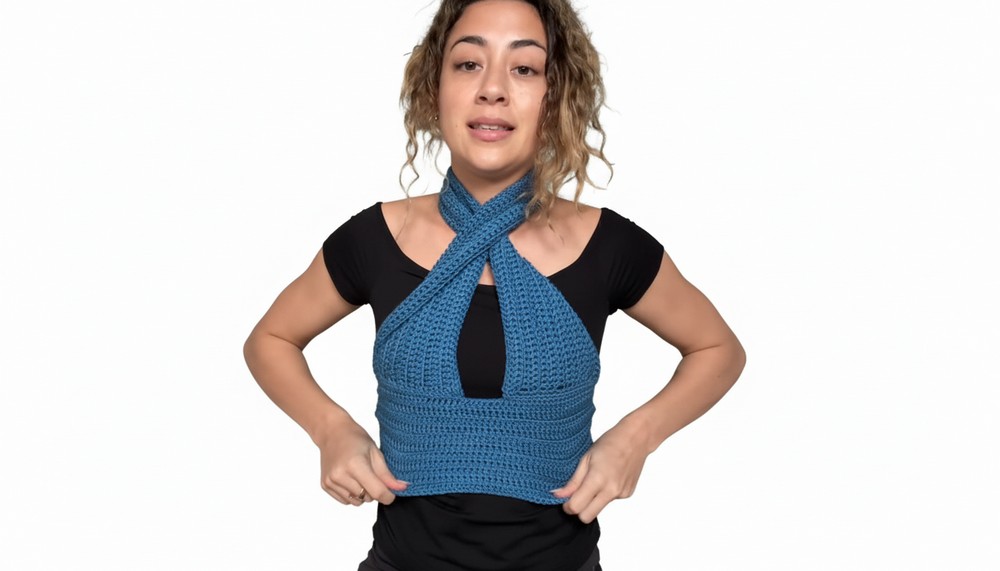
Ways to Wear
- Classic Halter Style: Tie the halter panel around your neck, and secure the band at the back with a bow or knot.
- Crisscross Wrap Style: Crisscross the halter panel across your chest and tie it behind you for an elegant look.
Tutor’s Suggestions
- Check Fit Frequently: This pattern is designed to be intuitive, so check your panel size regularly to ensure a comfortable fit.
- Soft Yarn: Since this is a wearable top, prioritize soft yarn for a comfortable feel against the skin.
- Avoid Overstretching: Finish your foundation chain slightly loose to reduce unnecessary stretching.
Conclusion
Your multi-way crop top is complete! This versatile crochet pattern allows you to express your creativity and crochet a truly custom piece that adjusts to fit your body perfectly. Whether worn as a classic halter or a crisscross wrap, this pattern is sure to capture attention.
Final Tip
Weave in ends as you go to reduce finishing time later, and use stitch markers to ensure straight edges. Enjoy your new handmade top and experiment with different ways to style it!


Leave a Reply