

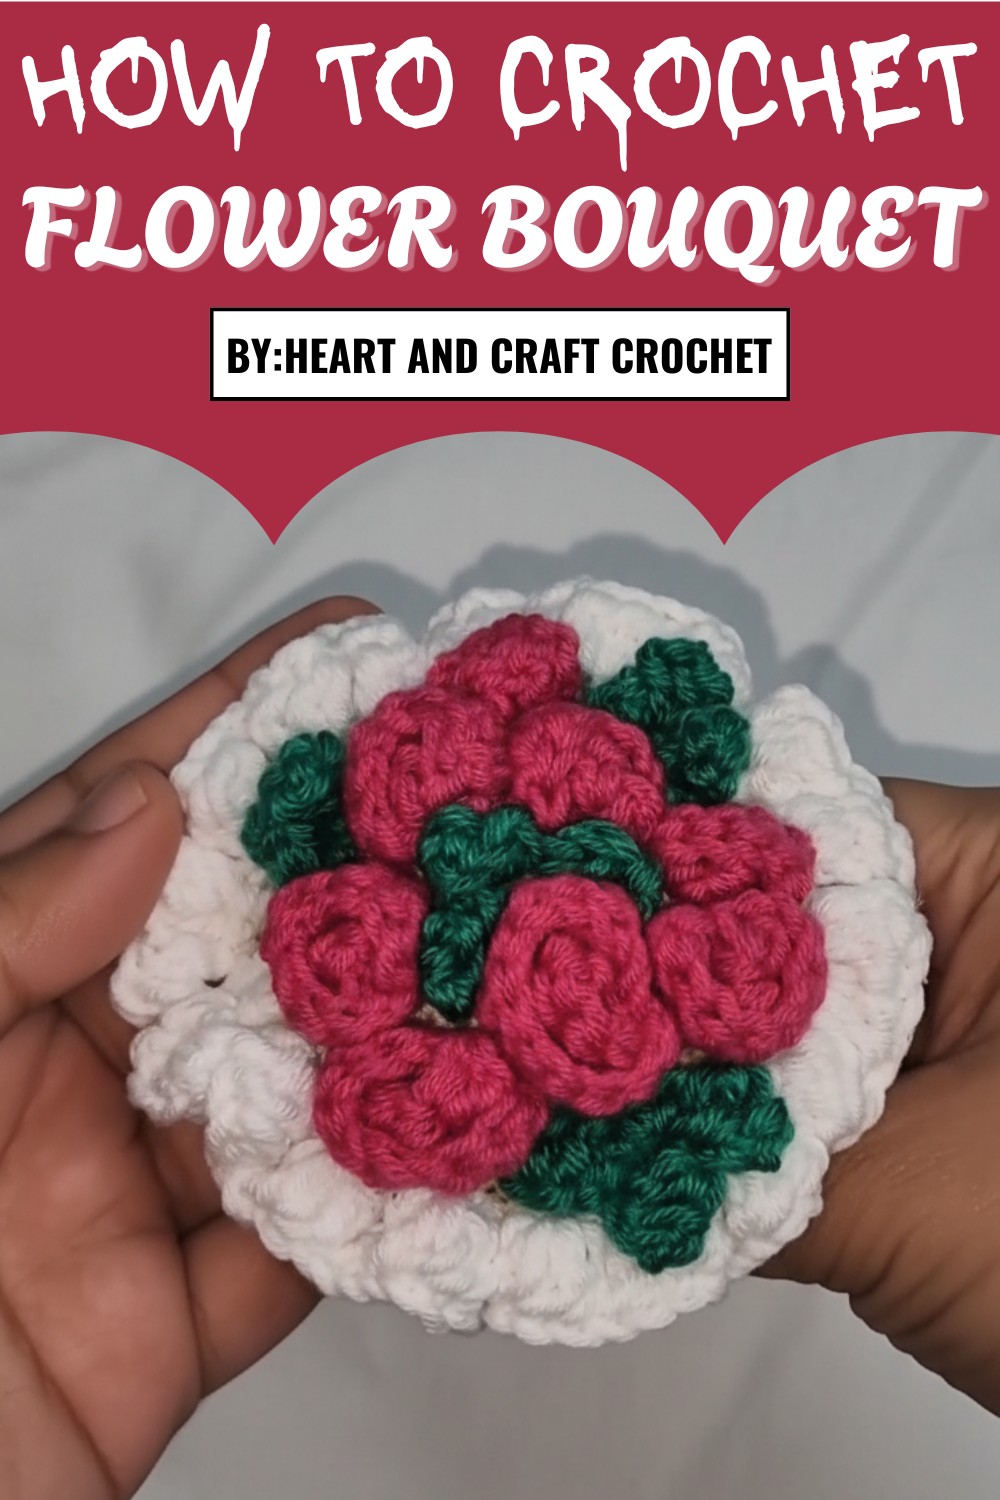
Learn endless charm with this Free Crochet Flower Bouquet Pattern, perfect for crocheting stunning, handmade floral arrangements.
Thoughtful handmade gifts often mean the most, and a bouquet that never wilts feels extra special. This free crochet flower bouquet pattern offers a modern way to share love, gratitude, or celebration without worrying about flowers fading away. Designed with simplicity in mind, it suits beginners while still being satisfying for more experienced crocheters looking for a relaxing project.
Learn this Crochet Flower Bouquet Pattern for Every Celebration
Each flower can be worked up using leftover yarn, making this pattern budget-friendly and eco-conscious. The finished pattern works beautifully as a Valentine’s surprise, wedding keepsake, teacher gift, or home décor accent on a desk, shelf, or bedside table. One of the biggest benefits is flexibility: change colors, adjust the number of flowers, or add leaves and ribbons to match any theme or season.
Along the way, you’ll practice useful skills like shaping, stitching in the round, and assembling pieces neatly. This pattern also encourages personalization, so every bouquet can reflect the maker’s style and the recipient’s personality. For anyone wanting a meaningful, long-lasting alternative to fresh flowers, this free crochet pattern is a thoughtful and stylish choice.
Special Features
- Everlasting Keepsake: A handmade bouquet that lasts forever.
- Beginner-Friendly: Simple and repetitive stitches make this suitable for all skill levels.
- Customizable: Use your favorite colors, yarn weights, and ribbons to personalize.
- Budget-Friendly: Perfect use of scrap yarn and leftover materials.
- Multi-Purpose: Great for decorations, gifts, or even wedding centerpieces.
Difficulty Level
Beginner to Intermediate – Requires basic stitch knowledge and understanding of increases, decreases, and magic rings.
Step-by-Step Pattern
Supplies
- Yarn:
- Sport weight yarn (or any weight of your choice). Use:
- Green (for leaves).
- Colors of choice (for flowers).
- Neutral base (for bouquet handle).
- Sport weight yarn (or any weight of your choice). Use:
- Crochet Hook: 2 mm (adjust size if using thicker yarn).
- Stuffing: Polyfill or recycled stuffing from an old pillow.
- Ribbon: To tie the bouquet (or crochet a string as an alternative).
- Scissors, Stitch Marker, and Yarn Needle.
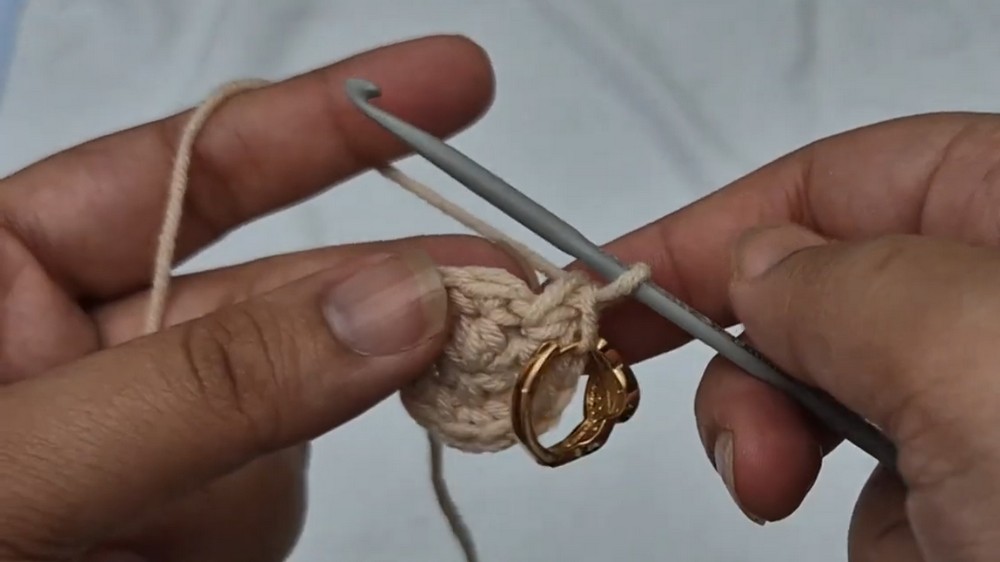
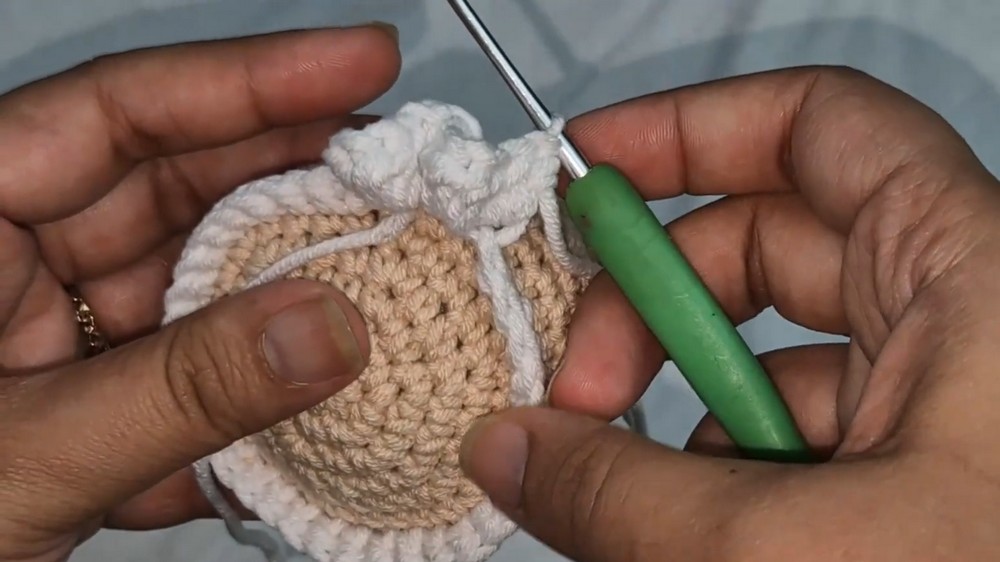
Base of the Bouquet
- Start with a Magic Ring
- Wrap yarn around two fingers to form an X.
- Insert hook under the bottom strand, grab the top, twist, and pull through.
- Chain 1 to secure the ring.
- Row 1:
- Work 6 single crochets (SC) into the magic ring.
- Pull the tail to tighten and close the ring. (6 stitches)
- Row 2:
- Work 2 SC in each stitch (increase). Repeat around for 12 stitches. (12 stitches)
- Row 3:
- Work 1 SC in first stitch, 2 SC in the next. Repeat around for 18 stitches. (18 stitches)
- Row 4:
- Work 1 SC in first 2 stitches, 2 SC in the next. Repeat around for 24 stitches. (24 stitches)
- Row 5:
- Work 1 SC in first 3 stitches, 2 SC in the next. Repeat around for 30 stitches. (30 stitches)
- Row 6:
- Work 1 SC in first 4 stitches, 2 SC in the next. Repeat around for 36 stitches. (36 stitches)
- Row 7:
- Work 1 SC in the back loop only of all 36 stitches. (Creates definition for the handle attachment.)
- Rows 8-11:
- Work 36 SC (regular stitch) for 4 rows. (Maintains the bouquet structure.)
- Row 12 (Decreasing Begins):
- Work 4 SC, 1 Decrease in the front and back loops of the next two stitches. Repeat for 30 stitches. (30 stitches)
- Row 13:
- Work 3 SC, 1 Decrease. Repeat around for 24 stitches.
- Row 14:
- Work 2 SC, 1 Decrease. Repeat around for 18 stitches.
- Row 15:
- Work 1 SC, 1 Decrease. Repeat around for 12 stitches.
- Stuff the Bouquet Base
- Add enough stuffing to give the bouquet its rounded shape.
- Row 16 (Close the Bouquet):
- Work 1 Decrease in every stitch for a total of 6 stitches. Leave a long tail to close the gap completely using a yarn needle.
Handle of the Bouquet
- Chain 3:
- Slip stitch into the first chain to form a loop.
- Row 1:
- Place 3 double crochets (DC) into each stitch around for 18 stitches.
- Row 2-5:
- Chain 1, then place 1 SC in each stitch around, joining with a slip stitch to the beginning of each row. (Maintains a handle length and neat finish.)
- Finish:
- Leave a long yarn tail to attach the handle securely to the bouquet. Tighten the stitches and sew the seam where necessary.
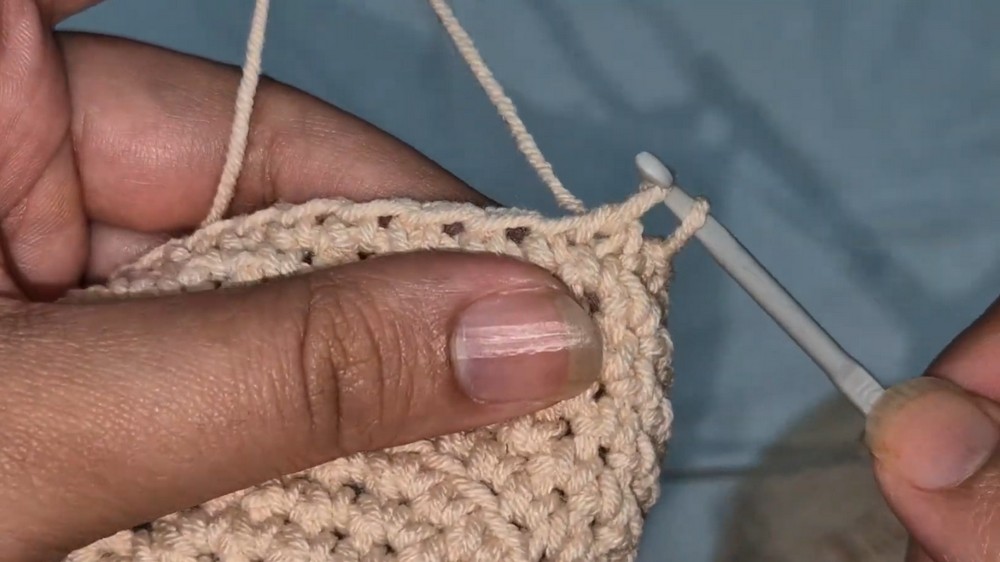
Ruffle Detail
- Locate the unused front loops from Row 6 of the bouquet base.
- Attach yarn (in a color of choice) to any front loop.
- Row 1:
- Chain 1, work 1 SC into each front loop around. Join to the starting SC with a slip stitch. (36 SC)
- Row 2:
- Chain 2, alternate 3 half-double crochets (HDC) in the front loop and back loop of each stitch to create a frilly texture.
- Fasten off and weave in ends.
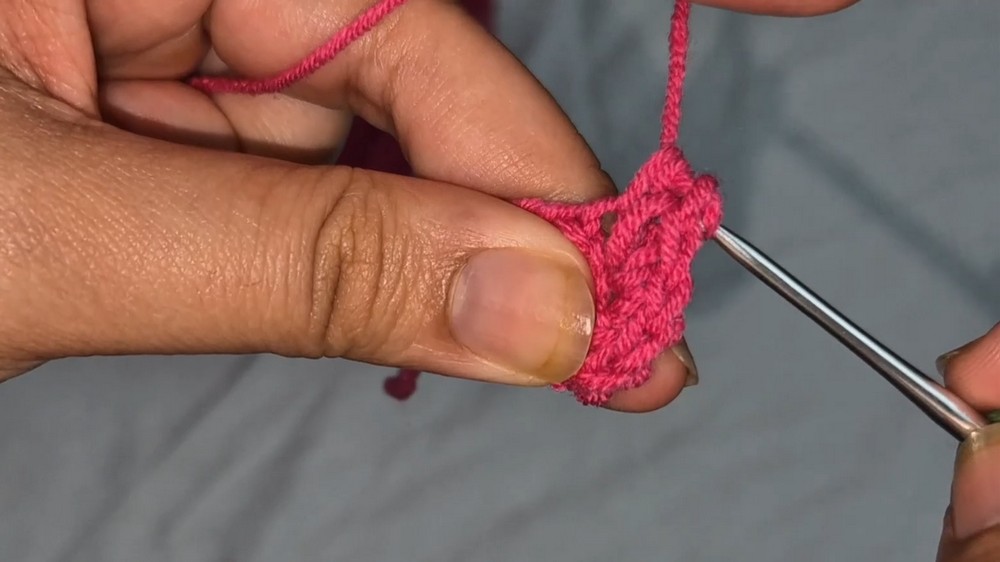
Making the Flowers
- Chain 8: Work into each chain:
- 2nd chain from the hook: 1 SC.
- Next chain: 2 SC.
- Next chain: 3 SC.
- Remaining chains: Work 3 DC into each.
- Roll the work into a spiral to form a flower shape.
- Use a needle to sew the base of the flower together to make it secure.
Making the Leaves
- Start with a Magic Ring:
- Work 3 SC into the ring and pull the tail to tighten.
- Chain 3:
- Work into the chains as follows:
- 1 SC in the first chain.
- 1 HDC in the second chain.
- 1 slip stitch into the magic ring.
- Repeat to create 3 leaves.
- Work into the chains as follows:
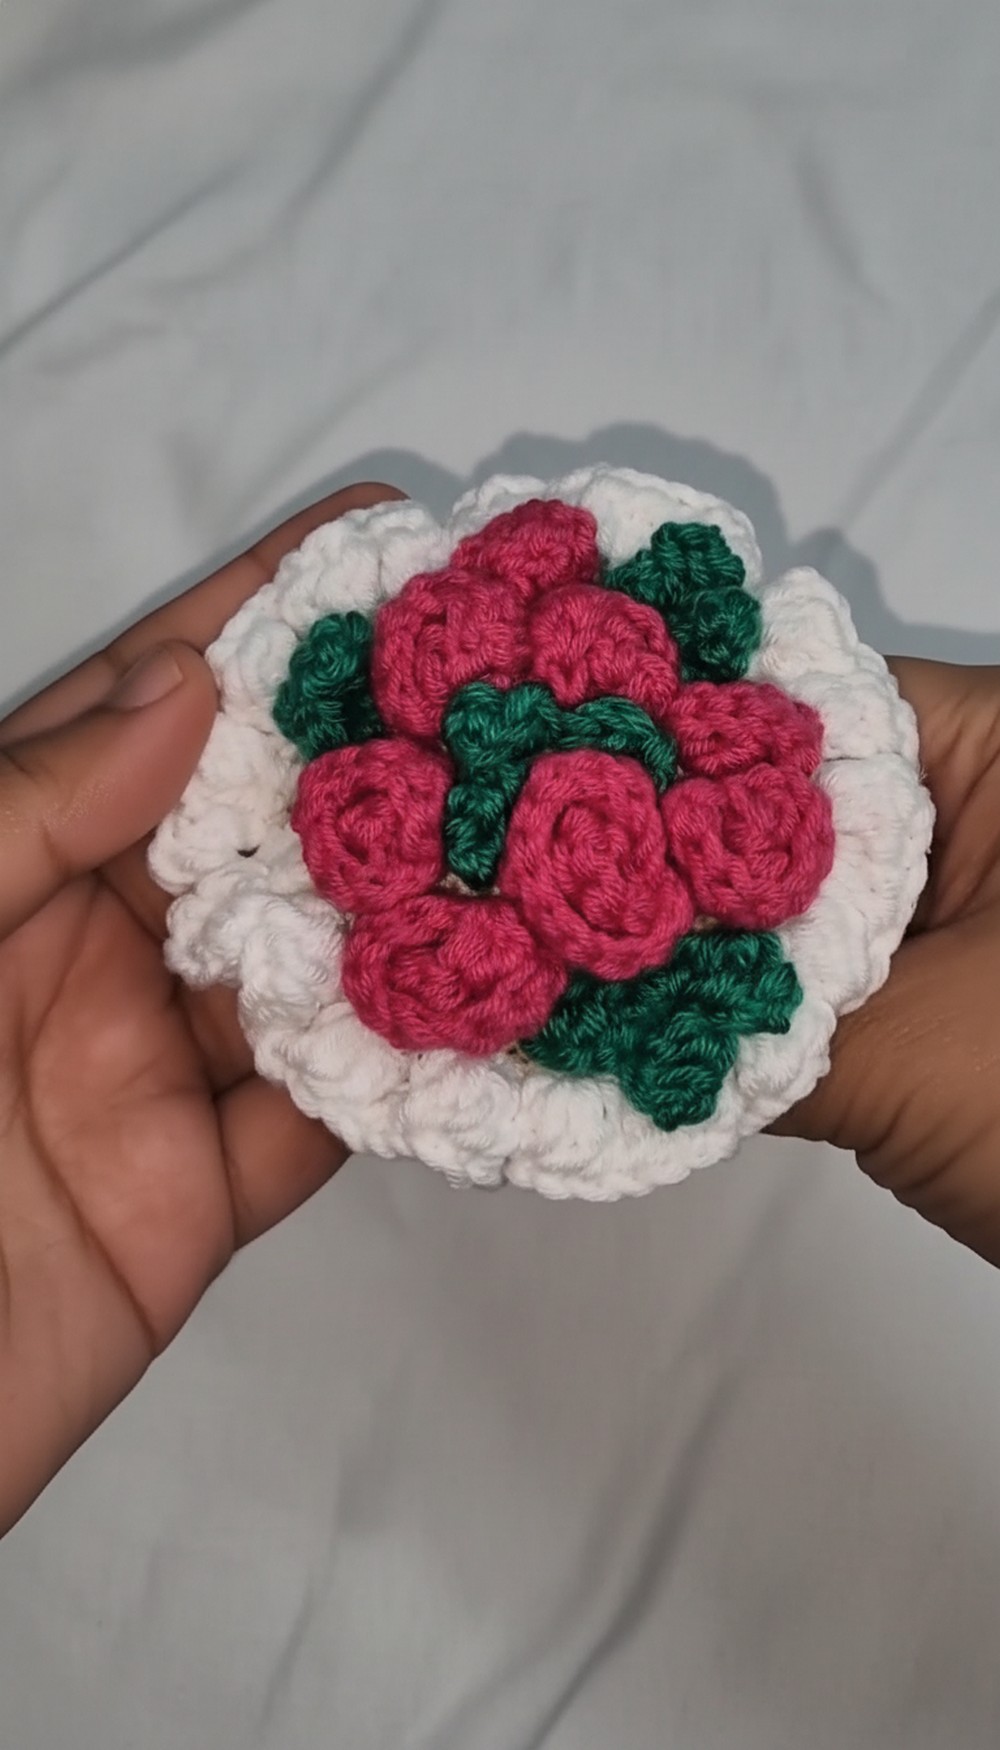
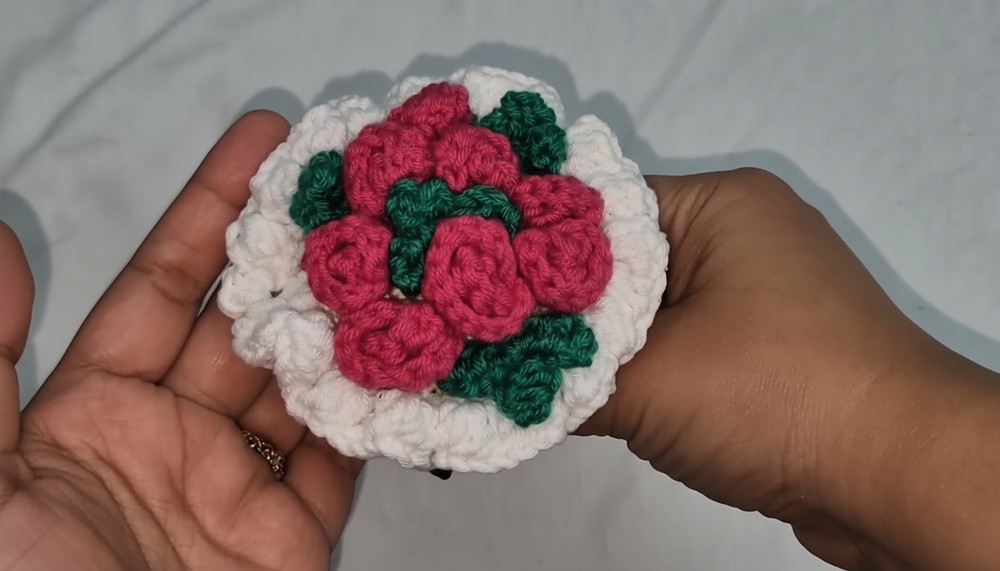
Assembling the Bouquet
- Arrange the flowers and leaves on top of the stuffed bouquet base.
- Secure them with sewing or glue.
- Wrap a ribbon or crochet string around the base for a finished look.
Tip for Finishing
Use different yarn textures or weights for the flowers to add dimension and realism to your bouquet. For gifting, attach a small handmade tag for an extra thoughtful touch.
Conclusion
This crochet flower bouquet pattern brings warmth and creativity to any occasion. It’s a timeless gift that can be treasured for years, whether for Valentine’s Day, weddings, or just as a gesture of love. Beginners will enjoy mastering basic stitches while crocheting something truly special.


Leave a Reply